Your doors are the largest blank canvases in any room, offering the most impact for the least effort. This guide rounds up 10 door painting ideas worth saving to help you find a look that fits your home. From high-contrast statements to subtle textures, here are ten ways to reimagine your doors.
Bold Front Door Color
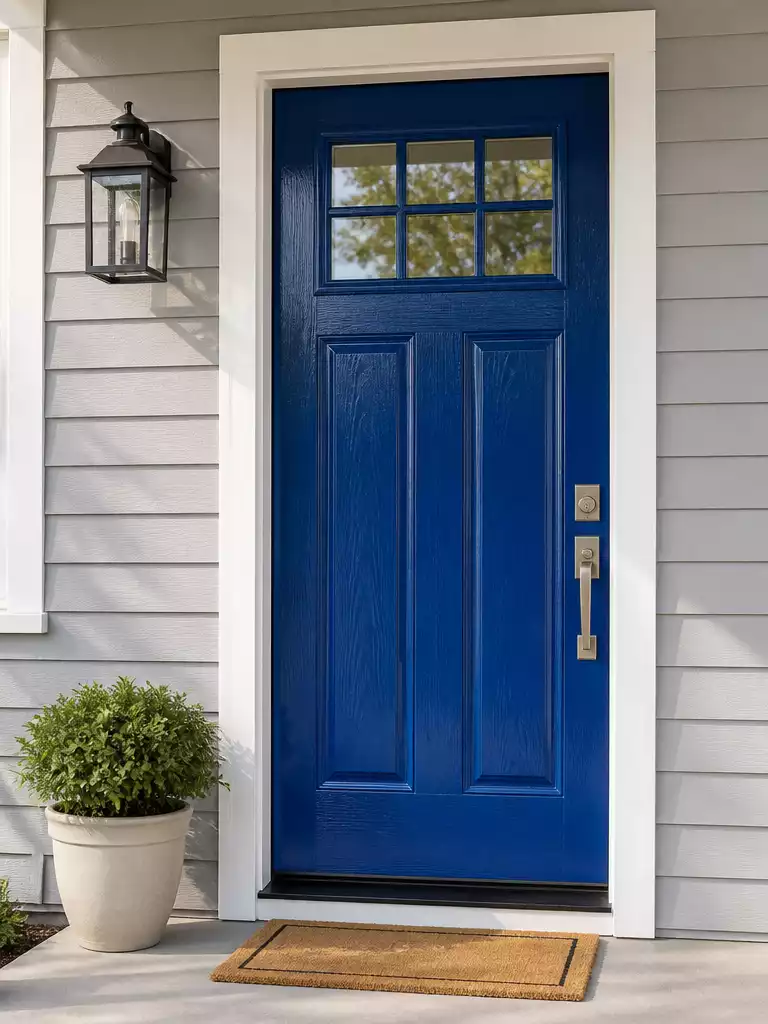
Transform your home’s curb appeal instantly with a high-pigment, saturated front door statement.
As an Amazon Associate I earn from qualifying purchases. Affiliate links may earn me a commission at no extra cost to you.
A high-pigment door color acts as the 20% accent that pulls together your brickwork, siding, and landscaping. Choosing a color that contrasts sharply with the exterior—like deep terracotta against light grey or cobalt against white—creates instant threshold intensity.
Pro Tip: Paint only the exterior side of the door first to test the impact on your home’s facade. This allows you to live with the high-contrast look before committing to the interior side.
You must use exterior-grade high-gloss or semi-gloss finishes to endure direct UV exposure. These formulas are specifically engineered to resist chalking and fading, which keeps the vibrant color looking fresh through changing seasons.
Before you commit to a gallon, use these steps to ensure your choice works:
- Light Assessment: Apply a large swatch on a piece of foam board and check it in both morning and afternoon light.
- Coordination: Match the undertones of your paint to the natural stone or brick color on your facade.
- Durability: Stick to 100% acrylic exterior latex, which offers the best balance of flexibility and weather resistance.
⭐ Top Products for Bold Front Door Color
Professional Grade Exterior Paint Brush
Heavy Duty Painter Masking Tape Roll
Large Canvas Drop Cloth For Painting
📋 Quick Reality Check
- Check threshold clearance: Ensure your new paint thickness doesn’t cause the door to rub or stick against the bottom threshold.
- Verify material compatibility: Confirm your door material—whether metal, fiberglass, or wood—is properly prepped for exterior-grade bonding agents.
- Inspect hardware fit: Assess if existing hinges or handles need removal for a clean finish or if they require replacement to match the new bold color.
Two Tone Painted Door

Define your home’s architecture by using high-contrast paint to frame your interior doors.
Painting the door slab and its surrounding casing in different hues creates an instant architectural upgrade. This technique draws the eye to the door’s profile, making standard builder-grade doors appear custom and substantial.
Why it works: Using a darker color for the trim acts as a visual frame, which effectively increases the perceived size of the opening. This is a simple way to add depth to a room without changing your wall color or trim boards.
This design choice performs best on shaker or paneled doors where the molding provides a natural break for your color transition. If you are working with a basic flat-panel door, the lack of depth can make clean edges harder to achieve.
Achieving crisp lines is entirely dependent on your taping strategy. Use professional-grade painter’s tape to seal the edge of the casing before you cut in.
Pull the tape away while the paint is still slightly tacky to prevent the dried film from lifting or cracking. This small step ensures a clean, professional finish that hides any imperfections in the wall or door frame.
⭐ Editor’s Picks for Two Tone Painted Door
Precision Trim Paint Brush For Details
Small Foam Paint Roller For Trim
Precision Painter Masking Tape For Edges
🔢 The Right Sequence to Save Rework
Painting trim and doors requires a specific order of operations to ensure your lines stay crisp and you aren’t forced to perform tedious touch-ups later.
- Paint the frame first: Always coat the casing completely before addressing the door slab to avoid brush marks.
- Tape the cured edge: Wait at least 24 hours for the trim paint to fully harden before applying painter’s tape.
- Pull tape while tacky: Remove the tape carefully while the door’s final coat is still slightly damp for sharp lines.
Geometric Pattern Door
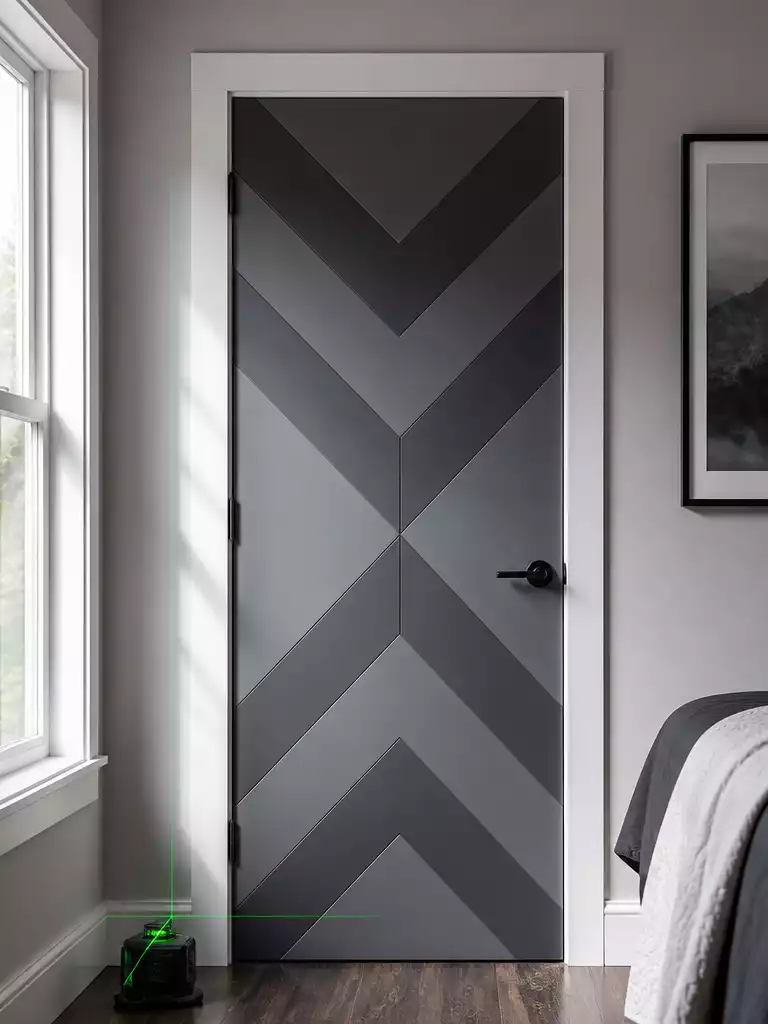
Transform a standard flat-panel door into a modern architectural statement with precise geometric motifs.
Flat-panel doors often disappear into the background because they lack the depth of traditional millwork. By applying angular motifs with painter’s tape, you turn that empty surface into a custom design focal point.
This approach works best for homeowners who crave a modern, architectural aesthetic without the cost of decorative paneling. If you prefer a traditional home style with crown molding and ornate trim, this sharp, angular look will likely feel out of place.
Pro Tip: Achieve a sophisticated, high-end look by using a monochromatic palette. Paint the door in a satin charcoal base, then overlay the geometric pattern using a matte charcoal paint.
Precision is the difference between a custom design and a messy project. You will need a laser level to ensure your tape lines are perfectly straight and meet exactly at the corners.
Follow these steps to keep the process clean:
- Measure and map your design on paper before touching the tape to the door.
- Use delicate surface painter’s tape to prevent pulling up the base coat when you remove it.
- Press the edges of the tape down firmly with a plastic burnishing tool to seal them completely.
- Remove the tape while the final coat is still slightly tacky to ensure crisp, clean lines.
⭐ Recommended for Geometric Pattern Door
Fine Line Masking Tape For Patterns
Metallic Paint Marker For Craft Details
Standard Painter Masking Tape For Crafts
🏡 How This Works in a Real Home:
- Scale for Doors: Use larger, wider geometric shapes on full-height doors to avoid a busy, cluttered appearance in small rooms.
- Lived-in Versatility: Choose soft, tonal color combinations like slate blue and navy to ensure the design feels sophisticated rather than juvenile.
<li style="margin-bottom: Natural Finish: Opt for a low-sheen eggshell or satin finish, which masks minor imperfections in the door surface better than high-gloss paints.
Ombre Gradient Finish
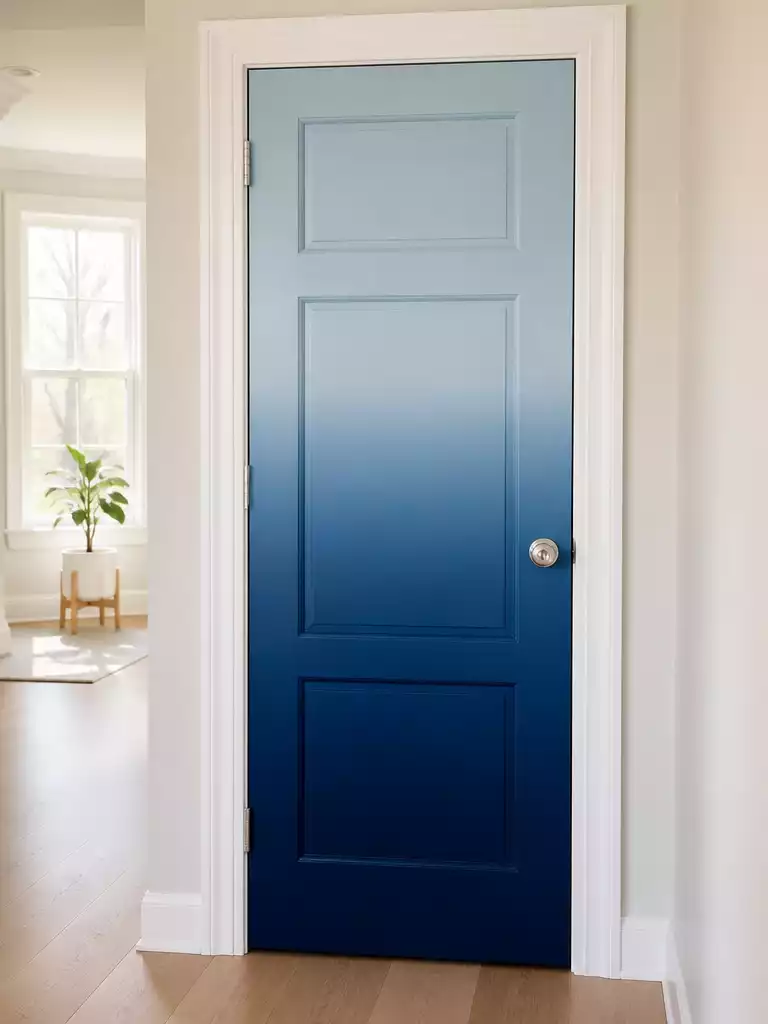
Create a custom, ethereal focal point by blending two complementary shades across your door surface.
An ombre finish moves away from solid, flat color in favor of an ethereal, shifting aesthetic. This technique is ideal for homeowners who want a custom artistic touch without the commitment of complex wallpaper or intricate stenciling.
To master the transition, you need a high-density foam roller or a damp sea sponge to merge your colors while the paint is still wet. Choosing two shades of the same base hue is the safest way to ensure a seamless color marriage.
Pro Tip: Keep a spray bottle filled with a fine mist of water nearby to keep the paint workable for longer.
Lightly misting the area where the two colors meet prevents the edges from drying too quickly, allowing for a smooth, blurred gradient.
You must decide on the direction of your flow before opening your paint cans. A vertical gradient, fading from dark at the bottom to light at the top, creates a grounded and architectural look that draws the eye upward.
Horizontal transitions across the width of the door feel more modern and avant-garde. Regardless of direction, always seal your finished work with a clear matte or satin polycrylic topcoat to protect the blended area from fingerprints and wear.
⭐ Best Products for Ombre Gradient Finish
Soft Sponge Brush Set For Blending
Painter Tape Roll For Clean Edges
Microfiber Cloth For Surface Prep Work
🏡 Real-Home Application: Avoiding the “Staged” Look
- Transition placement: Start your blend at the door’s middle rail instead of the very bottom to keep the heaviest color at eye level.
- Daily wear: Use a high-quality semi-gloss or satin enamel, as flat finishes will show every fingerprint and scuff in high-traffic hallways.
- Color testing: Paint two large foam boards with your gradient transition and tape them to the door for 24 hours to see how the blending looks in your specific lighting.
Navigating these paint techniques can feel like a high-stakes balancing act, but the beauty of this medium is its inherent flexibility. Because paint is relatively simple to alter, you can explore new door styles without feeling locked into a final outcome.
The most impactful results come from choosing two or three techniques that truly resonate, rather than attempting to master every single aesthetic option presented here.
Chalkboard Paint Door

Turn your pantry or office door into a functional, ever-changing command center for your home.
This approach turns a high-traffic door into a functional communication hub. It works best for pantries, home office entries, or mudroom doors where you need a dedicated space for grocery lists, reminders, or messages.
Pro Tip: Paint only the recessed center panel of a paneled door rather than the entire surface. This creates a natural “frame” that looks like a custom-designed message board rather than a DIY experiment.
Do not settle for generic matte black latex paint, as it will not provide the durable, non-porous surface needed for repeated writing and erasing. You must use a specialized chalkboard paint formula designed to cure into a hard finish.
The seasoning process is the most important step to prevent permanent “ghost” marks from appearing after your first list. Skipping this step means your first chalk message may be etched into the paint forever.
Avoid This Mistake:
Do not attempt to clean the door with wet, soapy sponges immediately. Use a dry microfiber cloth or a dedicated eraser to keep the finish smooth and streak-free.
⭐ Top Products for Bold Front Door Color
Professional Grade Exterior Paint Brush
Heavy Duty Painter Masking Tape Roll
Large Canvas Drop Cloth For Painting
🏡 Real-Home Application
- Strategic placement: Use the chalkboard surface on the interior side of a pantry door to keep your kitchen clutter off the fridge.
- Daily maintenance: Keep a small, decorative cup or magnetic basket mounted nearby to hold chalk and a felt eraser for easy access.
- Lived-in aesthetic: Embrace the dusty, soft look of chalk rather than trying to keep the door perfectly pristine; it adds charm to the room.
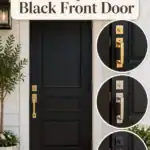
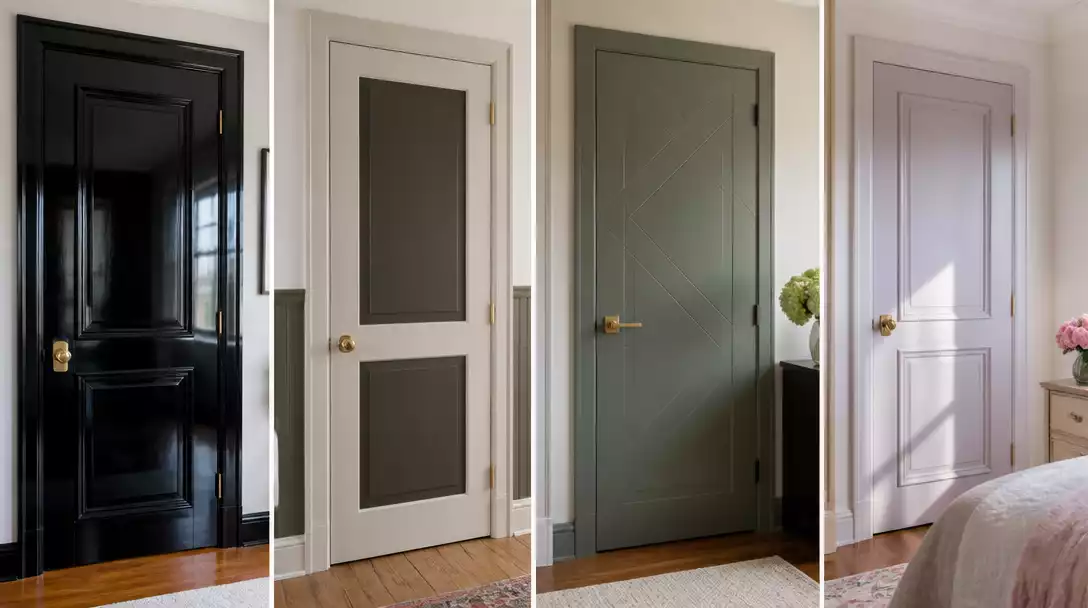
High Gloss Black Door
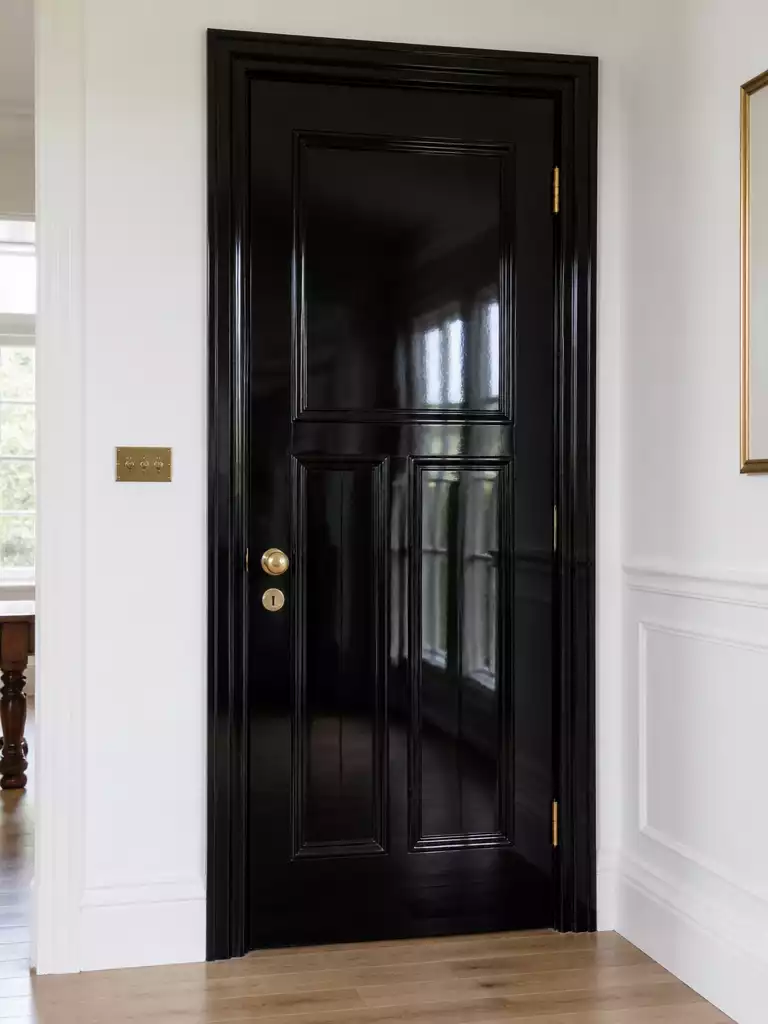
Create a luxury hotel aesthetic by adding depth and reflection to your interior entryways.
A high-gloss black finish creates a mirror effect that adds immediate drama to any hallway. This look is perfect for small, dark spaces where you want to lean into the moodiness rather than fighting for more light.
Surface prep is non-negotiable here. Because high-gloss paint magnifies every tiny bump or imperfection, you must sand the door until it is perfectly smooth before applying your first coat.
You cannot achieve that glass-like finish with a standard foam roller. Opt for a fine-nap mohair roller, which is specifically designed to minimize orange-peel texture and keep the surface sleek.
If you are prone to rushing, this finish might frustrate you. It demands patience to allow for proper drying times between coats to ensure the final result is truly reflective.
⭐ Top Products for High Gloss Black Door
Large Drop Cloth For Paint Protection
High Density Roller For Gloss Paint
Tack Cloth For Dust Free Surface
💡 Designer Note: Achieving the Mirror Effect
High-gloss black is unforgiving, but it creates incredible depth. To ensure the surface holds that “luxury hotel” shine, avoid painting in direct, harsh sunlight or humid conditions, which can cause the finish to trap dust or skin over too quickly. For the most sophisticated result, pair your black door with unlacquered brass hardware; the warm patina beautifully complements the moody, reflective dark surface.
Color Blocked Panels
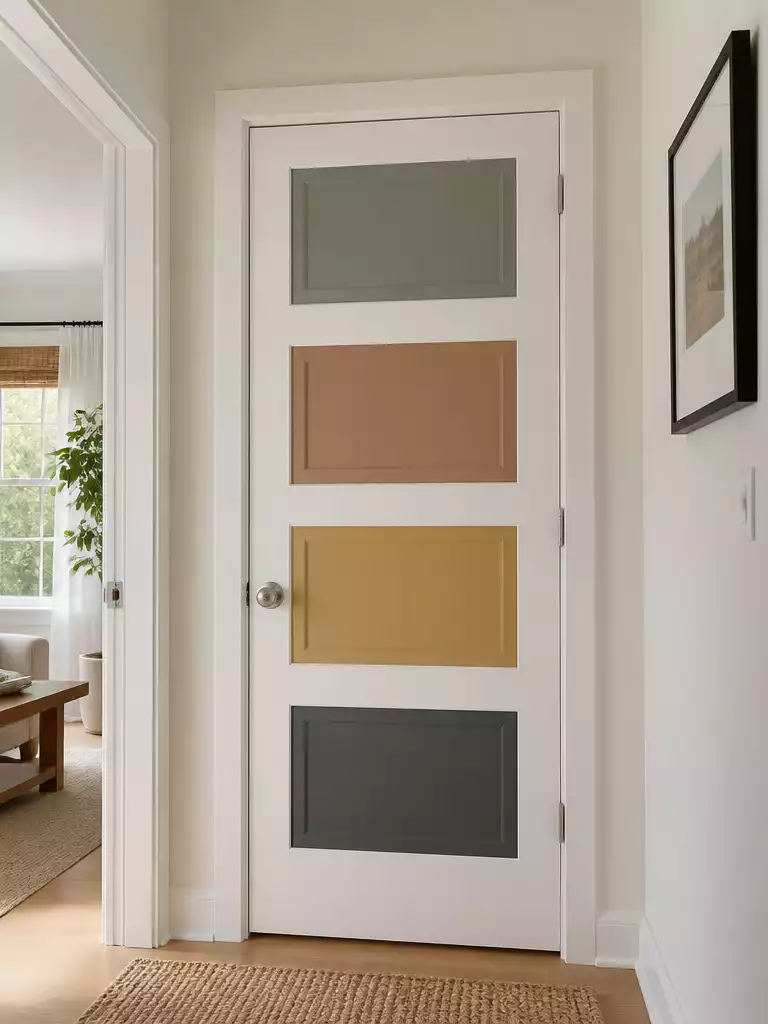
Transform a standard door into a custom art installation with bold, segmented color zones.
Color blocking turns a basic interior door into a high-impact focal point by treating each recessed panel as a separate piece of a puzzle. This look is perfect for homeowners who want a playful, modern aesthetic without the commitment of a full mural or wallpaper.
To pull this off effectively, keep the surrounding rails and stiles—the frame of the door—a neutral color like white or light grey. This grounding shade acts as a border, preventing the multiple colors from feeling chaotic or overwhelming.
Pro Tip: Use an artist’s angled sash brush to cut into the corners of your panels.
A steady hand here is non-negotiable, as clean, sharp lines between the panel edges and the frame are what make the design look intentional rather than messy.
When selecting your palette, think about the mood you want to set for the room. You have two primary paths to success:
- Primary Palette: Use bold, saturated colors for a high-energy look that mimics modern art pieces.
- Muted Earth Tones: Combine varied shades of sage, ochre, and clay for a sophisticated, gallery-inspired vibe.
This technique works best on shaker or raised-panel doors where there is a clear physical boundary for your paint. If you have a flat, slab-style door, you will need to map out your sections with high-quality painter’s tape to ensure your color blocks remain symmetrical.
⭐ Editor’s Picks for Color Blocked Panels
Painter Tape Roll For Color Blocking
Angled Sash Brush For Panel Edges
Canvas Drop Cloth For Floor Protection
✨ Small Details That Matter
Refining the hardware and surrounding environment ensures your color-blocked panels feel like a deliberate interior design choice rather than a DIY experiment.
- Hardware coordination: Swap standard builder-grade knobs for matte black or brushed brass to anchor your chosen color palette.
- Nearby styling: Add a simple wall-mounted hook or a floor plant nearby to bridge the gap between the door’s bold colors and the room’s decor.
Pastel Bedroom Door
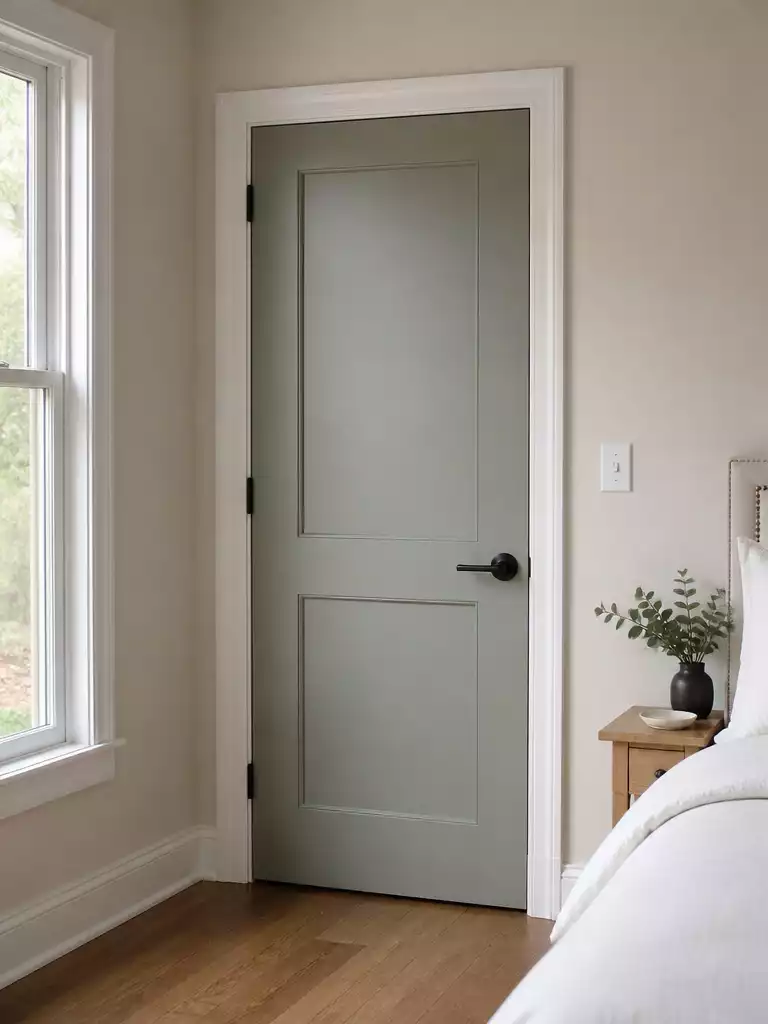
Create a calming retreat by using soft, de-saturated hues to refresh your bedroom entry.
A pastel bedroom door is the easiest way to shift the mood of your sleep space from chaotic to serene. These de-saturated tones—think dusty rose, soft lavender, or muted sage—add a whisper of color that feels intentional without overwhelming your decor.
Because bedrooms are smaller, enclosed spaces, pastels actually have a functional benefit. The lighter, airier colors help reflect more light, making a cramped hallway or bedroom entrance feel more open.
Pro-Tip for Coverage: Pastel paint is notoriously thin and often struggles to hide the original door color in one go.
Always ask the paint desk to tint your primer to match the pastel topcoat. This simple step ensures you get full, streak-free opacity in just two coats.
When selecting your finish, stick to matte or eggshell instead of semi-gloss. These lower-sheen options keep the look soft and non-reflective, which enhances the powdery, serene aesthetic of a pastel shade.
This style is a perfect fit if you want a calm, monochromatic bedroom palette. However, if your home features high-contrast, industrial, or moody dark decor, a pastel door may feel out of place and clash with the surrounding architecture.
To finalize the look, swap out busy or ornate hardware for simple, clean-lined options. A basic brushed nickel or matte black lever will bridge the gap between the soft color and your existing room design.
⭐ Recommended for Pastel Bedroom Door
Painter Masking Tape For Bedroom Doors
Trim Paint Brush For Pastel Finishes
Paint Roller Cover For Smooth Walls
📈 The Long-Term Payoff:
While trendy dark colors capture attention, pastels offer a timeless, high-end feel that rarely dates a room. Because they create a neutral, airy backdrop, they are generally safer for resale than saturated brights, as they don’t force a potential buyer to immediately repaint to neutralize the space.
Resale Appeal: Soft, de-saturated tones maintain architectural flexibility, making them a low-risk investment for long-term home value.
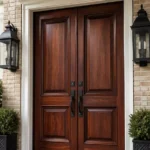
Faux Wood Grain Finish
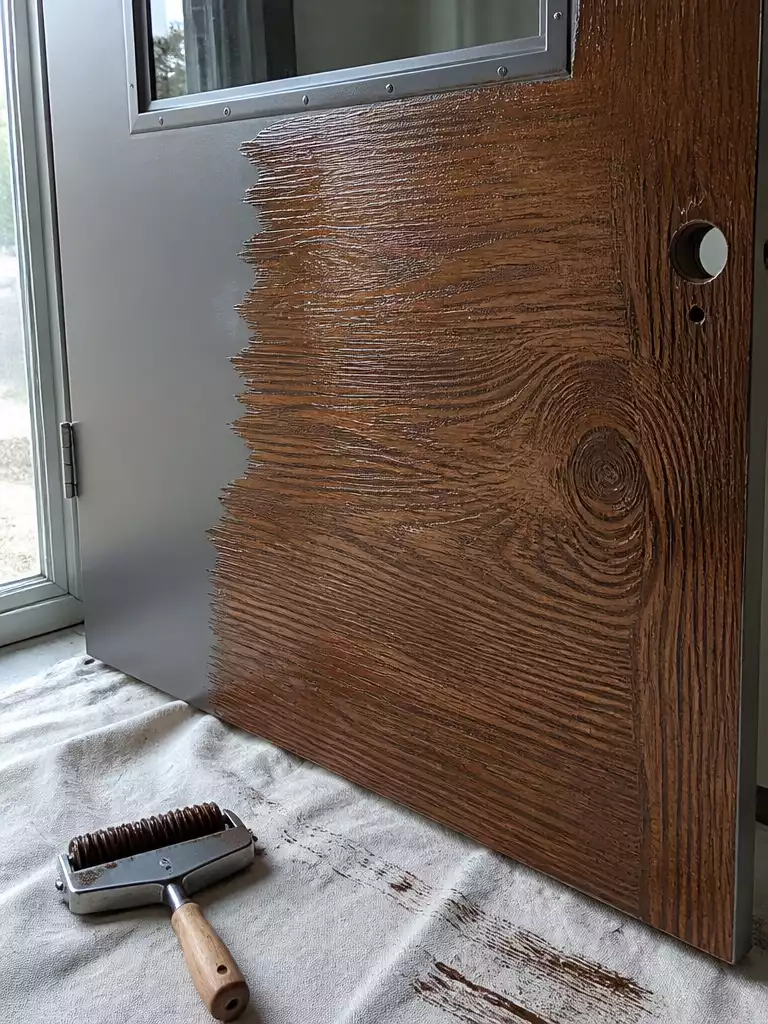
Bring the warmth of natural timber to budget-friendly metal or hollow-core doors instantly.
If your home lacks architectural character, a faux wood grain finish is the fastest way to inject visual warmth. This technique turns flat, sterile metal or cheap hollow-core doors into realistic-looking wood slabs without the massive price tag of a solid timber door.
The secret lies in a glazing technique where you layer a translucent gel stain over a solid base coat. You then pull a specialized graining tool through the wet glaze to reveal the base color underneath, mimicking the organic look of natural wood fibers.
Pro Tip: Before tackling your actual door, practice the “flick” of your wrist on a piece of cardboard or a spare scrap of wood.
The realistic look depends entirely on your rhythm; consistent, fluid movements will make or break the final result.
This project is perfect for homeowners who want a custom, high-end look but are working with builder-grade materials. However, skip this if you have zero patience for the learning curve, as the glaze dries relatively quickly and requires a steady, confident hand.
Always work in manageable quadrants so the glaze doesn’t set before you reach the edge. A final clear coat is essential to protect your hard work from high-traffic wear and tear.
⭐ Best Products for Faux Wood Grain Finish
Tack Cloth For Clean Wood Surfaces
Natural Bristle Brush For Wood Stain
Wood Graining Tool For Realistic Texture
💡 Why This Works:
Faux wood graining succeeds because it tricks the eye with organic, irregular patterns that mimic the natural imperfection of solid timber. By breaking up the flat, uniform surface of a builder-grade slab, you add depth and visual history to a room, instantly making mass-produced materials feel bespoke and intentionally designed.
Design Benefit: It grounds a space with warmth that painted surfaces simply cannot replicate on their own.
Stenciled Accent Design
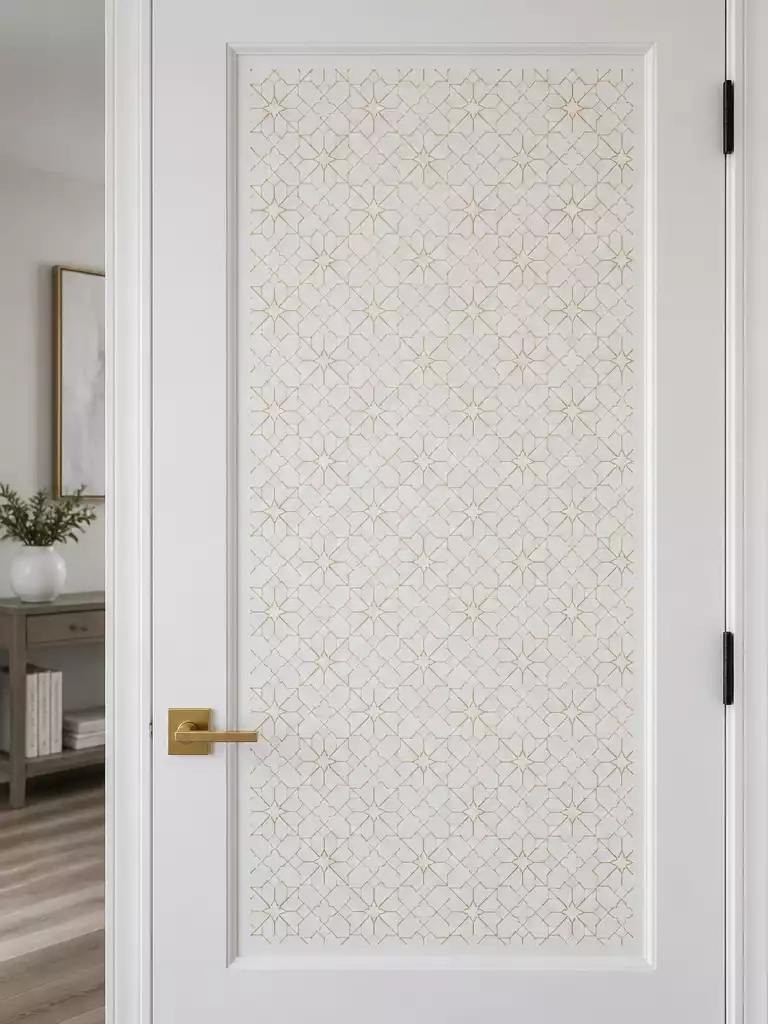
Transform plain flat-panel doors into custom architectural features with precise, repeating ornamental motifs.
Using a stencil turns your door into a vertical canvas that mimics the high-end look of boutique wallpaper. This technique is ideal for homeowners who want to add personality to a builder-grade door without committing to a full room renovation.
Precision is the difference between a custom look and a messy DIY project. If you are a beginner, start with a simple, large-scale geometric motif rather than an intricate floral pattern that requires complex registration.
Pro Tip: Use the dry-brush technique by loading your stencil brush with paint and then blotting it almost entirely off on a paper towel. This prevents paint from seeping under the edges of the stencil, ensuring your design lines stay crisp and professional.
To achieve the best results, you must plan your layout carefully before the first application of paint. Always start from the center of the door and work your way outward toward the edges to ensure the pattern looks centered and balanced.
If your door has recessed panels, keep the stencil design contained within those specific areas rather than running it across the stiles and rails. This frame-within-a-frame approach keeps the design grounded and prevents the pattern from looking chaotic or overwhelming.
Warning: Avoid using standard adhesive stencils on fresh paint, as they can pull up the base coat. Use low-tack painter’s tape to hold your stencil firmly in place instead.
⭐ Our Picks for Stenciled Accent Design
Stencil Brush Set For Detailed Painting
Painter Masking Tape For Stencil Work
Clear Coat Spray For Stencil Protection
💡 Why This Works
Stenciling succeeds because it introduces intricate, high-contrast detail to a surface that usually remains flat and unadorned. By using a dry-brush technique, you control the density of the pigment, preventing the “heavy” look that can sometimes make stenciled doors feel like cheap decals rather than intentional, custom-applied architectural art.
Visual Symmetry: Starting from the center ensures the pattern remains balanced, preventing awkward cut-off motifs at the door edges.
You have now navigated ten distinct ways to refresh your interior and exterior doors. Focus on the one or two styles that best align with your home’s existing architecture rather than attempting to implement every technique at once.
A well-chosen paint application provides more impact than a wide variety of unfinished projects. Decide on the door that fits your space first, and the rest of your home will naturally follow. For more guidance, explore additional door decoration ideas to refine your vision.