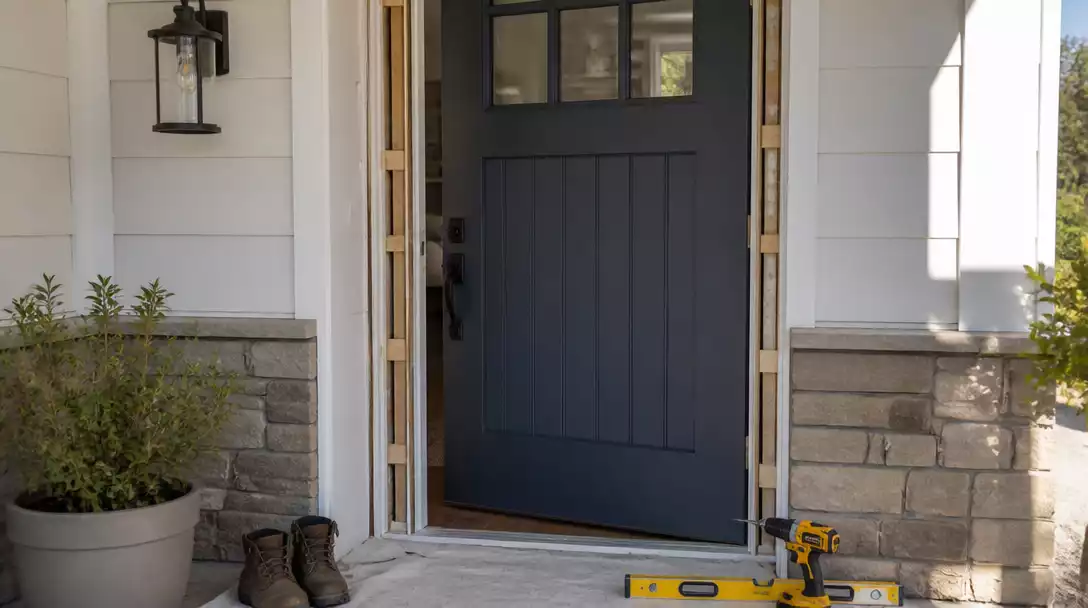
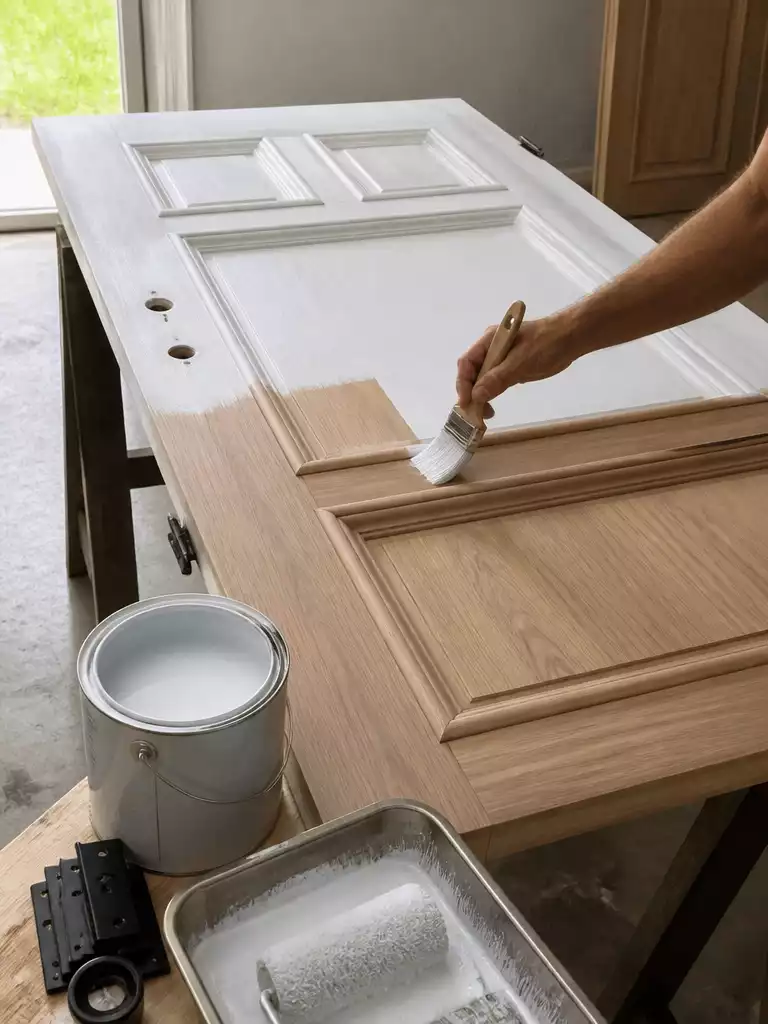
Replacing your front door is a high-stakes improvement that impacts both your home’s security and its long-term value. This guide narrows the process down to 12 critical steps worth your attention, helping you avoid costly structural mistakes. Before you look at styles, let’s determine if yours needs replacing.
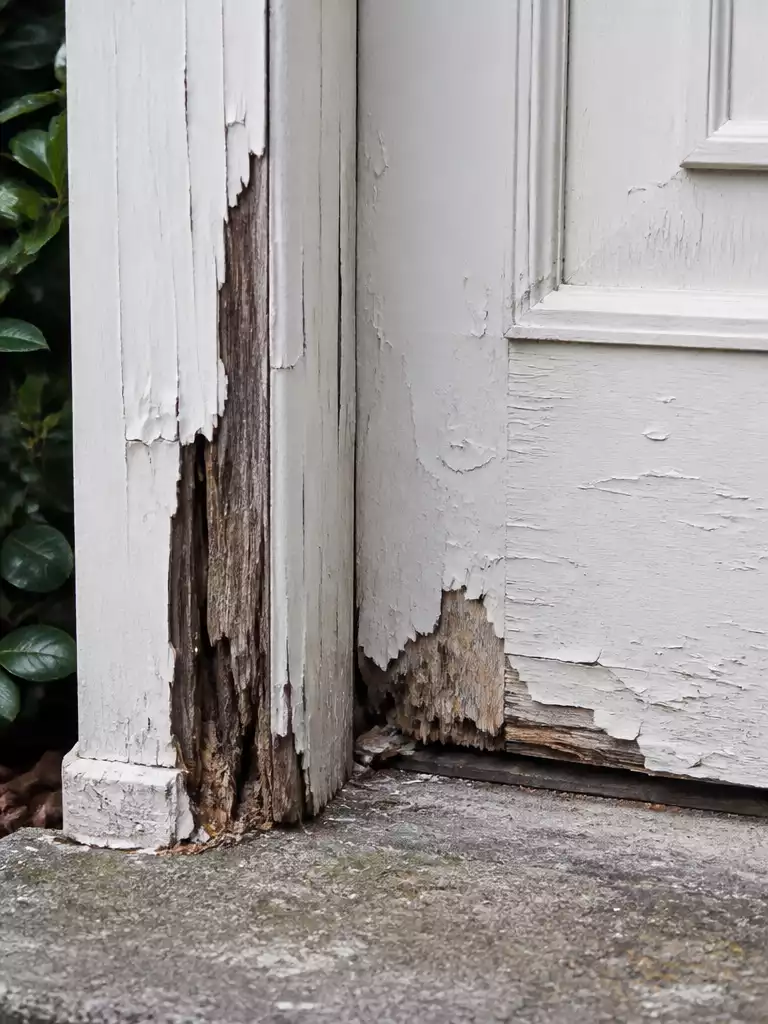
Visible Decay: Soft, spongy, or crumbling wood at the bottom corners or threshold where moisture settles.
Alignment Issues: The door physically drags on the floor, binds against the frame, or fails to latch securely.
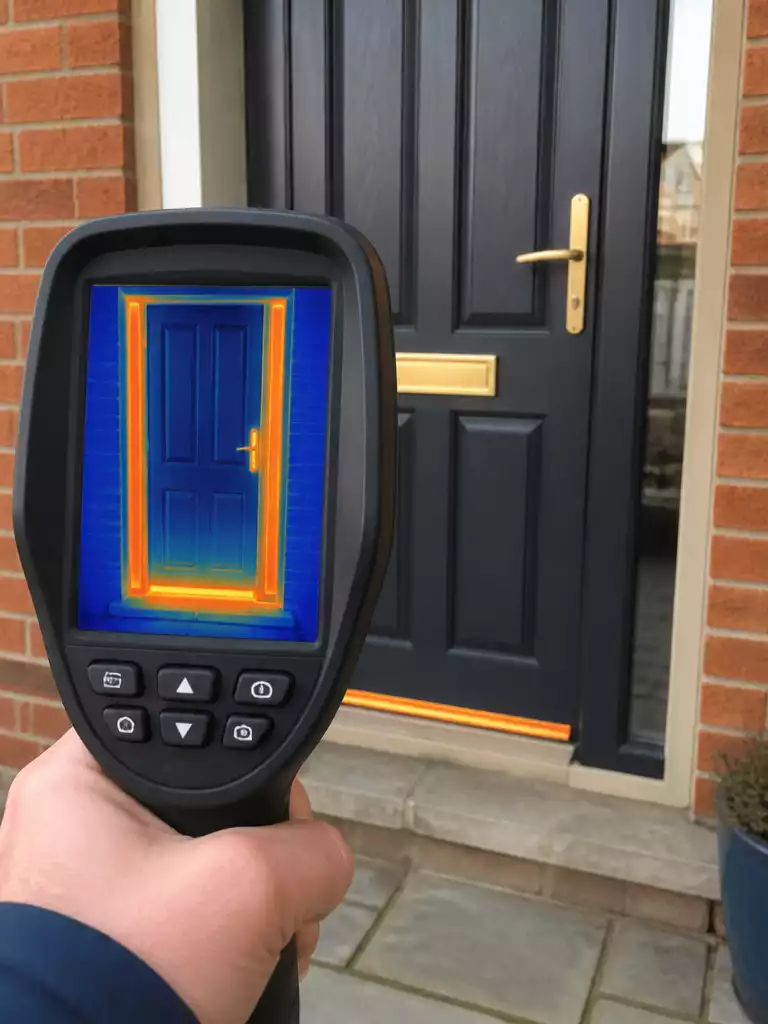
Persistent Daylight: Visible gaps around the frame edges that remain even after you’ve replaced the old weatherstripping.
Measuring Your Existing Door and Frame the Right Way
Getting precise measurements ensures your new door seals perfectly and operates without binding.
The most common mistake first-time remodelers make is assuming a door is a perfect rectangle. In reality, most older frames have shifted over time, meaning even a quarter-inch difference can turn a simple swap into a major carpentry headache.
To avoid this, rely on the Rule of Three. Never trust a single measurement; your door frame is likely slightly wider or taller at one point than it is at another.
The Three-Measure Rule
Width: Measure across the top, the middle, and the bottom of the door slab. Always use the smallest of these three numbers.
Height: Measure from the top of the door slab down to the floor on the left, center, and right sides. Again, take the smallest measurement to ensure the new door doesn’t bind against the frame.
Jamb Depth: Measure the thickness of the wall frame (the jamb). This prevents buying a door that sticks out past your interior drywall or leaves an unsightly gap.
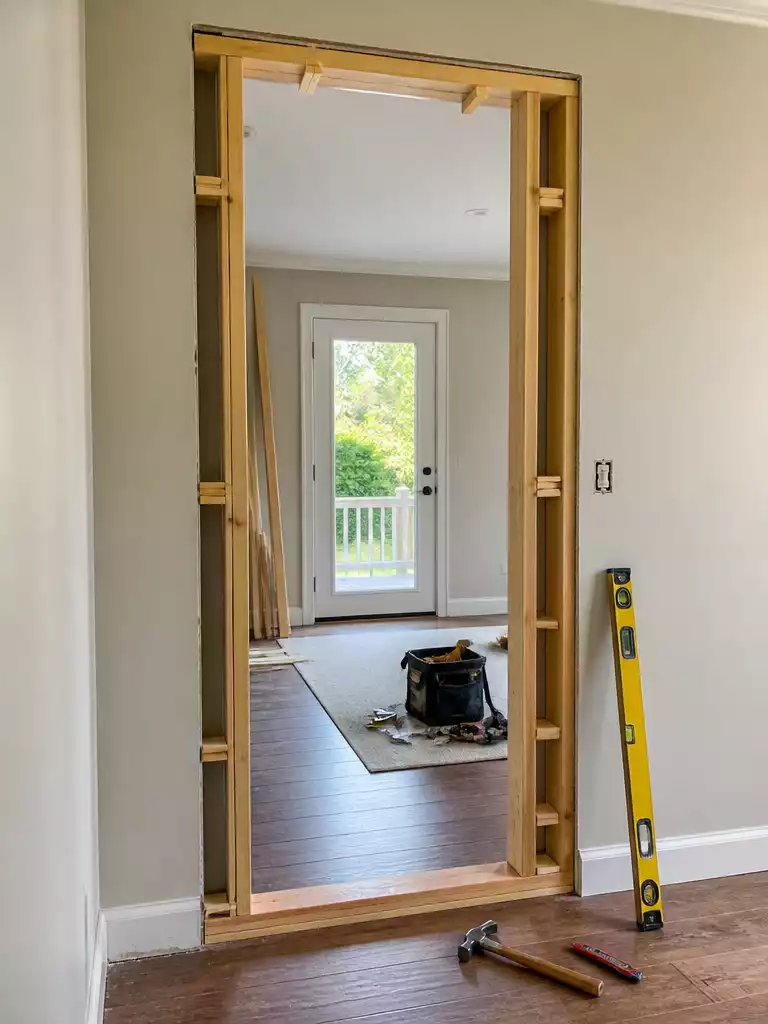
If you are planning to replace the entire unit rather than just the door slab, you need to look beyond the door itself. You must remove the interior trim (casing) to expose the rough opening, which is the space between the actual wall studs.
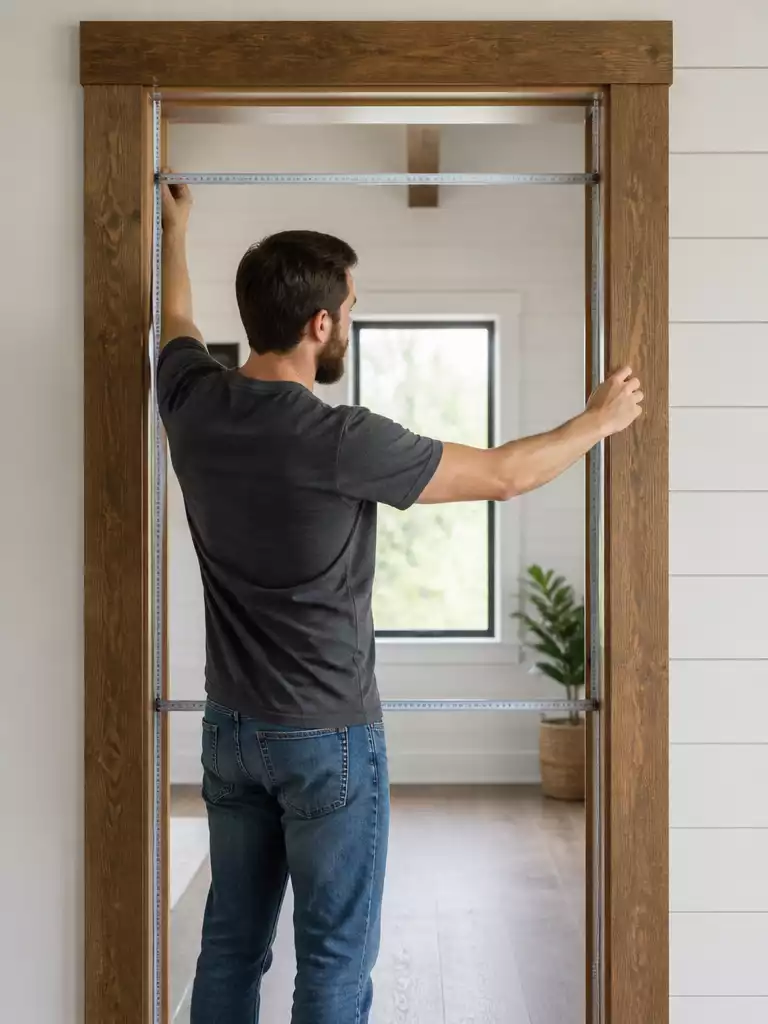
Measuring the rough opening is the only way to know if your new prehung unit will fit comfortably. While you’re at it, check the diagonals of the opening with your tape measure—if the two diagonal measurements don’t match, your frame is out-of-square, and you will need to plan for extra shimming or frame adjustment during installation.
Common Measuring Mistakes
Measuring the door *with* the frame when you only intended to replace the slab.
Forgetting to account for the threshold height, which can lead to a door that won’t close flush against the floor.
Assuming “standard” sizes are universal; always verify the exact dimensions of your specific opening before ordering a custom or stock unit.
⭐ Best Measuring Tools for Door Frames
Large Collage Photo Frame With Mat
★★★★½
Our Score: 4.5/5
Use this high-quality frame to visualize how new casing styles will look around your door frame.
Diagonal Check: Measure corner-to-corner across the frame; if the two measurements differ, your door opening is out-of-square.
Jamb Depth: Confirm the thickness of your wall assembly, including interior drywall and exterior siding, for a flush fit.
Clearance Check: Ensure the floor surface is level beneath the threshold to prevent binding or future water intrusion issues.
Choosing a Door Material That Suits Your Climate
Match your door material to your local environment to prevent long-term structural decay and maintenance.
Your front door is the first line of defense against the local weather, and picking the right material is less about the look and more about how it handles your specific environment. If you live in a coastal area, a humid climate, or a region that sees extreme temperature swings, the wrong material will show signs of failure within a few short seasons.
Fiberglass is widely considered the most versatile choice for homeowners who want a “set it and forget it” solution. Because it resists warping, rotting, and rusting, it performs exceptionally well in harsh environments like coastal zones or regions with intense freeze-thaw cycles.
Steel is a powerhouse for durability and security, offering excellent strength at a lower price point than premium wood. However, it is prone to denting and can rust if the finish is compromised, making it a better fit for sheltered entryways rather than doors exposed directly to harsh, salt-heavy, or driving-rain conditions.
Wood remains the classic choice for those who prioritize traditional aesthetics. It is beautiful, but it requires a very specific commitment; it is highly susceptible to swelling, cracking, and rot when exposed to consistent moisture or harsh UV rays. If you choose wood, prepare for a strict two-year refinishing schedule to keep the material protected.
Material
R-Value
Maintenance Burden
Fiberglass
R-5 to R-7
Low
Steel
R-5 to R-6
Moderate
Wood
R-2 to R-4
High
Core Performance Insight: While the skin of the door gets all the attention, the core material is what actually provides your insulation. Always check the R-value of the entire door unit, as a heavy, insulating core is far more effective at keeping your home comfortable than the exterior finish alone.
⭐ Climate Friendly Door Mats to Consider
Extra Long Front Door Welcome Mat
★★★★★
Our Score: 5.0/5
This durable mat provides excellent coverage for double doors, protecting your entryway from harsh outdoor climates.
Getting your material choice correct before installation prevents expensive rework and ensures your door actually functions as a weather barrier.
Assess your exposure (sun, salt, or moisture) before picking a material skin.
Compare the internal core R-value to your home’s specific energy-efficiency needs.
Seal all six sides of the door immediately upon delivery to prevent moisture intrusion.
Understanding the Difference Between a Slab and a Prehung Door
Choosing the right unit type saves you hours of labor and prevents installation alignment issues.
When you start browsing for a new front door, you’ll quickly notice two distinct categories: the prehung unit and the slab. Understanding the difference is the single most effective way to avoid a project that spirals from a two-hour swap into a full weekend of custom carpentry.
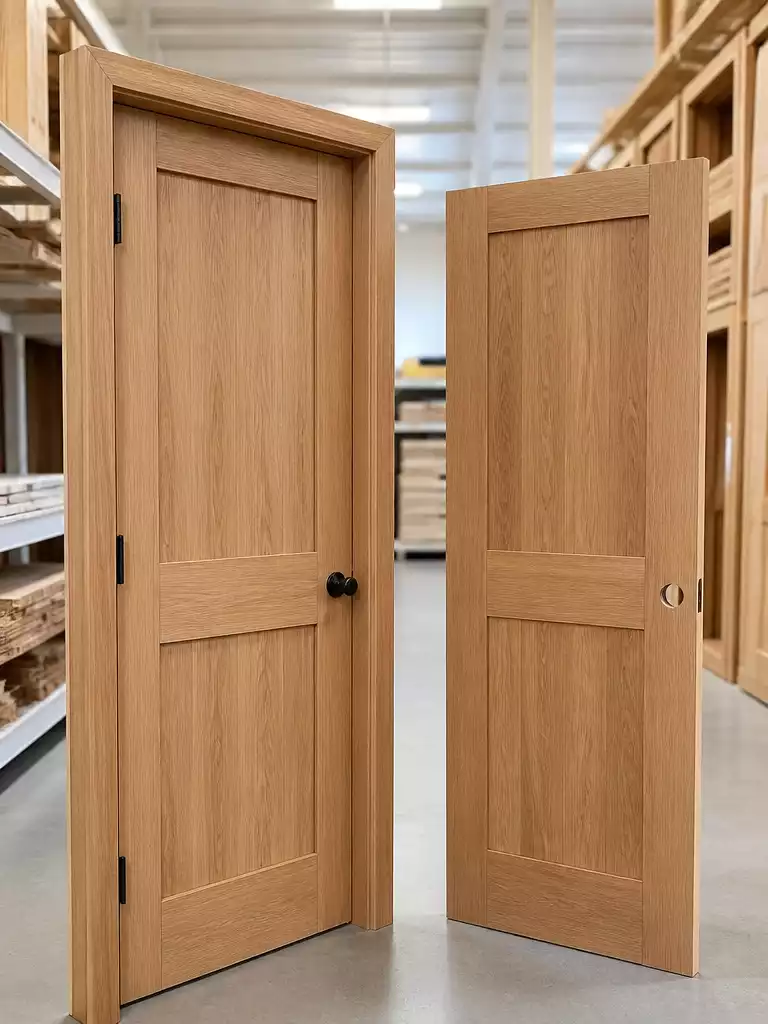
A prehung door comes as a complete system, meaning the door panel is already attached to the frame with hinges and often includes the weatherstripping and threshold. Because the door is pre-fitted at the factory, the gaps between the door and the frame are perfectly calibrated for smooth operation and energy efficiency.
The Prehung Advantage: Pros almost exclusively prefer prehung units because the factory-installed seals are far superior to what you can achieve on-site. If your current frame is showing signs of rot, is out-of-square, or has been damaged by years of weather, a prehung unit is your best path to a reliable, draft-free entry.
A slab, on the other hand, is simply the door panel itself. It does not come with a frame, hinges, or pre-bored holes for your lockset. You would typically only choose a slab if your existing frame is in perfect structural condition and you possess the high-level carpentry skills required to mortise the hinges and fit the door to the frame with extreme precision.
DIY Warning: If you do not have a reliable level, a sharp chisel, and experience with hanging doors, do not attempt a slab-only install. A slab that isn’t perfectly plumb will result in a door that won’t latch or creates significant air leaks.
Before making your final choice, evaluate the condition of your current door frame. If you see signs of decay, sagging, or if the frame no longer sits flush against your wall, a prehung unit allows you to strip away the old, failing frame and replace it with a fresh, square foundation. This approach ensures that your new door functions as a complete, airtight system from day one.
⭐ Essential Hardware for Door Installation
✨ Editor’s Pick
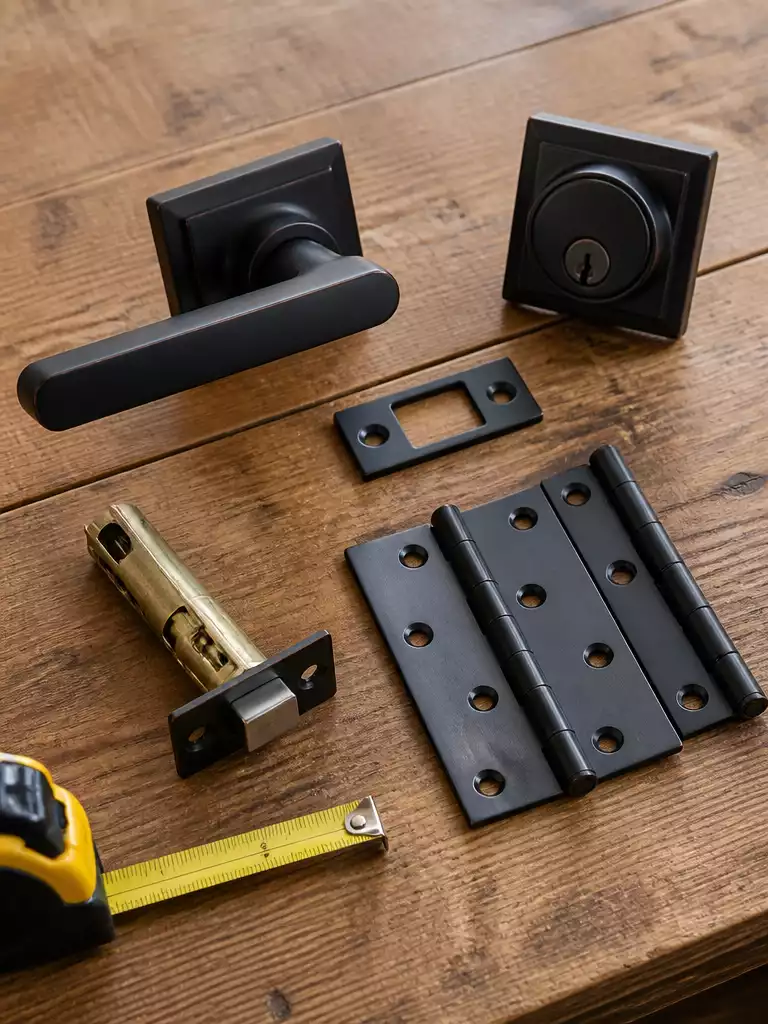
Matte Black Interior Door Hinge Set
★★★★★
Our Score: 5.0/5
These heavy-duty hinges ensure your new door operates smoothly and remains securely attached for years.
To avoid a door that binds or leaks, follow this specific order when prepping your rough opening for a new unit.
Remove trim: Strip away interior casing to expose the true stud-to-stud rough opening.
Verify square: Check that the opening is plumb and level before testing the unit fit.
Shim and seal: Use shims to secure the frame, ensuring consistent gaps before final fastening.
Structural entry choices can feel heavy because the installation is permanent, but the actual technical requirements are quite narrow. Navigating your door selection effectively comes down to identifying a few key mechanical stressors rather than obsessing over every variable.
Securing a high-performing entryway relies on prioritizing structural integrity over aesthetic tweaks, which naturally simplifies the decision process.
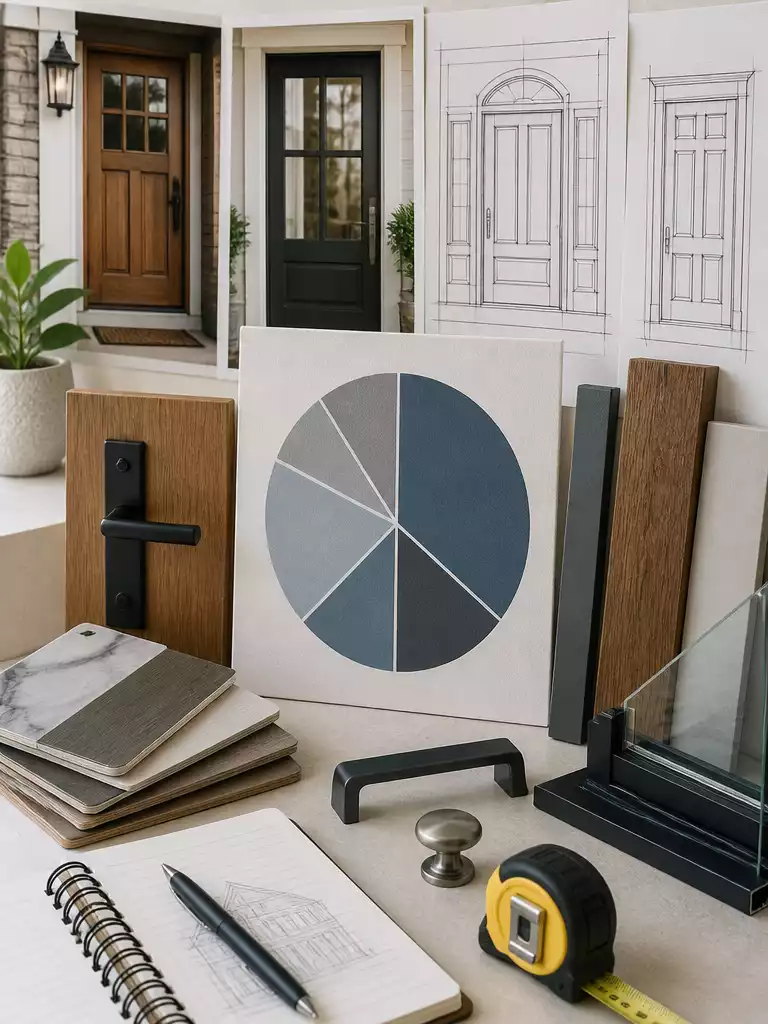
Matching the Door Style to Your Homes Character
Aligning your front door with your home’s architecture creates an instant, cohesive curb appeal boost.
When you start eyeing new doors, it is easy to get distracted by glossy catalogs and trendy hardware finishes. However, the most successful replacements rely on structural compatibility—choosing a door that actually makes sense for the frame you already have.
Forcing a design that doesn’t match your home’s existing geometry often leads to expensive, unexpected carpentry. For instance, if you fall in love with an arched Tudor-style door but currently have a standard rectangular frame, you aren’t just buying a door; you are signing up for a full-scale wall reconstruction to reshape your rough opening.
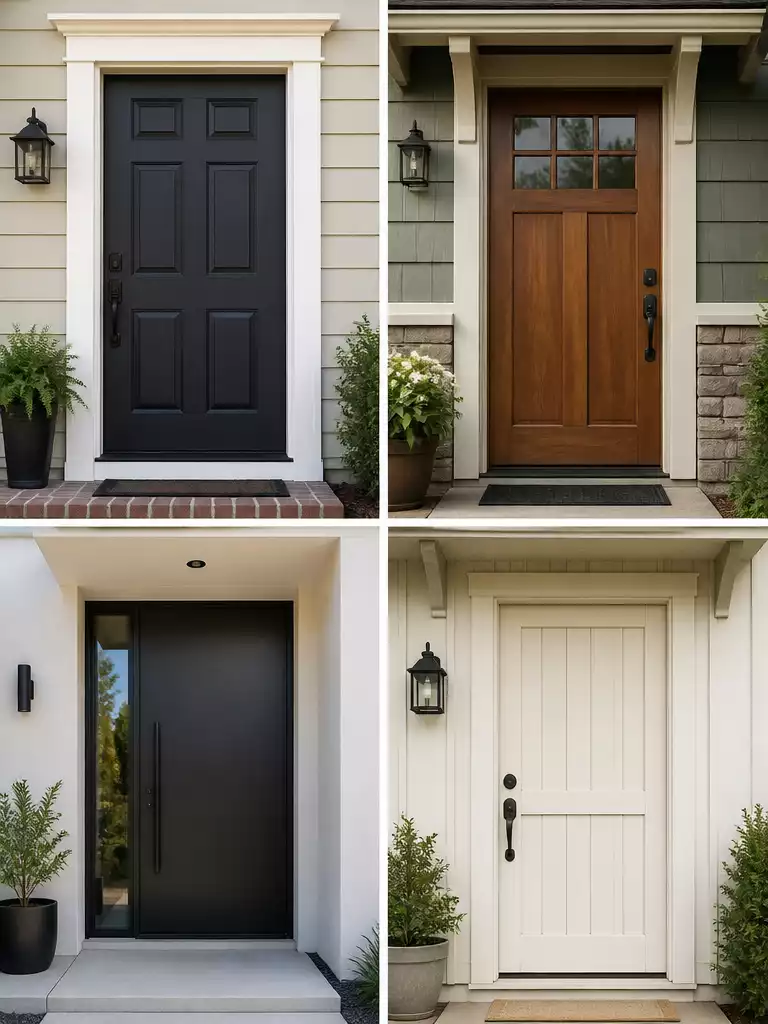
The Era Consistency Rule: Stick to the architectural DNA of your home to ensure the replacement feels intentional rather than like an afterthought. If you have a classic Colonial, a traditional six-panel door is almost always the right move, whereas a flush, minimalist door is better suited for modern aesthetics.
To keep your project on budget and stress-free, look for these common pairings that align with typical home styles:
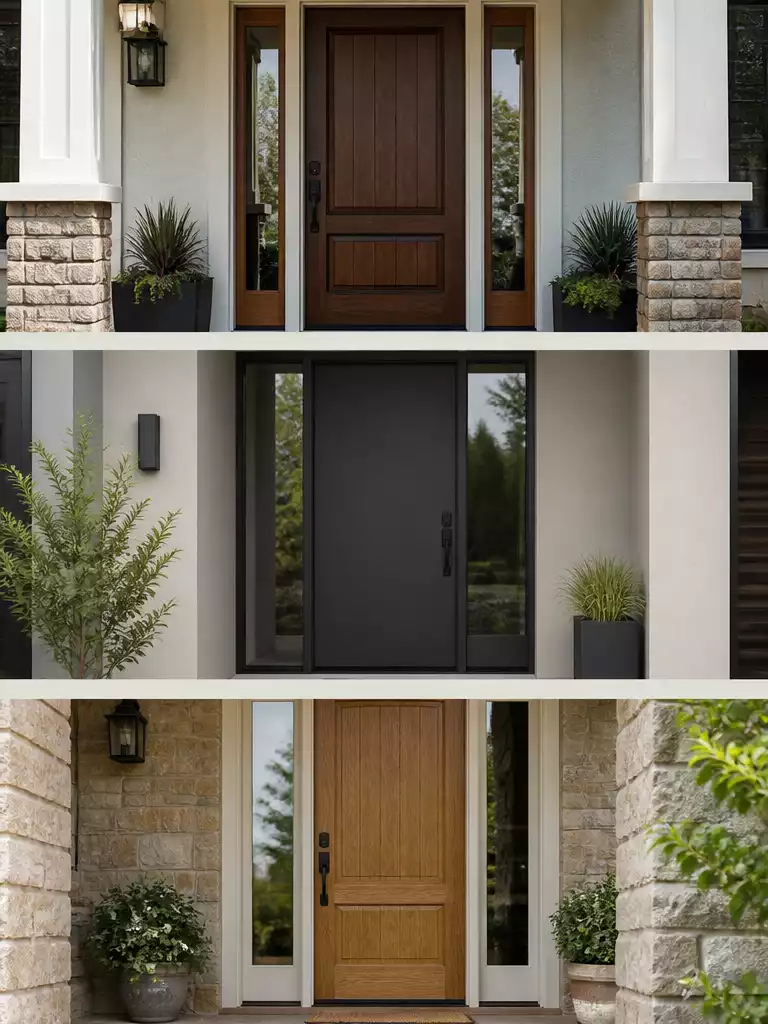
Colonial/Georgian: Look for classic six-panel designs that emphasize symmetry.
Craftsman: Focus on doors with clear glass lites in the upper third and lower recessed panels.
Modern: Prioritize clean, flush doors or those with simple, geometric glass inserts.
Farmhouse: Opt for board-and-batten textures or simple vertical paneling.
Tudor/Mediterranean: These specific styles often feature arched tops; if your home isn’t built for this, avoid them to skip the high cost of custom framing.
Warning: Don’t force a style that requires custom framing unless you’ve budgeted for a professional carpenter. Changing the shape of your entry is a major construction project that goes well beyond a simple door swap.
Beyond the door itself, try to match the door’s lines to your home’s existing roofline or window panes. If your windows have a specific grid pattern, finding a door with glass panels that echo that shape helps the entire exterior look pulled together. Keep the focus on how the door’s geometry interacts with the architecture you already own, and you will achieve a look that feels timeless rather than dated.
⭐ Entryway Mats for Your Home Character
Absorbent Narrow Space Doorway Floor Mat
★★★★★
Our Score: 5.0/5
This trim-to-fit mat protects your entryway floors while maintaining a clean, custom look for your home.
Beyond the silhouette of the door, look closely at how the hardware and glass lites interact with your home’s existing window grids or roof pitch. Matching these geometric lines—even subtly—creates a sense of visual harmony. A door that echoes the pane pattern of your nearby windows feels custom-designed rather than a generic off-the-shelf addition.
What Energy Efficiency and Weatherproofing Actually Involve
A properly sealed door keeps the comfort in and the drafts where they belong.
It is easy to focus on the look of a new door, but you are actually purchasing a complex thermal system. A door’s R-value, which measures its resistance to heat flow, is only as good as the weakest point in that system. If the door panel itself is highly efficient, that value is rendered meaningless the moment air starts whistling through the gaps around the frame.
Energy efficiency for an entry door relies on three specific points of failure. If you want a comfortable home, you have to look at these areas as a single, integrated unit rather than individual parts.
The Sweep: The seal at the very bottom of the door panel that meets the threshold; this is the most common spot for drafts to sneak in.
Weatherstripping: The flexible material lining the sides and top of the door frame that compresses to create an airtight seal when the door closes.
The Threshold: The physical barrier at the floor which must be transition-sealed to prevent moisture and air intrusion from underneath.
The 50% Rule: Even the most expensive, high-R-value door will underperform if it is installed poorly. Industry data suggests that installation quality accounts for 50% of your door’s actual energy performance; if the unit isn’t shimmed, leveled, and sealed correctly at the rough opening, you will lose energy regardless of the material you chose.
When you look at door specifications, you will often see “Energy Star” ratings. Remember that this rating applies to the entire unit, not just the slab. The frame, the glass inserts, and the factory-installed seals all contribute to that score.
Material
Typical R-Value Range
Fiberglass
R-5 to R-7
Steel
R-5 to R-6
Wood
R-2 to R-3
If you live in an area with extreme temperatures, the material choice matters for the core insulation, but never ignore the perimeter. Even a high-performance door requires proper maintenance of the weatherstripping over time, as these materials can harden or compress after a few years of seasonal expansion and contraction.
⭐ Weatherproof Mats for Energy Efficiency
✨ Editor’s Pick
Coastal Nature Coir Front Door Mat
★★★★★
Our Score: 5.0/5
This durable mat helps maintain your entryway seal by keeping debris away from your weatherproof door.
Drafts usually win when the installation sequence is rushed; follow this order to ensure your new system actually seals the home.
Shim and Plumb: Secure the frame perfectly level before driving final screws to prevent air gaps.
Insulate Perimeter: Use low-expansion foam or fiberglass batts to bridge the gap between stud and frame.
Seal Joint: Apply high-quality exterior caulk at the exterior trim-to-siding joint to stop hidden water intrusion.
Deciding on Glass Panels Sidelights and Privacy
Balance natural light and curb appeal with the right glass configuration for your home security.
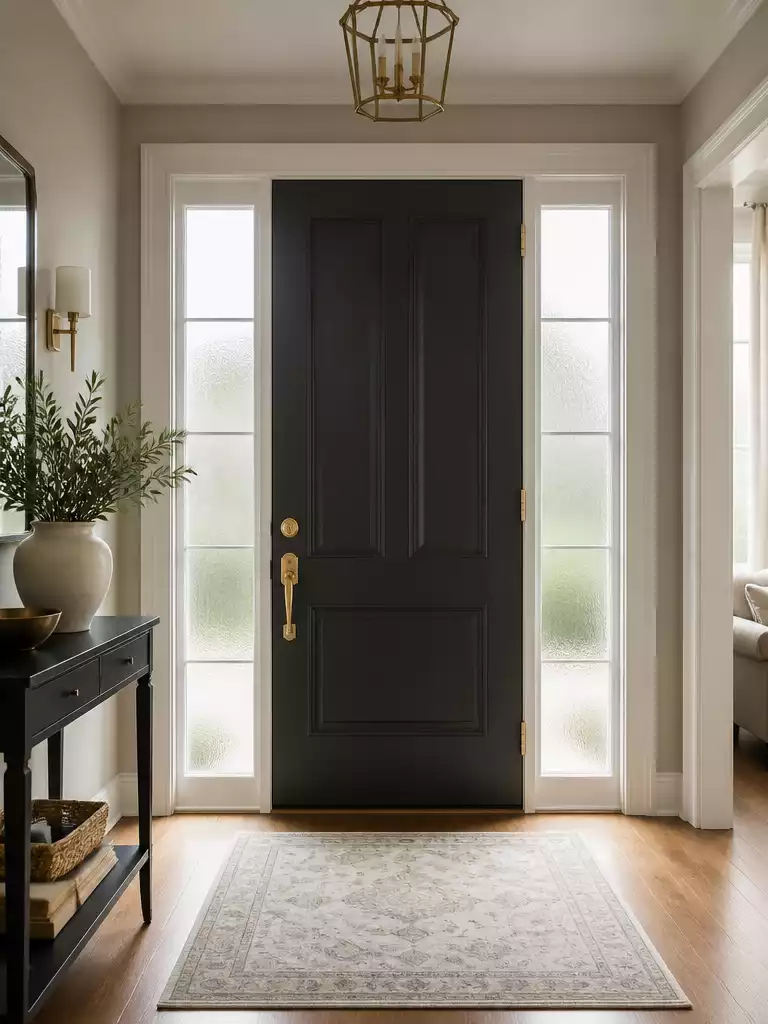
Adding glass to your entryway is a common way to brighten a dark hallway, but it fundamentally changes the security profile of your home. The weakest point in any exterior door system is the glass, as it creates an easy entry point that bypasses the strength of the door slab itself.
When you choose a design with sidelights or door glass, you are balancing the desire for natural light against the reality of home perimeter security. If you opt for glass panels near your handle or lock, you have essentially created a window that allows someone to reach through and unlock the door from the inside.
Security Alert: If you install sidelights within arm’s reach of your front door handle, you must upgrade your hardware. A high-security multi-point lock is essential here to ensure that a broken glass pane doesn’t result in an easy entry for intruders.
For those who want the aesthetic appeal of glass without sacrificing personal sanctuary, prioritize the type of glass you select. Clear glass offers no privacy, whereas obscured or frosted glass allows light to flood into your home while preventing outsiders from seeing movement or valuables inside your foyer.
When reviewing your door specifications, pay close attention to the glass construction. Safety is non-negotiable for exterior glass panels:
Tempered Glass: This is the industry standard for exterior doors; it is designed to shatter into small, dull fragments if impacted, rather than dangerous jagged shards.
Laminated Glass: This involves a thin interlayer bonded between two panes of glass, making it significantly harder to break through and providing an extra layer of security against forced entry.
Consider the trade-off carefully before you finalize your order. If you live in an area with high foot traffic or limited visibility from the street, a solid door with a small, high-placed window or a simple transom above the frame may provide the brightness you need without exposing your home’s entry points.
⭐ Decorative Mats for Glass Panel Doors
✨ Editor’s Pick
Golf Theme Rubber Backed Door Mat
★★★★★
Our Score: 5.0/5
This durable mat adds personality to your glass door entryway while keeping your floors clean.
Choosing glass is as much about light management as it is about security; selecting the right finish ensures you don’t compromise your interior comfort.
Internal Blinds: Consider integrated blinds between glass panes to easily toggle between total privacy and full daylight without adding dusty window treatments.
Decorative Grilles: Use removable or fixed internal muntins to mimic the style of your home’s existing windows, creating a cohesive visual appearance from the curb.
Planning the Hardware Lock and Handle Swap
Getting the right fit for your hardware ensures a smooth, secure, and professional entryway.
Hardware is often treated as an afterthought, but it is the primary point of contact for your home’s security and daily function. Before you commit to a specific set, you need to understand three specific measurements that dictate whether your chosen handle will actually fit your door.
The most common mistake homeowners make is buying hardware that doesn’t align with the door’s pre-drilled holes or thickness. You must verify these specs against your current setup or the door manufacturer’s requirements to avoid unnecessary drilling or returns.
The Three Hardware Essentials
Before you purchase, confirm these three technical details to ensure the hardware is compatible:
Door Thickness: Standard exterior doors are 1-3/4 inches thick, while interior doors are typically 1-3/8 inches. Always check your specific door’s leaf thickness.
Backset: This is the distance from the edge of the door to the center of the hole. The two standard options are 2-3/8 inches or 2-3/4 inches; you must match this exactly.
Cross-bore: The standard diameter for the hole drilled through the door face is 2-1/8 inches.
Handing is another critical detail often missed during the ordering process. This refers to the direction the door swings and which side the hinges are on, which you should always confirm by standing outside your home looking at the door.
Security Warning: Avoid Interior Sets
Never use “passage” or “privacy” hardware designed for bedrooms or bathrooms on an exterior door. You should always insist on ANSI-rated exterior hardware, which is built to withstand forced entry attempts and the specific rigors of outdoor exposure.
If you are replacing an existing door and want to reuse your current hardware, ensure the new door’s specs match your existing bore holes. If the new door comes pre-drilled and doesn’t match your current hardware, you will likely need to buy a new handleset to ensure the locking mechanism functions reliably.
⭐ Hardware and Accessories for Door Swaps
Custom Personalized Terrier Dog Door Mat
★★★★½
Our Score: 4.5/5
This personalized mat adds a welcoming touch to your entryway after completing your door replacement project.
Installing hardware incorrectly can damage a new door’s finish; follow this order to protect your investment and ensure a perfect fit.
Verify bore compatibility: Confirm the cross-bore diameter is 2-1/8 inches before purchasing any handleset.
Check door thickness: Measure your leaf to ensure it matches the 1-3/4 inch exterior hardware standard.
Install trial hardware: Test the latch and deadbolt movement before tightening screws to prevent binding.
Setting a Realistic Budget for the Whole Project
Planning your investment early ensures your curb appeal goals meet your financial reality.
The price tag attached to a display door at the home center is rarely the true cost of your project. When you replace an entry system, you aren’t just buying a slab; you are investing in a complete weather-tight envelope that requires hardware, potential structural repairs, and professional labor to ensure it functions as intended.
To avoid “sticker shock” mid-project, break your budget into four distinct categories. This granular approach helps you distinguish between the cost of the unit itself and the essential services required to install it correctly.
Project Component
Estimated Cost Range
Door Unit
$150 – $6,000
Entry Hardware
$40 – $500
Professional Labor
$200 – $2,400
Old Door Disposal
$25 – $250
Key Insight: The wide variance in pricing is usually driven by the complexity of the installation and the level of customization. A standard replacement in a square, sound frame will sit at the lower end of these ranges, while custom framing or high-security glass configurations will push your project toward the higher end.
When you solicit quotes from contractors, always request a written line-item breakdown. A vague “project total” is a red flag that can hide unexpected fees for things like interior trim repair or hauling away your old, heavy door unit.
If you are planning to handle the installation yourself, your budget will shift away from labor but should increase for high-quality tools and consumables. Always set aside an additional 10% of your total budget for “unknowns” discovered once the old frame is removed—such as hidden wall rot or shimming requirements that only become visible once the door is out of the opening.
Planning Prompt: Before committing to a specific door, create a simple spreadsheet listing these four categories. If your preferred door style puts you at the top of your budget, consider opting for standard, high-quality hardware rather than luxury finishes to balance the total cost.
⭐ Budget Friendly Door Upgrades
Boho Tribal Washable Small Entryway Rug
★★★★★
Our Score: 5.0/5
Refresh your entryway with this washable rug, a perfect low-cost way to upgrade your home’s aesthetic.
The total investment: Expect a range between $150 and $6,000, heavily dependent on your specific material choice and custom framing needs.
Hidden disposal fees: Don’t overlook the $25 to $250 typically charged for professional haul-away of your heavy, bulky old door unit.
Prioritize the basics: Spend more on high-quality sealing systems and exterior-grade hardware to ensure your investment actually protects you from the elements.
Knowing When to DIY and When to Hire a Pro
Assessing your skill level helps prevent costly structural setbacks and ensures a weather-tight fit.
Deciding between a weekend DIY project and bringing in a professional comes down to the structural integrity of your current opening. If your existing frame is in perfect condition and your new door is an exact size match, you might be in the clear for a DIY install, provided you have the right tools like a level, drill, saw, and shims.
However, the biggest hurdle for any installer is ensuring the unit is square, plumb, and properly sealed against the elements. If your frame is tilted, rotted, or otherwise out-of-square, a simple “swap” quickly becomes a complex construction project requiring frame demolition and rebuilding.
The Professional Threshold
You should strongly consider hiring a pro if you notice your opening is out of square or if you need to perform significant structural work on the wall to accommodate the new frame. Projects involving sidelights, custom glazing, or irregular opening shapes also require a level of precision that is difficult to achieve without professional carpentry experience.
If you proceed with a DIY approach, remember that the quality of your installation execution is what determines your long-term energy efficiency. Even a high-end door will leak air and let in moisture if the shimming is uneven or the weatherstripping isn’t perfectly engaged with the frame.
Assessment Factor
DIY Capable
Hire a Pro
Frame Condition
Perfectly square/intact
Rotten or out-of-square
Door Type
Standard size, direct swap
Custom size/sidelights
Required Tools
Level, drill, shims, saw
Full carpentry shop
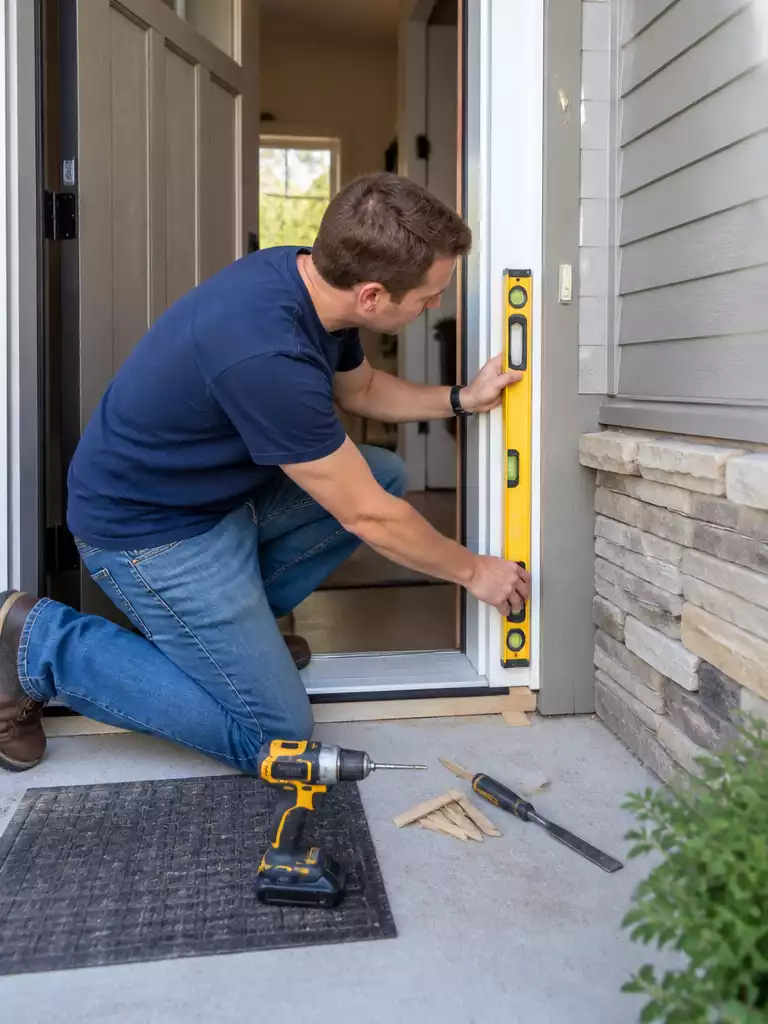
Before committing to the work, verify your opening is plumb by checking the frame with a long level in multiple spots. If you find significant gaps or the door frame leans, rethink the DIY plan to avoid the frustration of a door that won’t latch or seal properly.
⭐ DIY Door Installation Essentials
✨ Editor’s Pick
Custom Liner Mat Accessories For Trucks
★★★★★
Our Score: 5.0/5
These durable liners help you organize small hardware components during your DIY door installation project efficiently.
Disposal handling: Does your quote include the removal and legal disposal of my old door unit?
Site preparation: How do you plan to handle potential rot or hidden damage discovered once the trim is removed?
Warranty terms: Does your labor warranty cover seal adjustments if the door experiences seasonal swelling or binding issues later?
Preparing the Opening on Installation Day
Getting the frame perfectly prepped ensures your new door seals tight and swings smoothly.
Installation day is less about the door itself and more about the structural integrity of the space surrounding it. Before you even think about lifting the new unit into place, you need to clear the slate by removing the old door entirely.
Start by removing the door slab from its hinges, followed by the interior casing or trim. Once that trim is off, you will see the actual “rough opening”—the space between your wall studs where the new frame needs to sit.
The Test-Fit Rule: Before you apply any caulk or permanent fasteners, place your new unit into the opening to check for plumb and squareness.
If the frame doesn’t sit flush against the subfloor or isn’t perfectly vertical, you will need to use shims to adjust it until the door swings without dragging.
Take the time to measure the rough opening again now that the old frame is gone. You are looking for consistent measurements from top to bottom and side to side, and you should check the diagonals to ensure the entire opening is square.
If you find that your opening is significantly out of square or that the surrounding studs are rotted, stop immediately. Attempting to force a new prehung unit into an opening that isn’t structurally sound will result in a door that leaks air or fails to latch properly within a few months.
Installation Day Checklist
✅ Clear the area: Remove all interior trim and hardware from the old frame.
✅ Examine studs: Inspect the exposed wood for signs of rot or moisture damage.
✅ Test for square: Use a level to ensure the sill is flat and the side studs are vertical.
✅ Verify clearance: Ensure the subfloor is level; if it dips, you may need to shim the threshold.
Once you are confident the opening is ready, ensure you have your shims and a high-quality exterior-grade sealant on hand. A properly shimmed frame is the difference between a door that feels solid and secure and one that rattles every time the wind blows.
⭐ Preparing Your Door Opening
✨ Editor’s Pick
Funny Welcome Doormat For Home Decor
★★★★★
Our Score: 5.0/5
Keep your entryway clean and welcoming while you work on your door replacement project today.
Following this specific order prevents the common frustration of a door that won’t latch or seal, saving you from repeating the entire process.
Dry-fit the unit: Place the door into the rough opening to verify clearance before applying any sealants.
Shim and level: Use shims at hinge locations to ensure the frame is plumb and the reveal is even.
Fasten and seal: Secure the frame into the studs and apply exterior-grade caulk to bridge the gap between frame and wall.
Sealing Finishing and Painting the New Door
Protect your investment with a professional-grade finish that guards against the elements.
You have made it to the final stage of your project. Finishing your door is not just about aesthetics; it is the final line of defense against moisture, sunlight, and temperature changes that can compromise your new door’s lifespan.
Whether you are staining a wood door or painting fiberglass, the goal is to create a complete protective barrier. If you leave any part of the door exposed, you are essentially inviting the elements to get inside the material.
The Six-Sided Rule: You must finish every single side of the door. This includes the top edge, the bottom edge, the hinge side, the latch side, and both the exterior and interior faces. Moisture trapped in an unfinished bottom edge is the most common cause of premature door failure.
When it comes to the actual application, consistency is your best friend. Follow these steps to ensure a long-lasting finish:
Match your systems: Use the same manufacturer’s primer and topcoat system whenever possible. Mixing different brands can lead to poor adhesion or chemical reactions that ruin the finish.
Apply in layers: Aim for at least one coat of high-quality exterior primer followed by two full coats of exterior-grade finish. Allow for proper drying time between each step according to the manufacturer’s technical data.
Protect the hardware: Remove the lockset and handle before you start. It is much easier to paint a clean surface than to try and tape off intricate hardware shapes.
Warning: Never paint over your weatherstripping or door sweeps. The paint will cause the material to stick, crack, or fail to seal properly against the frame. Carefully remove these components or tape them off with precision before you begin your painting process.
Finally, before you re-install your hardware, take a moment to apply an exterior-grade caulk to any joints or seams around the glass inserts or decorative trim. This moisture-sealing step prevents water from wicking into the door panel during heavy rain. Once everything is dry and the hardware is back in place, you can be confident that your door is ready to withstand the seasons.
⭐ Finishing Touches for Your New Door
✨ Editor’s Pick
DIY Personalized Stepping Stone Craft Kit
★★★★★
Our Score: 5.0/5
Create custom garden stones to display near your new door with this fun, creative craft kit.
Beyond the main coat, the small details prevent water intrusion and bridge the gap between a DIY look and a factory-finished install.
Caulk application: Seal the seams between glass inserts and the door panel with exterior-grade caulk to prevent water wicking.
Hardware alignment: Reinstall handles and locks only after the final coat has fully cured to avoid finish damage or sticking.
With all twelve points on the table, you can now evaluate your entrance with full technical clarity. Prioritize the one or two structural fixes that dictate performance and security, as these will define the longevity of the installation far more than the aesthetics.
When you choose a door based on these core requirements, you remove the stress of second-guessing your investment. Focus on the foundational needs first, and the curb appeal follows naturally.