

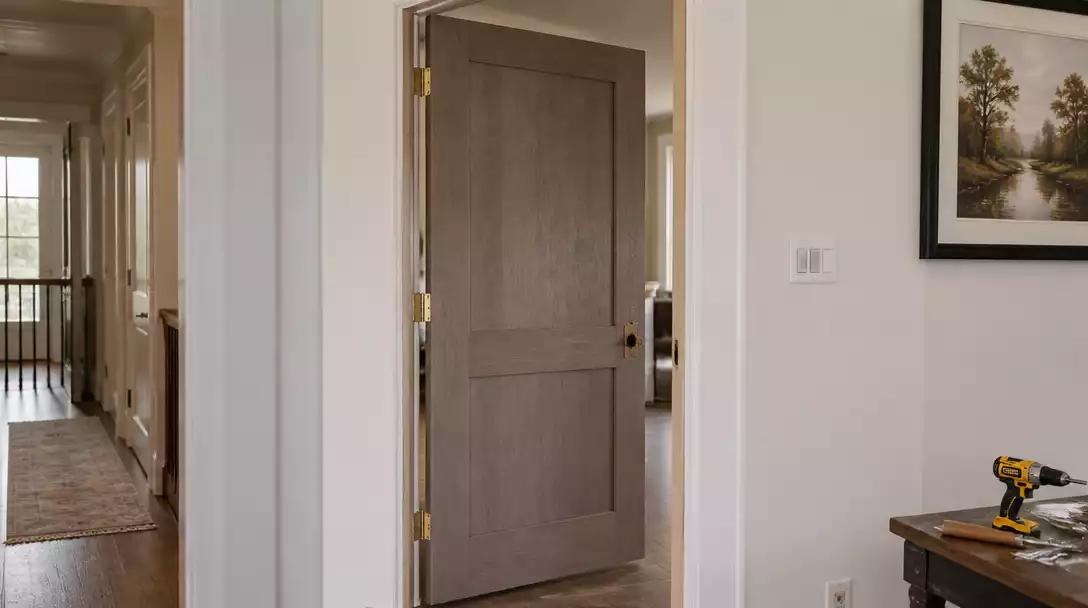
Choosing the right interior door is a high-stakes decision that dictates your home’s privacy and long-term value. This guide filters down to 12 technical criteria worth your attention so you can avoid costly mistakes and finalize your choice with confidence. Let’s start with your room’s specific needs.
Why Room Function Changes the Choice
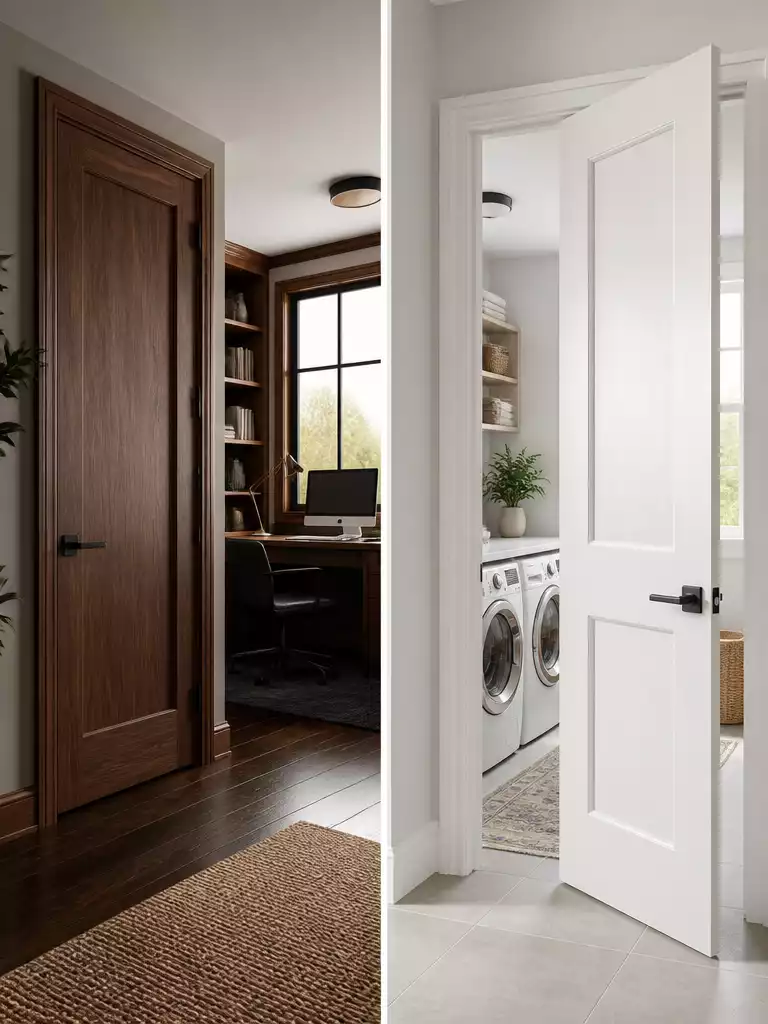
Aligning door performance with room purpose ensures lasting privacy and operational efficiency.
As an Amazon Associate I earn from qualifying purchases. Affiliate links may earn me a commission at no extra cost to you.
The most common error homeowners make is treating every interior door as an aesthetic choice rather than a functional tool. Installing a lightweight hollow-core door on a home office often leads to instant regret when every sound from the hallway carries directly into your meetings.
You need to view your home through a Function-First hierarchy. Rooms like bedrooms and offices require high sound attenuation, while closets and utility spaces prioritize budget and air circulation.
The Room Function Matrix
- High Privacy (Bedrooms/Offices/Bathrooms): Solid-core construction is mandatory. Focus on achieving an STC rating of 30-35 to ensure speech becomes unintelligible from the outside.
- Active Traffic (Living Areas/Hallways): Durable finishes and solid construction withstand frequent handling and heavy daily use.
- Passive Storage (Closets/Utility): Hollow-core doors reduce project costs significantly without sacrificing visual cohesion.
Warning: The Hollow-Core Mismatch
Using a hollow-core door for high-privacy areas creates a “sound bridge” that ruins the utility of the room. If speech privacy is a requirement, skip the budget-friendly honeycomb interiors and invest in the density of a solid-core door.
Once you categorize your rooms, you create a clear roadmap for where to invest your budget and where to conserve it. This intentional approach ensures that your home functions as well as it looks.
⭐ Top Products for Room Function
Matte Black Heavy Duty Door Hinges
Gold Palm Leaf Bathroom Floor Mat
⚖️ Quick Decision Guide: Matching Core to Room
- Choose solid-core if: You need to block hallway noise or create a genuine sanctuary for focused work or sleep.
- Skip solid-core if: You are outfitting a simple hall closet where weight and extra cost add no functional benefit.
- Pair it with: Quality weatherstripping and a door sweep to seal the gaps, ensuring the door’s mass actually stops sound.
Measuring the Opening Correctly
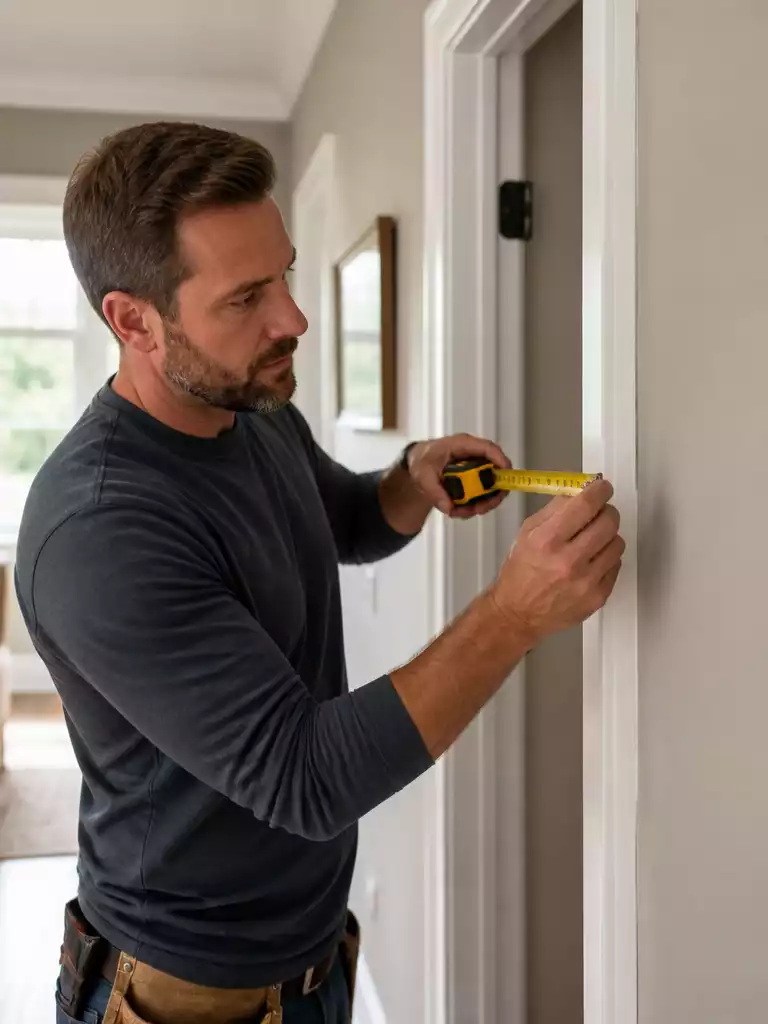
Precision at the frame level ensures your new door fits perfectly without expensive returns.
If you measure the door slab instead of the rough frame, you have effectively lost half the progress of your project already. Most homeowners incorrectly measure the existing door itself, ignoring the fact that the frame—or the opening behind the trim—is the true foundation of a successful install.
The Measurement Trap: Never measure the decorative trim casing around the door. Always expose the actual wood jamb or the rough opening behind it to ensure your numbers reflect the structural reality, not the aesthetic surface.
To get it right, you must employ the Smallest Measurement Rule for every opening. Measure the width of the frame at the top, the middle, and the bottom, then use the lowest of those three numbers as your definitive width.
Repeat this same process for the height of the opening. Using the smallest measurement protects you from buying a door that will bind or refuse to close because your house has settled over time.
Measurement Checklist
- Width: Measure at the top, middle, and bottom; record the smallest figure.
- Height: Measure at both sides and the center; record the smallest figure.
- Rough Opening: This must be exactly 2 inches wider and 2 to 2.5 inches taller than your desired nominal door size.
- Wall Thickness: Check your wall thickness at six different points around the jamb to ensure it is perfectly flush.
Remember that the frame is rarely perfectly square, especially in older homes. If you find significant variations in your measurements, it is a clear sign that you should opt for a prehung door rather than a slab, as the prehung unit comes with its own new, square frame.
Taking this extra time to verify your dimensions eliminates the frustration of trying to force a door into a space that simply won’t accommodate it. When you arrive at the showroom with these three-point measurements in hand, you ensure your first purchase is the final one.
⭐ Measuring the Opening Correctly
Front Opening Wooden Kids Artwork Frame
Microwave Activated Heat Pad for Pets
📋 What to Check First
- Check for plumb: Use a level on the hinge-side jamb to ensure it’s perfectly vertical, preventing future door sag.
- Verify wall thickness: Ensure your door jamb matches the wall depth, including drywall, to avoid costly trim extensions.
- Check floor clearance: Measure the distance from the subfloor to the top of your finished flooring to ensure smooth door operation.
Swing Clearance and Traffic Flow
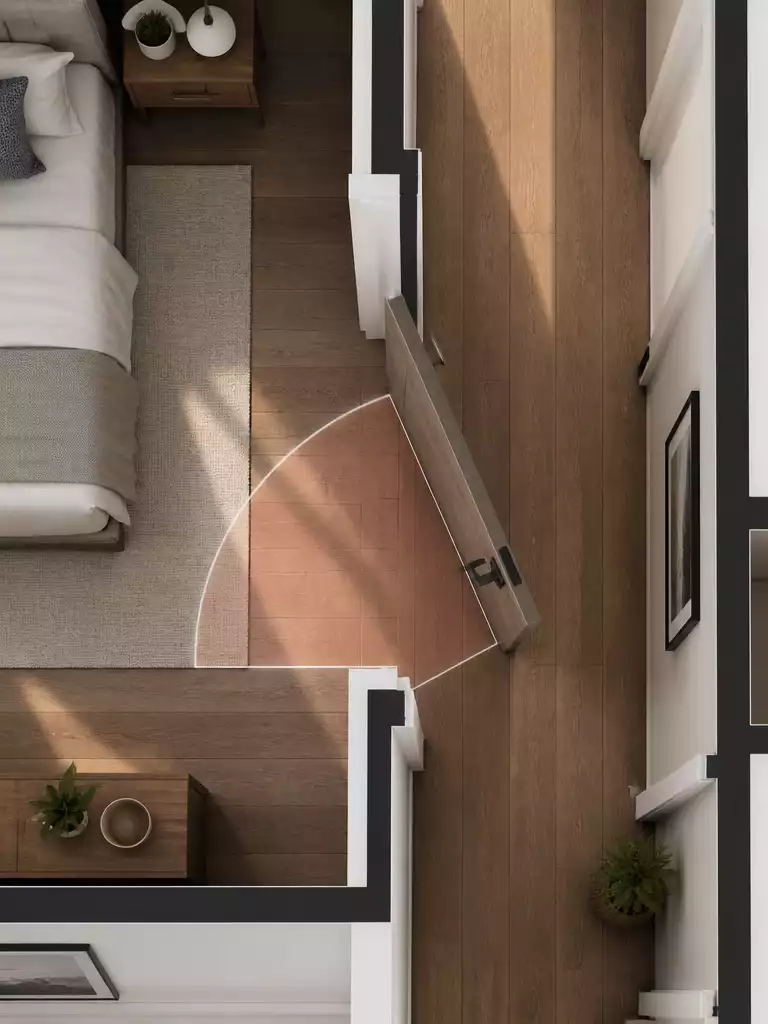
Map your door’s path before you buy to ensure your room remains functional.
Most homeowners focus on the look of a door slab while ignoring the spatial footprint it creates. You are essentially gifting a portion of your square footage to the door’s swing, rendering that floor space entirely unusable for furniture or storage.
Before you commit to a specific opening, visualize the “dead zone” where the door travels. If a dresser or side table sits within that arc, you will be unable to open the door fully, or worse, you will constantly ding your furniture every time you enter the room.
The Painter’s Tape Method
Before purchasing, use painter’s tape to outline the full swing arc on your floor. This simple step reveals exactly where your furniture will conflict with the door’s path, saving you from a layout nightmare after installation.
You must also account for hallway dynamics when selecting door sizes. A standard rule of thumb is that your hallway width should equal the width of the door plus 36 inches of clear passage space.
Don’t forget to check for light switch interference. If your door swings toward a wall where a switch is located, you might find yourself trapped in the dark while trying to reach behind the door to flick the light on.
- Latch-side clearance: Ensure you have at least 18 inches of wall space on the latch side of the door; 24 inches is preferred for optimal comfort.
- The 90-degree reality check: Open your current door to 90 degrees and confirm it doesn’t block critical access points or existing electrical outlets.
- Traffic flow: In high-traffic areas like kitchens or entryways, ensure the door opens away from the most common path of movement to avoid collisions.
If your room is too tight for a standard swinging door, consider a pocket door or barn door configuration to reclaim that lost floor space. These alternatives eliminate the swing arc entirely, providing a much higher degree of flexibility in how you arrange your room.
⭐ Swing Clearance and Traffic Flow
Heavy Duty Entrance Way Door Mat
Maze Pattern Rubber Entry Door Mat
Large Rubber Mat for Double Doors
🏡 Real-Home Application
- Furniture placement: Measure the depth of existing baseboards, as they can prevent doors from opening fully to 90 degrees.
- Daily traffic: Ensure your door swing doesn’t trap you against a wall or block essential secondary egress paths.
- Living space: Use door stops to protect drywall and prevent handle damage in high-traffic areas prone to heavy use.
Solid Core Versus Hollow Core
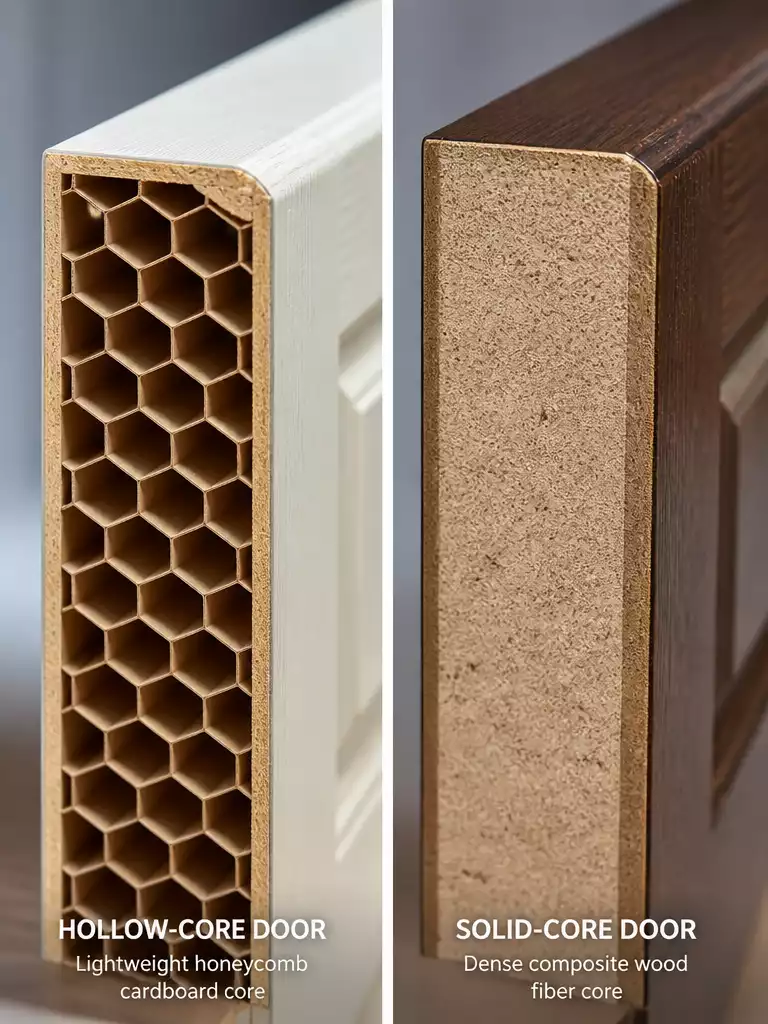
Choosing the right core material balances your need for long-term durability and quiet privacy.
It is not just about the weight of the door—it is about the silence it brings to your home. Selecting between a hollow-core and a solid-core door fundamentally changes how a room performs, especially regarding sound dampening and daily wear.
Hollow-core doors are the industry standard for rooms where privacy is a secondary concern. They feature a honeycomb cardboard interior that makes them incredibly lightweight, usually weighing between 25 and 30 pounds.
The Thump Test
If you are in a showroom, give the center of the door a quick, firm knock. A hollow-core door will sound thin and echoey, while a solid-core door will feel substantial and offer a dull, solid thud that signals quality density.
Because of their simple construction, hollow-core doors are budget-friendly, typically priced between $50 and $150. They serve their purpose well for closets, pantries, or laundry rooms where you do not need acoustic isolation or heavy-duty impact resistance.
Solid-core doors, by contrast, are constructed from compressed wood fibers or solid timber. Weighing in at 60 to 80 pounds, they provide a much higher level of sound dampening and structural integrity.
Investing in solid-core doors is a strategic move for primary bedrooms and home offices. They offer a tangible sense of value and significantly improve the privacy of your most active living spaces.
While the upfront cost of $200 to $500 per door is steeper, the 30-plus year lifespan makes them a wiser choice for long-term home value. Avoid the temptation to save money here if you are trying to block sound from a bustling household.
⭐ Solid Core Versus Hollow Core
Monogram Extra Large Coir Door Mat
Letter C Monogram Coir Door Mat
Oversized Blank Coir Front Door Mat
Stepping back to evaluate performance ensures your investment delivers long-term utility rather than just a fleeting aesthetic update. Exploring thoughtful door choices helps distinguish between components that require high-end durability and those where simpler options suffice.
Prioritizing structural integrity in high-traffic areas creates the foundation for a home that functions reliably for decades.
Privacy and Sound Requirements
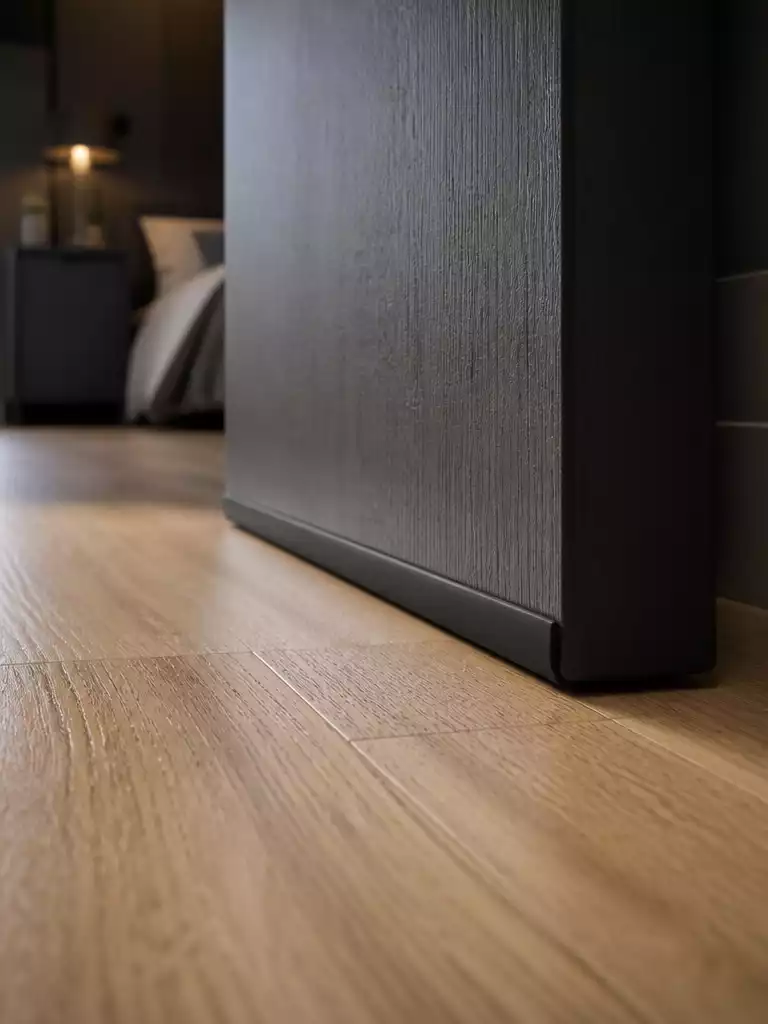
Block out unwanted noise with precise sealing to reclaim your home’s quiet sanctuary.
A heavy, solid-core door is only effective if it creates a proper seal against the frame and floor. Even the densest material will fail to provide privacy if sound waves can travel through the gaps around the perimeter.
Sound behaves like water. It will find the smallest opening to escape, turning a high-end, expensive door into a simple room divider rather than a true acoustic barrier.
To evaluate how well a door handles noise, look for the Sound Transmission Class (STC) rating. This system measures how effectively a door stops sound from passing through.
For home offices and bedrooms, aiming for an STC of 30 to 35 is your target for maintaining speech privacy. However, that rating assumes a perfectly sealed installation.
You must prioritize these two elements to ensure the door performs as intended:
- Door Sweeps: Install a high-quality rubber or silicone bottom sweep to close the gap between the door slab and the finished floor.
- Weatherstripping: Apply adhesive-backed compression seals around the top and side jambs to ensure the door closes with a tight, airtight fit.
Avoid the “Air-Tight” Trap: While you need a seal for sound, the door must still be able to swing freely without binding against the frame. Over-installing thick weatherstripping on a frame that isn’t perfectly square can cause the door to stick or fail to latch completely.
⭐ Privacy and Sound Requirements
Wildflower Spring Welcome Door Mat Set
Letter B Monogram Coir Door Mat
Coastal Nature Coir Front Door Mat
🏡 Real-Home Application: Quiet Zones
- Test the seal: Close the door on a piece of paper; if you can slide it easily, your privacy seal is ineffective.
- Check floor transitions: Ensure your door sweep doesn’t drag on high-pile carpets, which can cause premature wear and binding issues.
- Keep it seamless: Paint your weatherstripping or choose a color that matches the frame so the acoustic hardware disappears into your decor.
Light Needs and Glass Options
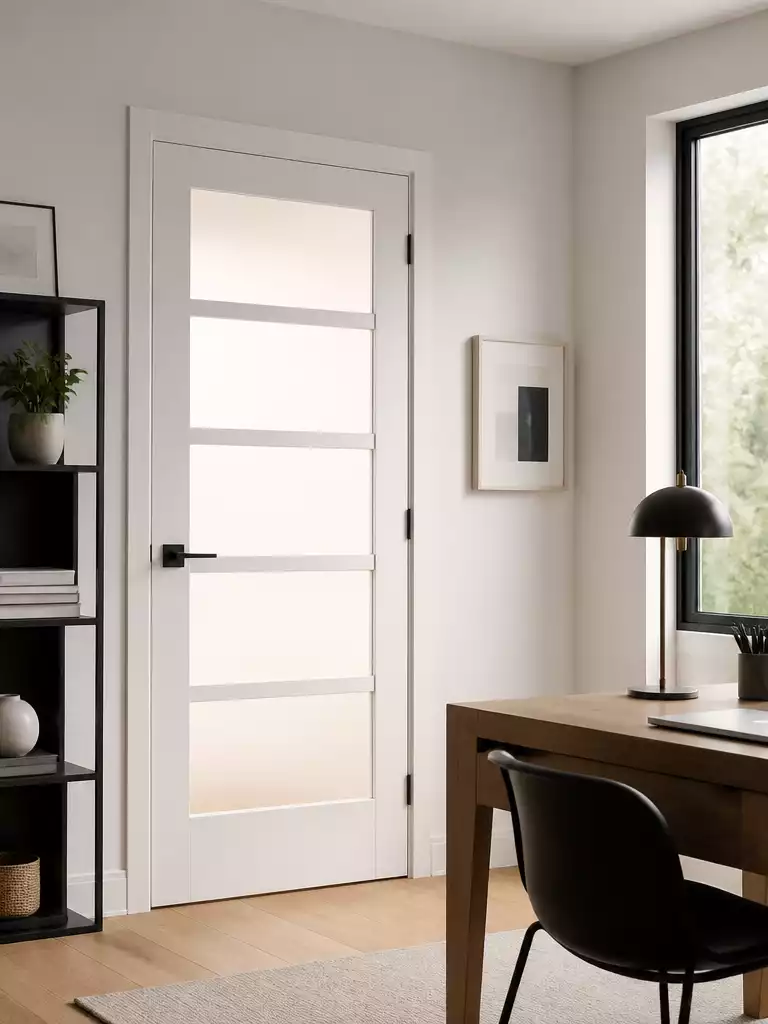
Bring light into dim hallways while keeping your personal space completely private and secure.
Glass inserts can change the entire mood of a dark hallway or cramped interior space. Choosing the right level of opacity ensures you get that desired brightness without turning your private room into a display case.
If you are working with textured glass, remember the directional privacy rule. Always install the textured side of the glass facing the room that requires the most privacy, such as a bathroom or primary bedroom.
Pro Insight: White laminate is widely considered the gold standard for interior doors. It provides a clean, modern aesthetic that allows light to filter through while completely obscuring any view of the room behind it.
Use glass doors for high-traffic areas like kitchens or connecting hallways where you want to borrow light from adjacent spaces. I recommend avoiding glass entirely for bathrooms or guest rooms where sound and sight privacy are the top priorities.
⭐ Light Needs and Glass Options
Suction Cup Dog Lick Feeding Mat
🏡 How This Works in a Real Home:
- Handle fingerprinting: Use matte-finish glass or pattern-pressed textures in high-use areas to hide constant smudges from family members.
- Borrowed light: Install a transom-style window above the door in windowless hallways to maximize natural light flow without compromising door-level privacy.
- Strategic placement: Always position your glass door so it opens against a wall, preventing the view from being accidentally exposed to common living areas.
Matching Existing Trim and Casing
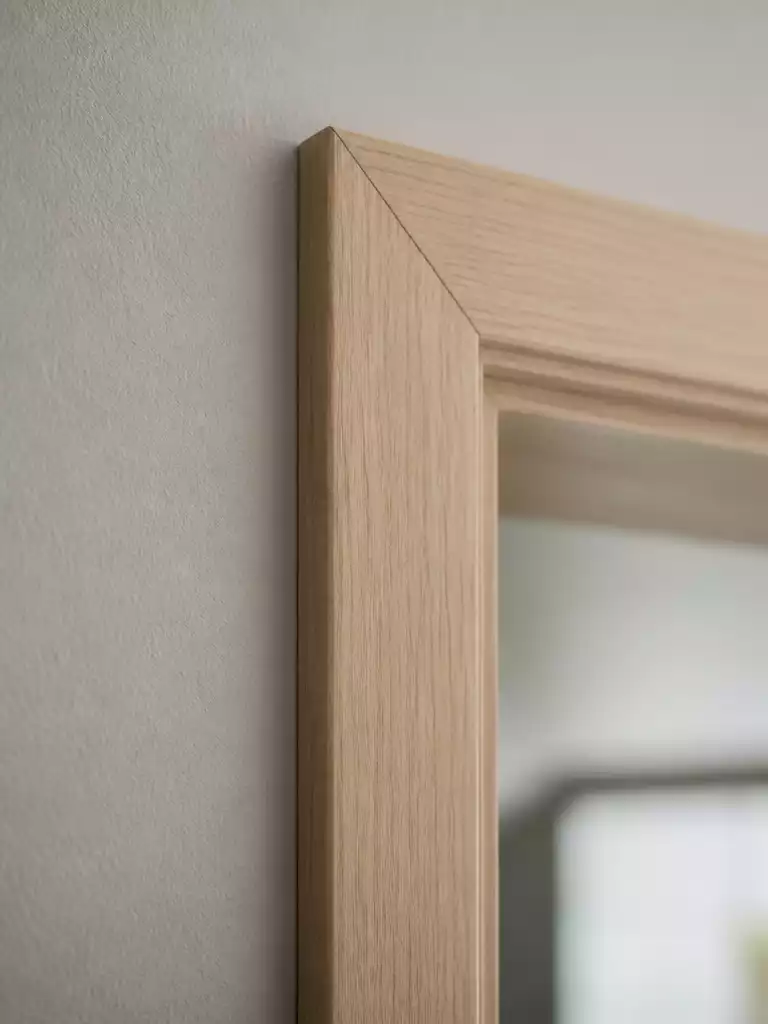
Achieve a cohesive look by harmonizing your door casing with your home’s architectural scale.
The most expensive door in the world looks like a mistake if the trim doesn’t match the house. Bringing a new door into an existing space requires more than just picking a color; it demands a careful study of your current woodwork styles.
Pro-Tip: Never rely on digital photos for color or profile matching. Always bring a physical scrap of your existing trim to the showroom to compare it against the new casing samples.
When selecting your trim, width is the most common factor that makes or breaks the transition. Standard trim widths typically range from 2 ¼” to 3 ½”.
You also need to prioritize material consistency to avoid finishing inconsistencies. Mixing MDF trim with solid wood doors can lead to different paint absorption rates and visual discrepancies.
Following this simple checklist will help you avoid costly renovation regret:
- Cut a small 2-inch piece of your current casing to serve as your reference sample.
- Check the profile depth to ensure the new casing will sit flush against your existing wall face.
- Confirm if your home uses finger-jointed pine or MDF, as mixing these materials can affect the final painted finish.
⭐ Matching Existing Trim and Casing
Custom Rubber Interior Trim Liner Set
Black Picture Frame with Plexiglass Cover
Three Piece Memory Foam Bathroom Rug
✨ Small Details That Matter
Beyond the width and material, how you finish the transition between the casing and the wall surface defines the professional quality of the installation.
- Caulk application: Use high-quality paintable acrylic caulk to hide the seam where the casing meets the drywall for a seamless look.
- Nail hole repair: Fill all nail heads with wood filler, sand them smooth, and verify the texture matches before applying your final paint coat.
Hardware and Latch Selection
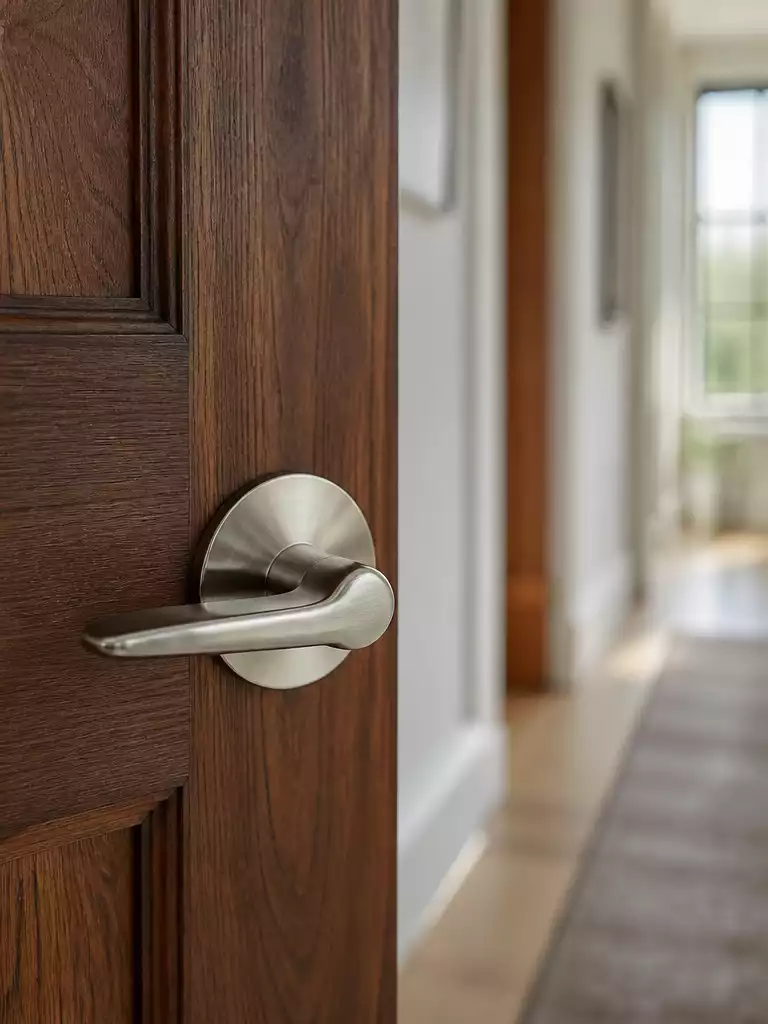
Selecting the right hardware transforms how you interact with your home every single day.
The door serves as the stage for your hardware, but your latch choice dictates how the room functions. Before you head to the showroom, you must understand the technical requirements that ensure a smooth installation.
Always check your existing bore hole size before purchasing new handlesets to avoid expensive and frustrating redrilling of your doors. Most standard doors feature a 2 ⅛-inch bore hole.
You will generally choose between two types of functionality based on the room’s purpose. Privacy (F76) sets are essential for bedrooms and bathrooms, while Passage (F75) sets are perfect for low-traffic areas like closets or hallways.
Consider lever handles over traditional knobs for better accessibility. They are significantly easier to operate for children and elderly family members who may struggle with a standard rotating knob.
Quick Checklist for Hardware Success:
- Measure your current backset (the distance from the edge of the door to the center of the bore hole).
- Identify if you need a dummy set for inactive double doors.
- Confirm your door thickness, as standard hardware is designed for 1 ⅜-inch doors.
For inactive doors, such as the secondary door in a pair, use dummy handlesets. These provide a consistent look across the room without the need for a latching mechanism.
⭐ Hardware and Latch Selection
Funny Quote Indoor Welcome Door Mat
⚖️ Choose the Right Version
- Choose levers if: You want a universal, accessible design that remains effortless for guests of all ages.
- Skip levers if: You have high-traffic hallways where clothing or bag straps frequently snag on protruding handles.
- Pair it with: Matching hinge finishes to create a cohesive, custom look that ties the entire door together.
Prehung Versus Slab Doors
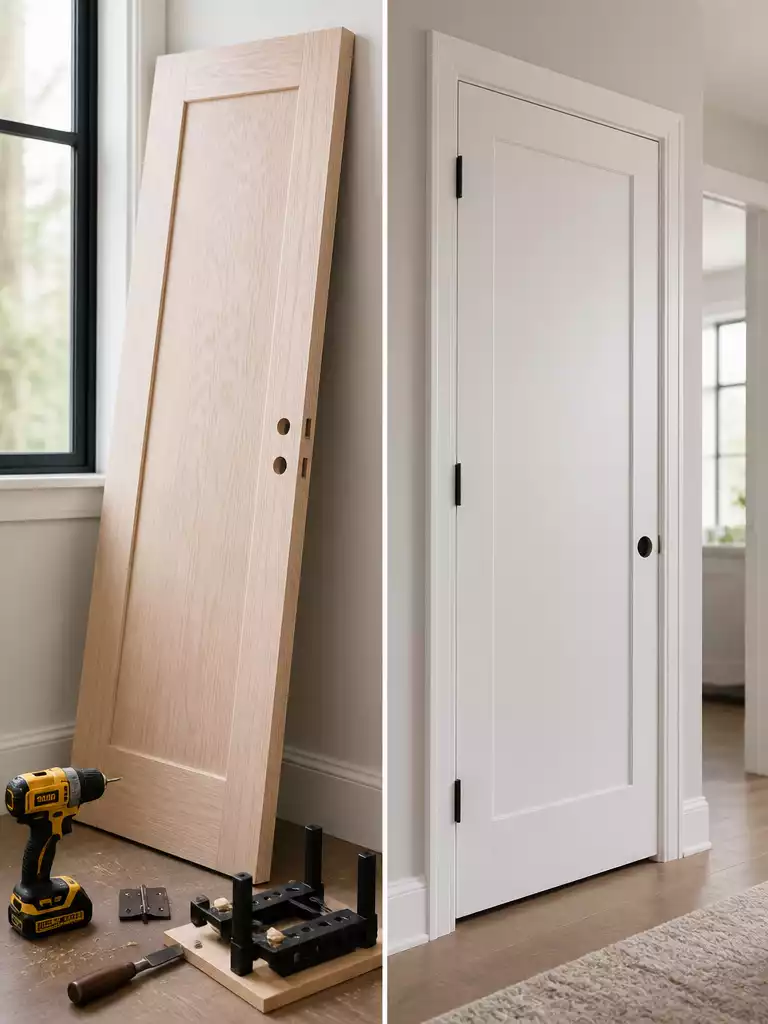
Choosing the right format determines whether your project is a quick win or a headache.
Deciding between a slab and a prehung door boils down to one question: are you simply replacing the door panel, or does the entire opening need attention? A slab door is just the door itself, while a prehung door arrives as a complete system including the door, hinges, and frame already attached.
A slab door is an economical choice if your existing frame is in perfect condition and perfectly square. However, installing a slab requires advanced skill, as you must precisely mortise the hinges and drill for the latch yourself.
The Frame Squareness Test
Before buying a slab, measure the frame diagonally from corner to corner. If the two measurements differ by more than 1/8 inch, the frame is not square, and a slab will likely bind or fail to close properly.
Prehung doors are the standard choice for new construction or when you are dealing with damaged or rotting frames. Because the door is already hung in its own frame, the installation is much faster and bypasses the most complex carpentry steps.
If you choose to use a slab, ensure you have the correct tools to handle hinge mortising and bore hole alignment. When you opt for a prehung unit, you gain a perfectly aligned system that saves significant labor time, making it the preferred choice for most home renovation projects.
⭐ Prehung Versus Slab Doors
Ultra Thin Narrow Space Bath Mat
🔢 The Right Sequence
Installing a door requires a specific flow to ensure it operates smoothly without needing costly adjustments or frustrating re-drilling later on.
- Assess the existing frame condition and measure the opening at three distinct points.
- Choose your door type based on whether the frame is perfectly square or damaged.
- Install the frame and door as a system, then finalize hardware and casing adjustments.
Humidity and Warping Concerns
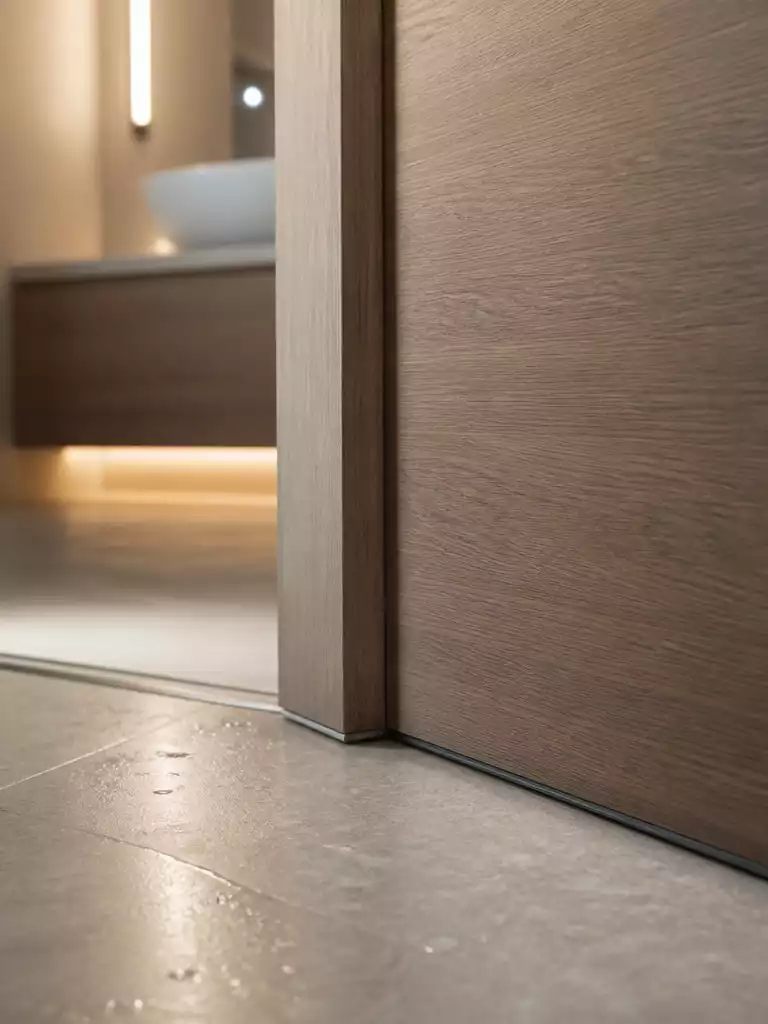
Protecting your door from bathroom steam preserves its shape and ensures smooth operation for years.
In a bathroom or laundry room, an interior door acts as a vital shield against humidity rather than just a simple privacy barrier. Moisture is the primary enemy of standard wood doors, often leading to swelling, warping, and eventually, a door that sticks or fails to latch entirely.
The MDF Warning
Standard MDF doors are highly susceptible to moisture absorption. If the finish or edge seal is compromised in a humid environment, the material will swell and lose its structural integrity rapidly.
To keep your doors functional in damp areas, you must commit to the 6-Side Seal Rule. This involves applying a high-quality sealant to the top, bottom, and side edges of the door slab before installation.
The 6-Side Seal Rule
- Apply sealant to all edges, especially the bottom, which is most prone to moisture wicking.
- Ensure the hardware cutouts are also sealed to prevent water from entering the core.
- Use a marine-grade or high-moisture-rated finish for maximum protection.
If you are planning a renovation in a high-humidity zone, selecting the right base material is a better strategy than relying on sealants alone. Materials like Fiberglass, Vinyl, and WPC (Wood Plastic Composite) are engineered to resist moisture without the risk of warping.
When selecting your materials, aim for a moisture content range of 6–8% for stability. Investing in these specialized materials now prevents the recurring cost and frustration of replacing a door that has bowed out of its frame.
.
🛠️ Quick Steps for Moisture Protection:
- Check moisture levels: Before installing, verify the wood or composite has a stable moisture content of 6–8%.
- Seal hardware cutouts: Apply finish inside latch and hinge bores to stop water from entering the core.
- Select resilient materials: For high-steam bathrooms, prioritize fiberglass or WPC to eliminate the risk of long-term warping.
Budget Planning and Installation Costs

Break down your costs early to avoid the surprise of hidden installation fees.
The sticker price of the door is often just the beginning of your financial commitment. When you look at the total investment per opening, you can expect to spend between $362 and $1,235.
Labor typically accounts for approximately 50% of your total project cost. If you are hiring a professional, ensure you account for the removal and disposal of your old doors, which usually adds $40 to $80 per unit.
Hidden extras are where many renovation budgets unravel. You must factor in the cost of hinges, jambs, casing, and quality hardware when calculating your final number.
Planning Tip: While prehung doors carry a higher material cost, they often save you money on labor compared to fitting raw slabs. Always compare the total installed price rather than just the price tag on the door itself.
If you choose to handle the installation yourself, remember to budget for tools and potential mistakes. A small buffer in your budget allows you to source the right hardware or trim if the initial pieces don’t align with your existing home architecture.
⭐ Budget Planning and Installation Costs
Large DIY Latch Hook Rug Kit
💰 What This Really Costs: A Reality Check
- The total investment: Budget between $362 and $1,235 per opening to cover the door, hardware, and professional labor.
- Hidden disposal fees: Don’t overlook the $40 to $80 charge per door for removing and hauling away old materials.
- Value of prehung: While prehung materials cost more, they often reduce total labor time to 1–2 hours per door.
Mistakes That Lead to Replacement

Getting the clearance right during installation prevents future floor damage and expensive door replacements.
The most frequent reason homeowners end up replacing a door shortly after installation is a simple floor clearance oversight. If you don’t account for the thickness of your flooring, the door will either drag against the surface or leave an unsightly, drafty gap.
Follow these standard clearance rules to ensure your door operates smoothly without damaging your floor or the door bottom:
- Carpeted floors: Plan for 1/2 inch of clearance to allow the door to swing over the pile without snagging.
- Tile or hardwood floors: A 3/8 inch gap is typically the sweet spot for a clean, professional finish.
The Frame Squareness Warning
Never skip the diagonal measurement test before finalizing your installation. If your frame is even slightly out of square, a factory-cut door will bind immediately, leading to chipped paint and difficult operation.
Hinge alignment is another common culprit for premature sagging. If the hinges aren’t perfectly flush or if the screws aren’t properly reinforced into the frame, the weight of the door will eventually pull the top hinge out of alignment.
Before you commit to a purchase, use this quick Pro-Check list to avoid a return trip to the store:
- Measure the existing door slab at three points—top, middle, and bottom—and always purchase based on the smallest value.
- Verify your hinge locations match the existing frame exactly if you are attempting a slab-only replacement.
- Check the wall thickness at six different points around the frame to ensure your new jamb will sit flush against your drywall.
If your existing frame shows signs of rot or serious warping, stop and pivot to a prehung unit. Trying to force a new slab into a compromised frame is a recipe for long-term frustration that almost always results in a complete replacement later.
.
💡 Practical Steps That Prevent Rework:
- Diagonal Frame Test: Measure the frame diagonally in both directions; a difference over 1/8 inch indicates a non-square frame requiring adjustment.
- Hinge Shim Strategy: Use thin cardboard shims behind hinges to fine-tune alignment, preventing the door from sagging and rubbing against your frame.
- Dry-Fit Hardware: Test fit your latch and strike plate before hanging the door to ensure the bore holes align perfectly with the jamb hardware.
With all twelve technical factors laid out, the path to a functional, high-performance home is much clearer. Focus your attention on the room-specific requirements—like noise control or moisture resistance—rather than trying to optimize every single door to the same standard.
Most rooms only demand one or two key upgrades to perform correctly for decades. By prioritizing those specific needs, you ensure your interior door choices provide lasting value and consistent quality, allowing the rest of the home to fall naturally into place.




