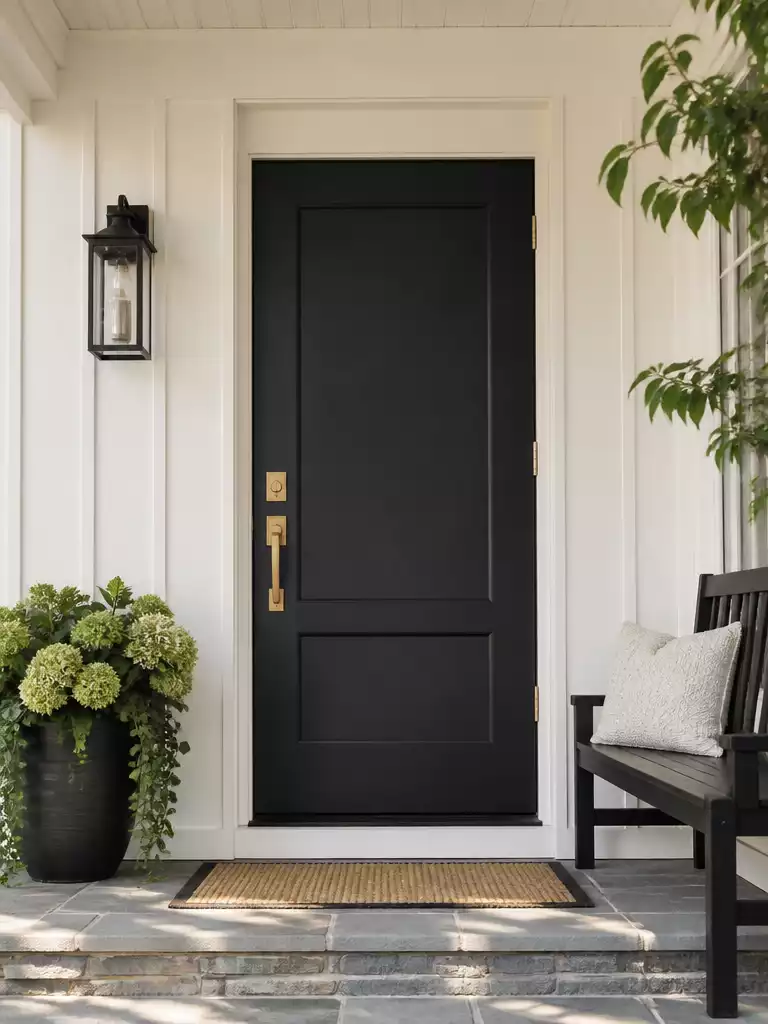
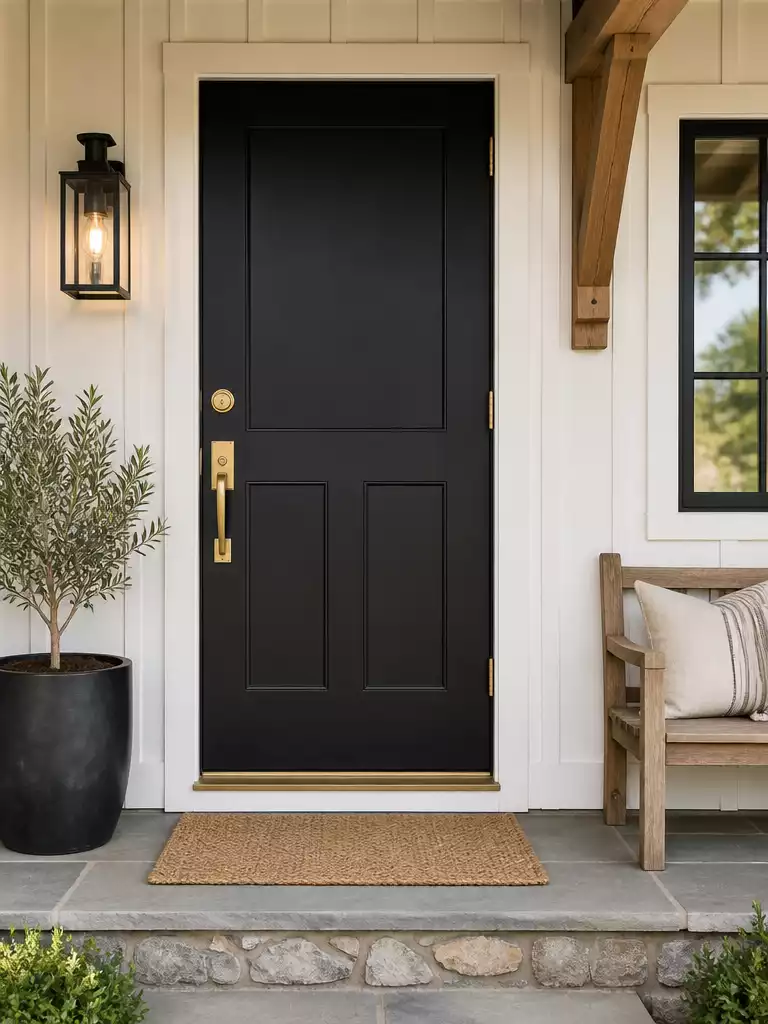
Achieving a flawless black front door is notoriously difficult because dark pigments magnify every imperfection. This technical guide masters the factory-smooth finish by focusing on surface tension and leveling rather than expensive sprayers. Forget the DIY streaks; here is the 12-step sequence for a mirror-like entryway.
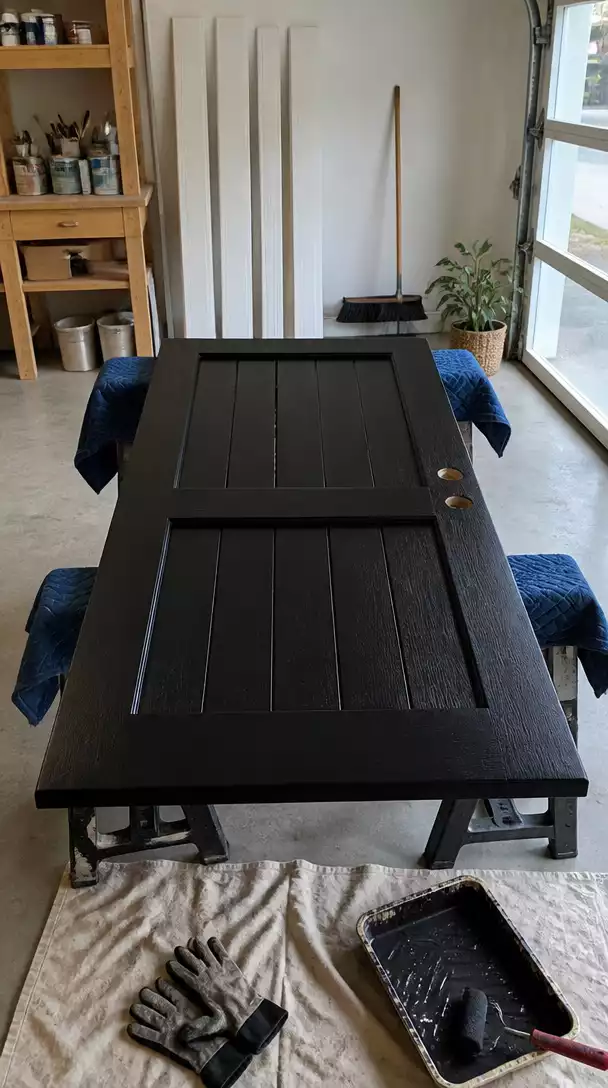
Remove the Door From the Hinges
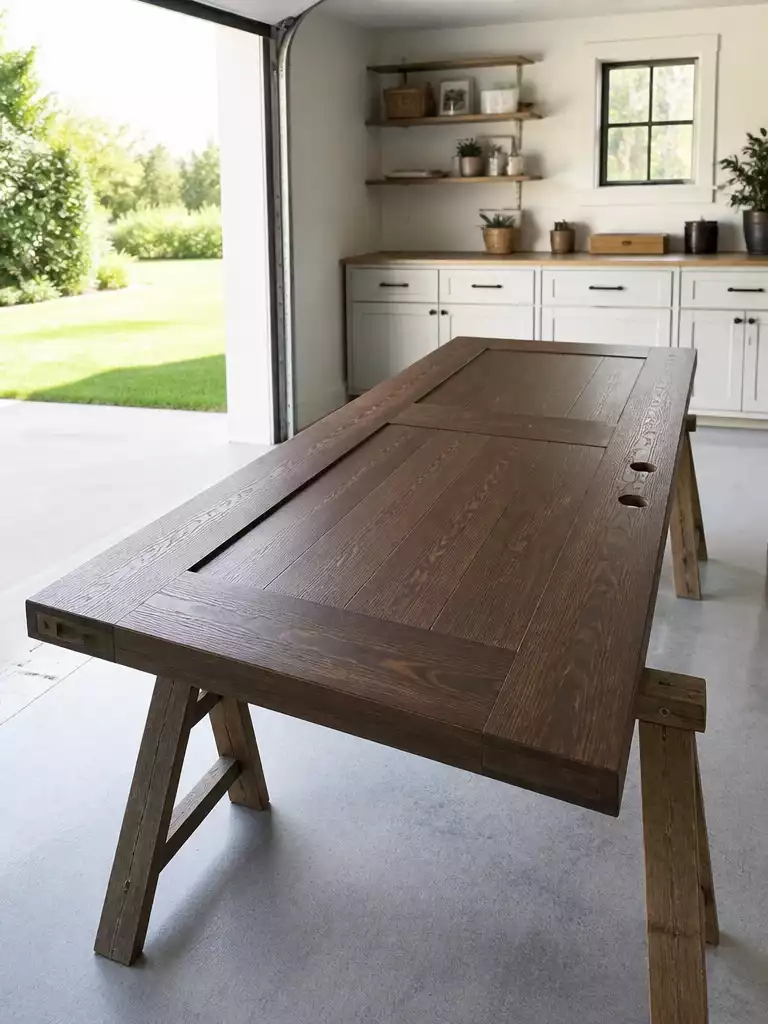
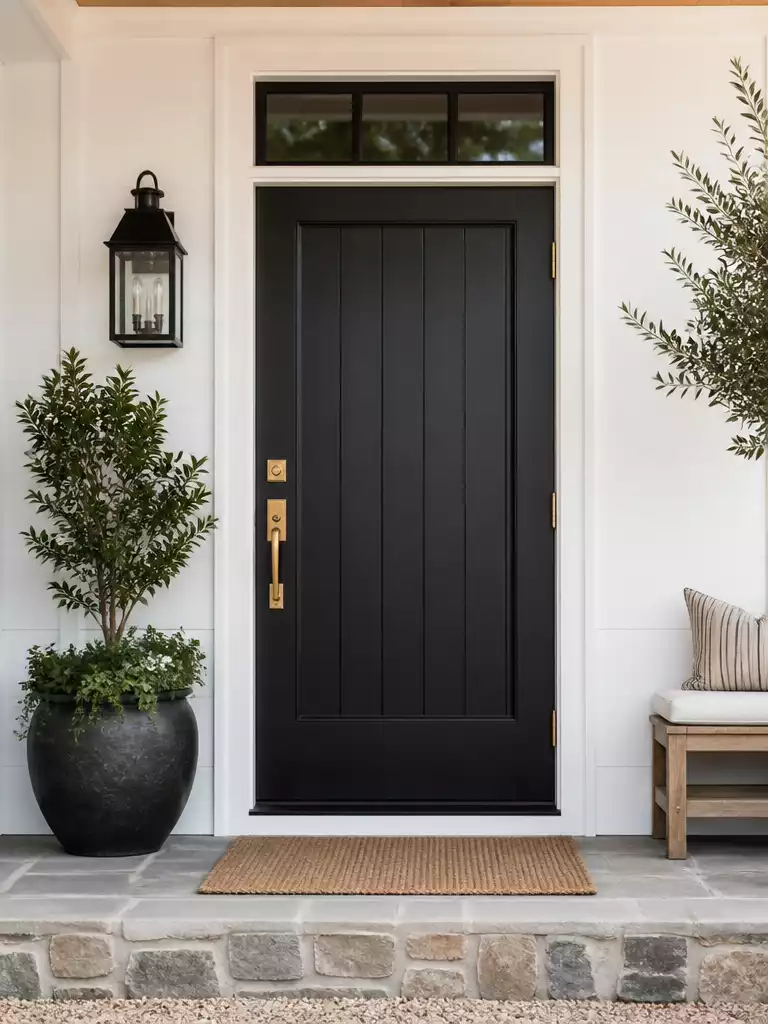
Laying your door flat prevents sagging and ensures a sleek, drip-free black finish.
As an Amazon Associate I earn from qualifying purchases. Affiliate links may earn me a commission at no extra cost to you.
Black paint has a heavier pigment load that sags on vertical surfaces: Because black paint’s pigments are denser, applying it on a door hung upright often leads to curtaining, where paint drips settle in recessed panels and ruin the finish. By removing the door and laying it flat on padded sawhorses, you create a stable leveling plane that lets the paint’s self-leveling resins settle smoothly, mimicking liquid in a glass and preventing sagging.
Label hinge screws carefully for easy reinstallation, and avoid painting outdoors on windy days to prevent dust contamination. Removing hardware like locksets, weatherstripping, and the bottom sweep prevents the dreaded “halo” effect—where the original trim color peeks through edges—ensuring flawless coverage.
This step is best for homeowners ready to invest time and effort for a polished result. If your schedule doesn’t allow door removal or you have heavy security hardware, this may not be worth the hassle. A detached door setup typically requires minimal additional tools but takes roughly $20 in supplies like towels for padding. Remove your door for a full weekend project to guarantee that your black paint won’t sag or drip, setting the stage for a streak-free finish.
.
📋 What to Check First Before Removing Your Door:
- Door Weight & Size: Confirm your door isn’t too heavy or oversized to safely lift and set on sawhorses alone.
- Hinge Screw Placement: Check the type and length of hinge screws to avoid stripping or damage during removal.
- Workspace Clearance: Ensure enough room indoors or in a garage for horizontal painting without dust or wind interference.
Clean and Degloss the Surface
Removing invisible oils and grime ensures paint lays flat without bubbling or beading
Liquid Deglossers and TSP Clean Deep Grease: Hand oils and grime are the invisible saboteurs causing black paint to fish-eye or bead up. Using a liquid deglosser chemically opens the surface pores far better than soap alone, prepping it for adhesion. Follow that with Tri-Sodium Phosphate (TSP) to strip wax and grease residues that ordinary cleaners miss, especially in tight muntin corners where buildup hides and poisons the finish.
Oils from furniture sprays like Pledge are a hidden trap—if present, wipe down the door with mineral spirits before painting, or expect delamination within six months. Focus scrubbing around the handle and muntins with a green abrasive pad to target those 90-degree angles where dust and oils accumulate stubbornly.
This step is right for anyone committed to a long-lasting door finish but should be skipped if you’re unwilling to invest the hour and roughly $20 cost of TSP and liquid deglosser—cutting corners here risks peeling paint and costly redo jobs. Proper cleaning extends the life of your finish well beyond the typical 5-10 years seen in premium urethane alkyd paints.
.
💡 Practical Tips That Work:
- Use lint-free cloths: Swap paper towels for new microfiber rags to avoid leaving fibers behind on the door’s surface.
- Focus on crevices: Spend extra time scrubbing muntins and corners where grime hides and paint failure often starts.
- Test for residue: After cleaning, wipe a small area with water; if it beads up, repeat TSP cleaning before priming.
Sand Smooth and Tack Off Dust
A flawless black door starts with mastering a silky smooth, dust-free surface.
The door to skip if you want a true sprayed finish: Even the slightest bump or leftover dust becomes painfully obvious with high-gloss black paint. Begin with 150-grit sandpaper to level any drips or rough spots, then follow with 220-grit to dull the sheen from shiny to a uniform cloudy texture. This creates the perfect “tooth” for primer and helps avoid dreaded orange peel or texture from previous paint jobs.
One small but game-changing detail is to use 220-grit sanding sponges on curved moldings, ensuring every crease is consistently smooth without flat spots. Before using a tack cloth, vacuum the entire door with a brush attachment to pull away larger grit and dust. The tack cloth’s role is to remove microscopic particles—this meticulous dust removal is what sets apart a streaky DIY job from a mirror-like finish.
This sanding approach is perfect for homeowners who aren’t afraid to invest time and patience; it pays off with a black door that looks polished and professional for 5-10 years. Skip it if you need a quick weekend project or have pets that kick up dust constantly—any surface debris trapped under paint will be magnified by black’s unforgiving nature. The extra effort here is the only way to beat streaks without spray equipment.
.
🛠️ Practical Tips That Work:
- Sanding Technique: Use slow, even strokes with light pressure to avoid gouging or uneven spots on the door’s surface.
- Tack Cloth Use: Always unfold a clean section of the tack cloth when dusting to trap the maximum amount of fine particles.
- Humidity Awareness: Sand and tack off indoors on a low-humidity day to minimize airborne dust and accelerate dust settling.
Apply a Bonding Primer
A properly tinted primer builds a flawless foundation for a smooth black finish.
Deep Gray Primer Cuts Coats and Camouflages Scratches: Avoid white primer under black paint; instead, get your primer tinted to a rich battleship gray. This trick reduces the number of black topcoats needed and hides inevitable future scratches. Opt for a urethane-modified primer labeled High-Bond or Stix, which firmly adheres to slick factory finishes on metal or fiberglass doors. Patience is key—let the primer fully dry to prevent solvent trap bubbles under your paint layer.
Since standard primers struggle to grip glossy surfaces, using a strong bonding primer tailored for factory finishes is non-negotiable. For example, a typical door treated with a gray-tinted bonding primer will require one less topcoat, saving both time and paint. Skipping this can easily cause paint peeling months later, especially around edges and hardware recesses.
This step is perfect for homeowners committed to a durable, flawless black door finish and willing to invest around $30–$50 for a quality primer. If you want a quick fix or your door is heavily weathered or warped, skip it—this primer is designed for smooth, factory-finished surfaces and won’t mask major imperfections. For anyone aiming for that mirror-like sprayed look, this primer is the foundation that sets every other step up for success.
.
🛠️ Primer Application Tips That Make a Difference:
- Uniform Coverage: Apply primer evenly with a high-quality foam roller to avoid thick spots that dry unevenly.
- Edge Attention: Use a synthetic brush to carefully coat edges and recessed moldings where peeling often starts.
- Dry Time Check: Wait until the primer is completely matte and hard before sanding or topcoating to ensure full adhesion.
Taking these first crucial steps sets a solid foundation, and that effort truly reshapes the final look. Each detail you refine now gently reduces challenges later, easing your path forward. This approach values thoughtful progress over rushing, helping you stay calm and focused as you move ahead.
✨ Keep This in Mind:
- Use angled light to reveal imperfections—try the shadow light trick before painting.
- Maintain balanced humidity to help paints level properly and dry smoothly.
- Respect the surface by avoiding touching it after dust removal for a flawless finish.
- Fresh microfibers make a subtle but important difference in cleaning.
Choose a Self-leveling Paint
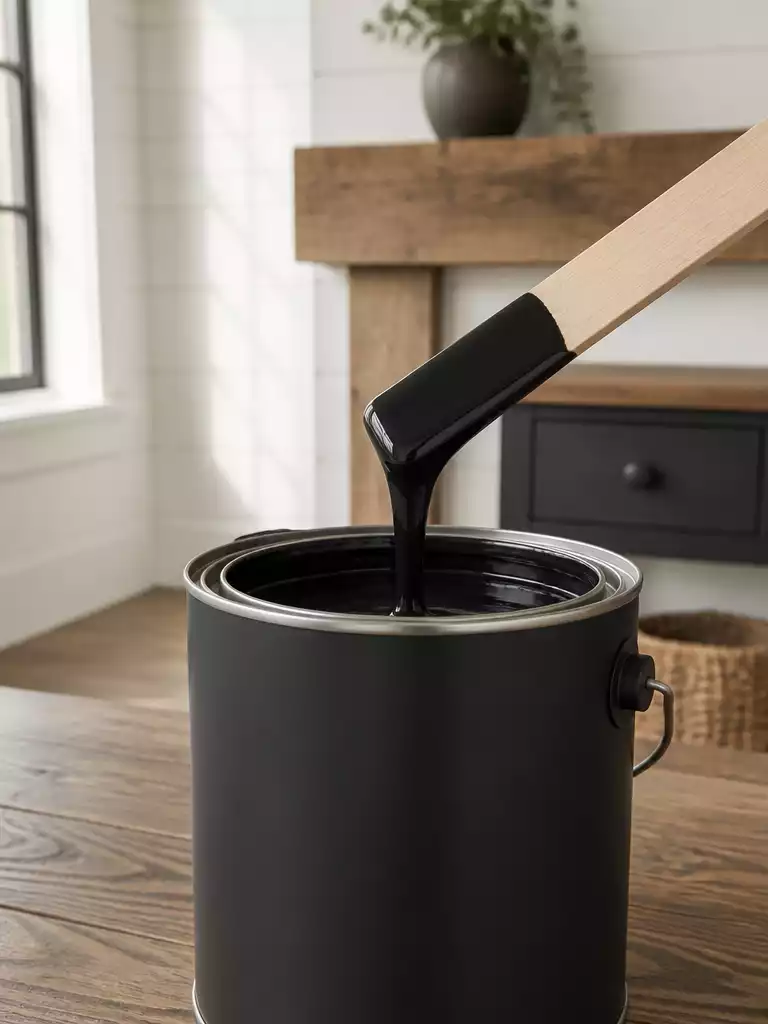
Select waterborne alkyd enamel for a smooth, brush-mark-free satin black finish
Self-Leveling Paint with Longer Open Time: The key to that factory-fresh black door lies in choosing waterborne alkyd enamels, which flow like oil-based paints but clean up with water. This chemistry lets brush marks melt back before the paint skins over, ensuring a streak-free surface. Opt for satin sheen; it’s forgiving under light, unlike high gloss which reveals every imperfection.
Benjamin Moore Advance and Sherwin-Williams Emerald Urethane Trim Enamel are proven picks, favored by pros for their self-leveling properties. The satin finish reduces glare, so minor flaws don’t jump out, making the finish feel like it was sprayed rather than brushed.
This approach suits homeowners who want a durable, hand-applied finish that lasts 5 to 10 years without the hassle of spray equipment. Skip this if you want a cheap latex paint under $30—those show brush marks every time. Investing around $40–$50 per quart on these enamels is worth it for the flawless, mirror-like black door finish you’re aiming for.
.
💡 Practical Tips That Work:
- Test Open Time: Stir a small amount of paint and apply a quick brush stroke to check if the paint levels before skimming.
- Thin Consistency: If paint feels thick, thin slightly with manufacturer-recommended water to maintain flow without losing opacity.
- Store Properly: Keep unused paint sealed airtight and in a cool place to preserve its self-leveling qualities for touch-ups.
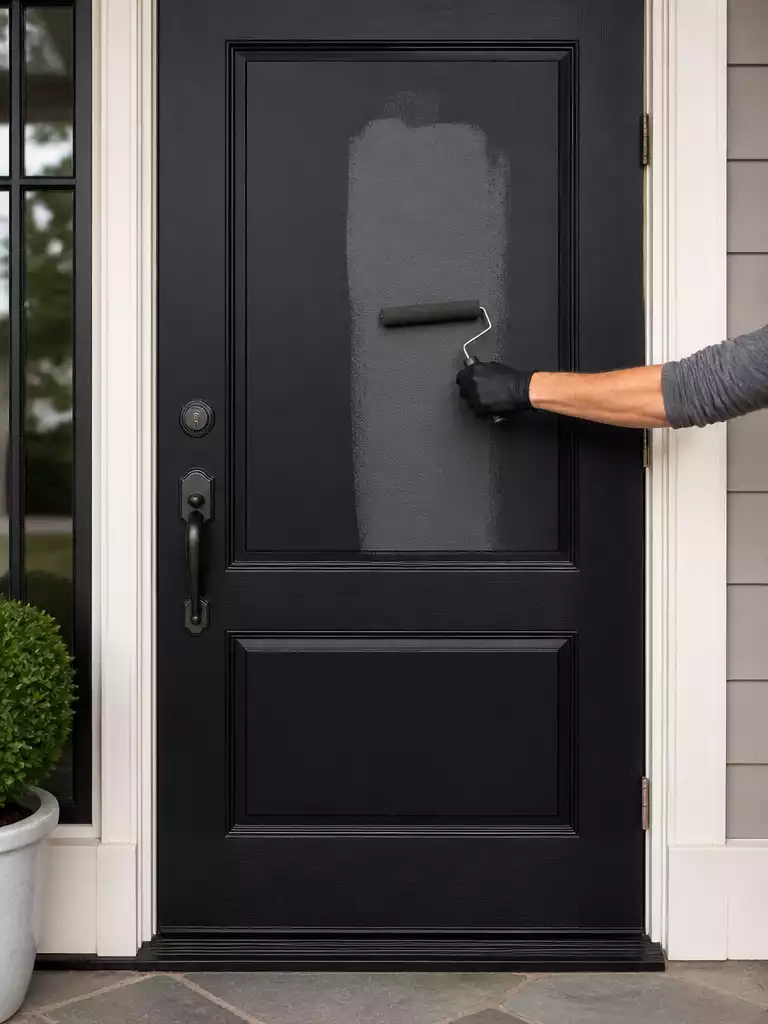
Roll in Thin Even Coats

Applying multiple laser-thin layers with a foam roller ensures a smooth, streak-free black finish.
Thin Layers Build the Sprayed Look: Achieving that factory-smooth black door means applying three to four micro-thin coats rather than slathering on one thick one. Use a high-density foam roller instead of a fuzzy one—this avoids the “orange peel” texture that ruins the finish. Load the roller by rolling it into the paint, then back and forth on the tray ribs until it’s damp but not dripping. Start on flat panels, then move to stiles and rails to follow the door’s natural grain.
The foam roller’s damp—not wet—loading prevents the dreaded “dry roll” effect where the roller pulls paint up, leaving texture behind. For example, if you hear a sticky sound, that means the roller is too dry and you must reload carefully. These thin layers let the self-leveling paint do its magic, smoothing out brush ridges before drying.
This technique is perfect for homeowners who want a long-lasting, sleek black door without investing in spray equipment. However, skip this if you’re short on patience or need instant coverage; thin coats take more time but pay off with up to a decade of chip-resistant beauty. Expect to spend around $50–$70 on quality foam rollers and trays for this step alone, a small price for a finish that lasts 5–10 years versus cheap latex jobs that fail fast.
.
🛠️ Pro Tip for Smoother Coats:
- Consistent Pressure: Use light, even pressure on the roller to avoid pooling paint or roller marks.
- Overlap Edges: Slightly overlap each roller pass to blend the edges and prevent visible lines.
- Watch Your Timing: Roll within the “wet edge” to help coats flow smoothly and reduce lap marks.
Tip Off With a Fine Brush
A flawless glass-like finish emerges by gently smoothing wet paint with a dry brush.
Tipping off requires a bone-dry fine brush: This technique uses a high-quality soft synthetic brush pulled gently through wet paint in one smooth stroke, eliminating bubbles and roller stipple without adding new texture. Always follow the wood grain direction and avoid back-brushing to preserve a mirror-smooth, sprayed look on your black door finish.
Using a dry brush right after rolling a section is critical; for example, pulling a 2.5-inch Chinex brush top to bottom on vertical stiles leaves behind a flawless surface. Resist the urge to touch up bubbles later—they’ll leave streaks if disturbed once paint starts to set.
This step is perfect for homeowners aiming for a professional-grade finish and willing to invest in a quality brush around $15–$25. Skip this if you want a quick paint job or have textured doors where tipping reveals flaws. When done right, tipping off guarantees a sleek finish that lasts up to 10 years without brush marks ruining your sophisticated black door.
.
🛠️ Pro Tip for Perfect Tipping Off:
- Brush Prep: Before dipping, remove excess paint by gently pressing the brush on a paper towel to keep strokes light and smooth.
- Section Timing: Work in small door sections so the paint stays wet enough for tipping off without dragging or uneven texture.
- Clean Brush: If the brush starts to pick up dried paint, clean it quickly with mineral spirits to avoid streaks or fuzz in your finish.
Let Each Coat Fully Cure
Patience pays off with a flawless, streak-free black door finish
Waiting 16 Hours Prevents Wrinkles on Black Enamel: Black waterborne alkyd enamels cure from the top down, so applying a new coat too early traps solvents underneath causing permanent wrinkles. A strict 12–16 hour wait between coats—24 hours in humid conditions—allows solvent release and avoids finish defects, ensuring that each layer settles flat and smooth.
One detail often overlooked is the “thumbprint test”: pressing your thumb firmly on a hidden edge. If it leaves a mark or feels soft, the paint isn’t ready for the next coat, no matter how dry it looks on the surface. This subtle check saves hours of fixing ruined finishes later.
This curing process isn’t for those wanting a quick weekend project. If you’re pressed for time or live in a humid climate, this method isn’t ideal. But for homeowners who want a black door finish that lasts 5 to 10 years without streaks or wrinkles, honoring the 16-hour cure rule is non-negotiable. It’s a small wait that guarantees that perfectly smooth, sprayed look you’re after.
.
💡 Practical Tips That Work for Curing Your Black Door Finish:
- Control Humidity: Use a dehumidifier or open windows to keep moisture low during curing to avoid extended drying times.
- Protect the Surface: Keep the door covered or indoors during curing to prevent dust and insects from landing on wet paint.
- Mark Your Clock: Set alarms or notes for recoat times to resist the temptation of rushing the next layer.
Add a Clear Protective Topcoat
Protect your black door’s glossy depth without risking cloudiness or peeling.
Clear Coats Often Cloud Deep Black Paint: Most clear topcoats, especially traditional polyurethanes, dry with a milky haze that dulls black’s signature inky richness. Adding a clear layer also creates a potential peel point between coatings, undermining the durable urethane-alkyd enamel’s strength you worked so hard to build.
Some clear finishes can subtly shift black toward blue or foggy, which becomes glaring under natural light. For example, a door exposed to constant salt spray or intense desert sun might need extra protection, but even then, a test patch on the door’s bottom edge is a must before committing to full application.
If you want a lasting black door with a flawless finish, skip the clear coat unless your conditions demand it. Modern urethane-alkyd paints already last 5 to 10 years and resist wear without extra layers. Choose a gloss paint upfront if you crave more shine, rather than applying a clear coat later. Clear topcoats are the wrong move for most homeowners and add unnecessary risk and cost to your project.
.
💡 Practical Tips That Work:
- Test First: Always apply a clear coat test patch on a hidden door edge before committing to full coverage.
- Thin Layers: If you proceed, apply multiple thin, even coats with a high-quality synthetic brush to minimize clouding.
- Environment Matters: Avoid clear coats in high humidity or direct sunlight to reduce curing issues and haze formation.
Rehang Once Fully Dry
Carefully rehanging ensures your black door won’t stick or damage its flawless finish.
Wait at least 48 hours before rehanging: Even when the paint feels dry, it takes a full 48 hours to cure enough to resist sticking when the door presses against weatherstripping. Rushing this step leads to blocking, where the door welds shut on first close, wrecking that smooth factory finish.
Using a screwdriver rather than a power drill to reinstall your handle and deadbolt is crucial—power tools can torque the fresh paint, causing puckers or tears around the hardware. Adding clear silicone bumpers on the door frame creates a 1mm gap to prevent the paint from touching the frame during the first week, protecting your work from premature damage.
This step is perfect for homeowners who can dedicate the full cure time to their project—if you can’t leave your door open for 48 hours, skip this method or protect weatherstripping with a thin layer of paste wax. The 48-hour rule ensures your black front door stays streak-free and flawless for years, making it a smart investment in both appearance and durability.
.
📋 What to Check First Before Rehanging Your Door:
- Weatherstripping Clearance: Confirm the weatherstripping isn’t compressed or glued, ensuring smooth door closure without sticking.
- Hinge Screw Fit: Check that hinge screws align perfectly with pre-drilled holes to avoid paint cracking during reinstallation.
- Door Frame Condition: Inspect the door frame’s paint and sealant for any rough spots that could damage the fresh finish when the door closes.
Extra steps
Polished hardware and fresh weatherstripping complete a flawless black door finish
Hardware and weatherstripping matter as much as paint: A factory-smooth black door highlights every imperfection, so restoring your brass hinges with a vinegar-salt soak or opting for spray-painted Champagne Gold or Brushed Chrome can refresh the look. Replacing cracked or painted-over black weatherstripping immediately upgrades curb appeal and prevents the door from binding, keeping your finish unmarred.
Cleaning old paint build-up from hinge pockets is often overlooked yet critical. Paint layers in these recesses can force the door out of alignment, causing scratches on the fresh finish. For example, if your door sticks when closing, chances are the hinge pockets need a quick scrape and sanding before rehanging.
If you have kids or pets, a black metal kickplate protects the bottom panel from scuffs that would otherwise stand out on jet black. These extra steps add less than $30 but extend the life and appearance of your door’s smooth finish. Skip this if you’re okay with visible wear or prefer a minimalist look; otherwise, these enhancements are for homeowners committed to a pristine, long-lasting entrance.
.
📋 Before You Rehang Your Door:
- Test Clearance: Open and close the door slowly to confirm no sticking or scraping occurs on the frame.
- Inspect Weatherstripping: Ensure the new seals fit snugly without compressing too tightly against the door.
- Check Hardware Fit: Align hinges and screws carefully; misaligned hardware can cause scratches or uneven paint wear.
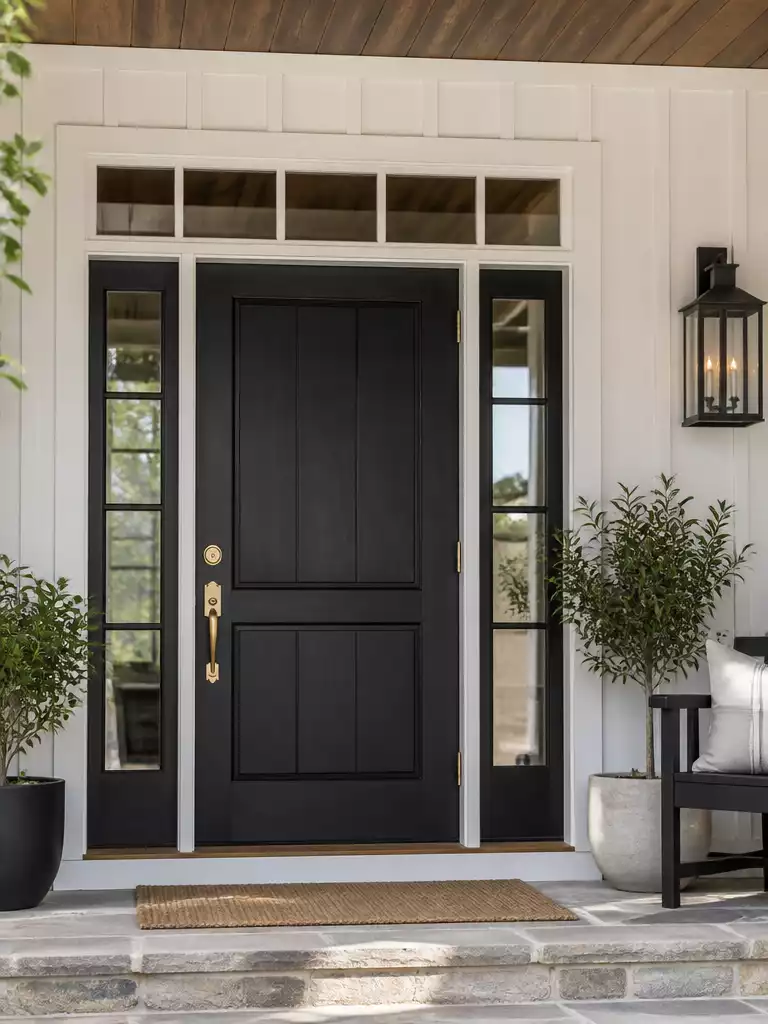
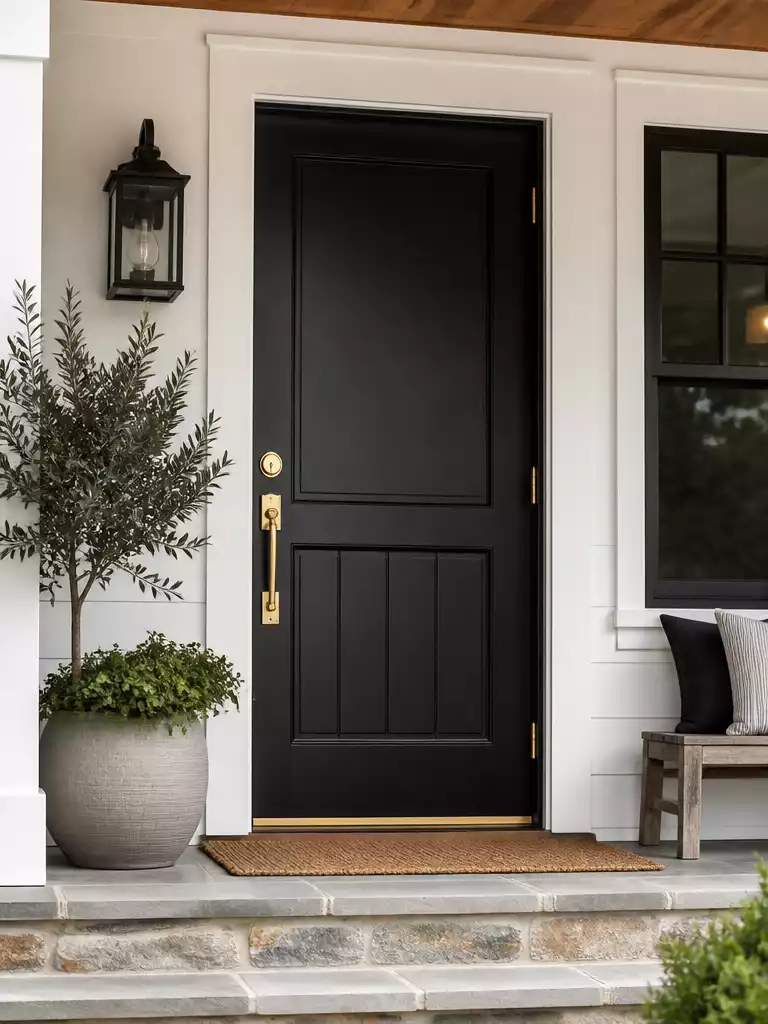
Final verdict
Achieve a mirror-smooth black front door that lasts and elevates curb appeal
Urethane Alkyd Paint Lasts 5–10 Years: The self-leveling urethane alkyd enamel does most of the heavy lifting with its smooth flow and leveling properties, while the “tipping off” brush technique perfects the finish. This combination delivers a durable black door finish that stands up to wear far beyond typical latex paints, which often fail within two years.
The final finishing touch isn’t just about how the door looks but how long it endures. The curing process and patience you invested mean that this black door won’t need repainting anytime soon. For example, if you live in an area with seasonal weather swings, this technique keeps your door looking factory-perfect without premature cracking or peeling.
This door approach is ideal if you want a warranty-worthy finish that lasts without the hassle of spray equipment or endless touch-ups. However, if you’re short on time and want a quick weekend paint, or if your home sees heavy daily traffic with kids and pets who scuff relentlessly, this method might be more than you need. In short, expect 5 to 10 years of smooth, glossy black — a worthy investment for anyone serious about exterior curb appeal and lasting quality.
⭐ Top Products for Door Removal
📋 Before You Rehang Your Door:
- Check Weatherstripping Clearance: Ensure weatherstripping won’t press too tightly against the fresh paint and cause sticking or damage.
- Confirm Hinge Alignment: Test hinge screw holes and alignment beforehand to avoid forcing the door into place, which can chip the finish.
- Test Door Swing: Open and close the door gently for the first few days to detect any early sticking before the paint fully cures.
You now have a clear path to transform your front door from streaky to smooth with techniques that prioritize preparation, the right primer, and self-leveling paint. There’s no need to tackle every step at once; focusing on one or two key actions can make a meaningful difference.
With thoughtful care, your black front door will develop a refined, factory-like finish that adds lasting curb appeal and satisfaction. Confidence grows with each steady step you take toward that flawless look.