

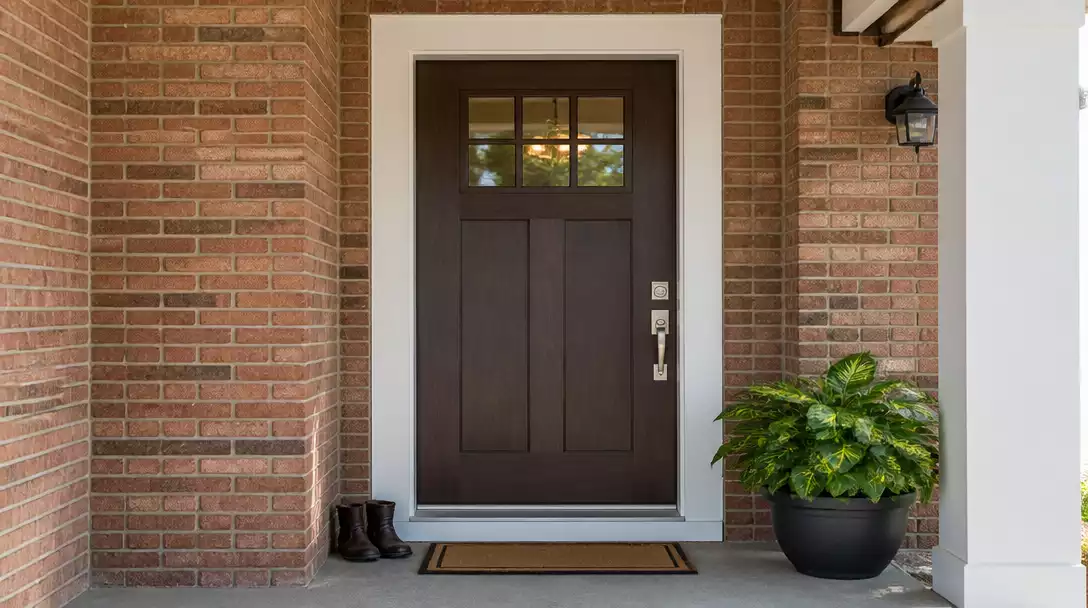
Choosing your first front door is a high-stakes decision that impacts your home’s security, energy efficiency, and long-term value. This guide narrows the process down to 9 critical factors to help you evaluate your options with confidence. We start with the most important structural choice: material integrity.
1. Door Material: Solid vs. Hollow Core
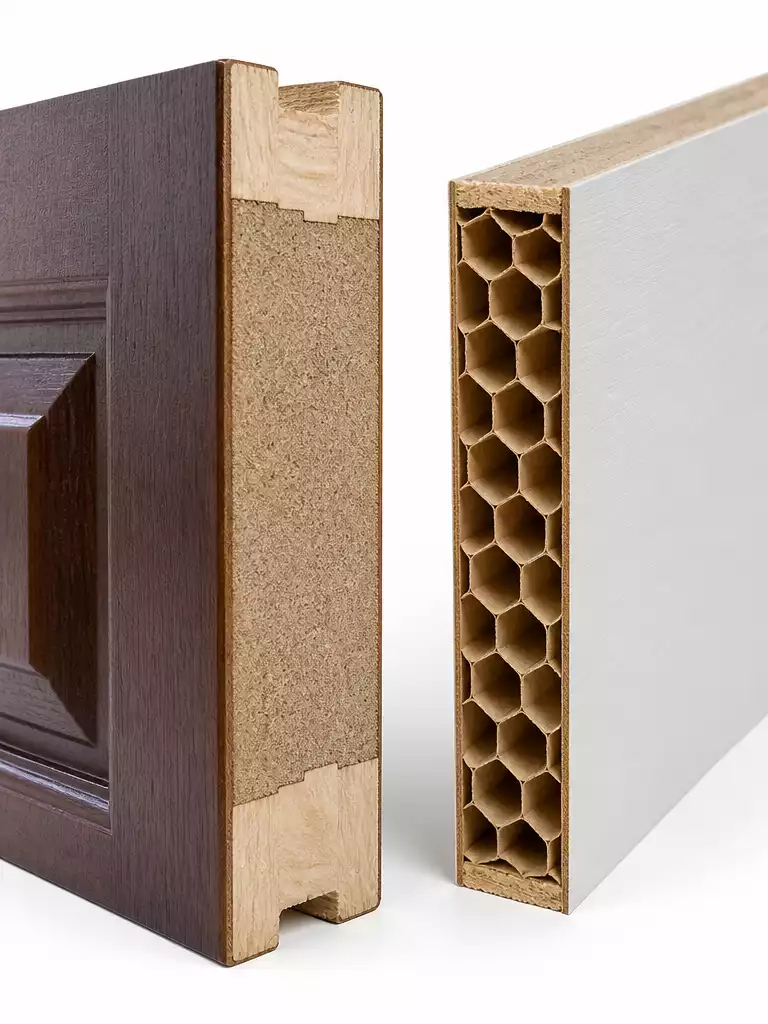
Investing in a solid barrier creates a lasting foundation for your home’s security and comfort.
As an Amazon Associate I earn from qualifying purchases. Affiliate links may earn me a commission at no extra cost to you.
The easiest way to understand your current entry point is the “knock test.” A hollow door sounds thin and resonates with a hollow vibration, while a solid core or solid wood door produces a dull, heavy thud that signals real protection.
You should never install a hollow core door on an exterior opening. These are designed exclusively for interior use, offering zero thermal insulation and virtually no resistance to forced entry or weathering.
For most first-time homeowners, a solid core composite door is the sweet spot for balancing budget and security requirements. These doors provide the heft and sound-dampening qualities you need without the extreme maintenance demands of natural timber.
Warning: Moisture Movement
Solid wood is a beautiful choice, but it is a living material that expands and contracts with changing humidity. If you choose wood, you must commit to a 2–5 year refinishing cycle to prevent rot and structural failure.
If you prefer a “set it and forget it” lifestyle, prioritize high-quality composite or metal-clad options over natural wood. Once you have settled on the material integrity of your slab, the next step is ensuring the panel design supports that structure.
⭐ Top Door Hinge Options for Home
Matte Black Interior Door Hinge Set
⚖️ Quick Decision Guide: Choosing Your Material
- Choose solid core if: You need a reliable, budget-friendly barrier that offers high security and solid sound-dampening performance.
- Skip solid wood if: You want a “set it and forget it” door, as it demands frequent refinishing every 2–5 years.
- Pair it with: High-quality, impact-resistant hardware to maximize the security benefits of your chosen solid door slab.
Style and Panel Design
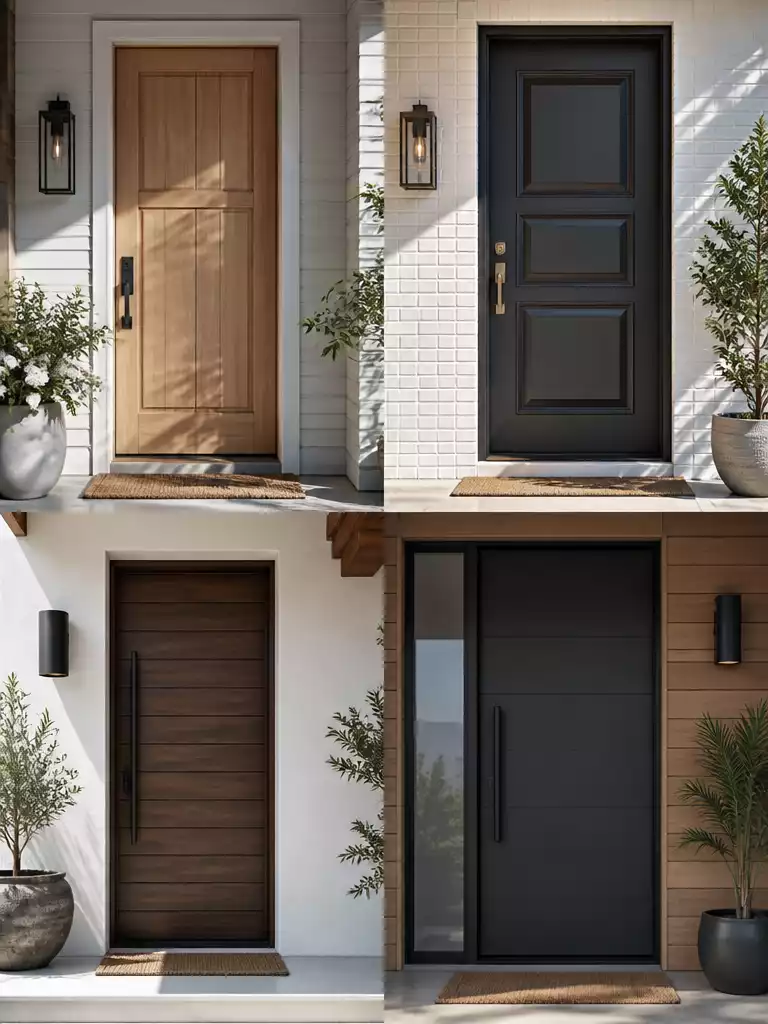
A well-proportioned door defines your home’s character while ensuring structural strength for years to come.
Before you get lost in the sea of aesthetic choices, look closely at the joinery—the points where the horizontal rails meet the vertical stiles. This intersection is the heartbeat of your door’s structural integrity.
High-quality doors feature tight, seamless joints that resist movement even as temperatures shift throughout the seasons. Regardless of whether you gravitate toward the clean lines of a Modern build, the depth of a traditional Craftsman, or the simplicity of a Shaker style, the quality of these connections determines how well the door holds its shape over time.
Proportionality is your best friend when selecting a design. A door that is overly ornate for a small entryway can visually overwhelm the space and make a home feel cramped before anyone even steps inside.
It is easy to get distracted by deep, intricate paneling, but these designs come with a hidden maintenance requirement. Those beautiful, deep crevices are natural collectors for dust, pollen, and moisture.
If you choose a complex panel design, be prepared to commit to a more frequent cleaning and finish maintenance schedule. Debris buildup in tight corners can trap moisture against the door surface, eventually leading to finish failure or rot if left unchecked.
The Joinery Check
Before you finalize your order, inspect the door’s construction against these three markers of success:
- Tight Reveals: Look for consistent, thin gaps where the panels meet the rails. Wide or uneven gaps indicate poor manufacturing that will likely worsen with age.
- Smooth Transitions: Run your hand over the joints; they should feel smooth and flush. Rough edges or visible glue lines often signal a rushed build process.
- Structural Rigidity: The door should feel substantial and stiff. If you can feel the panels flex or rattle when the door is closed, the frame design is not robust enough for exterior use.
Ultimately, your choice should balance your visual preferences with the reality of your home’s scale. Aim for a design that complements your home’s existing architecture while prioritizing clean, manageable surfaces that simplify your long-term maintenance.
⭐ Stylish Mats for Entryway Design
Heavy Duty Rubber Entrance Doormat
Large Rubber Doormat for Double Doors
Funny Welcome Mat for Outdoor Entry
Designer Note: The Scale-to-Style Balance
When choosing panel designs, think about how the door interacts with your home’s wider facade. A tall, narrow home often benefits from vertical, elongated panels that draw the eye upward, while a wide, low-slung ranch or farmhouse style looks grounded with horizontal or multi-panel configurations. Always aim for a design that echoes the existing window proportions elsewhere on your home to create a cohesive, intentional curb appeal.
Glass and Sidelight Options
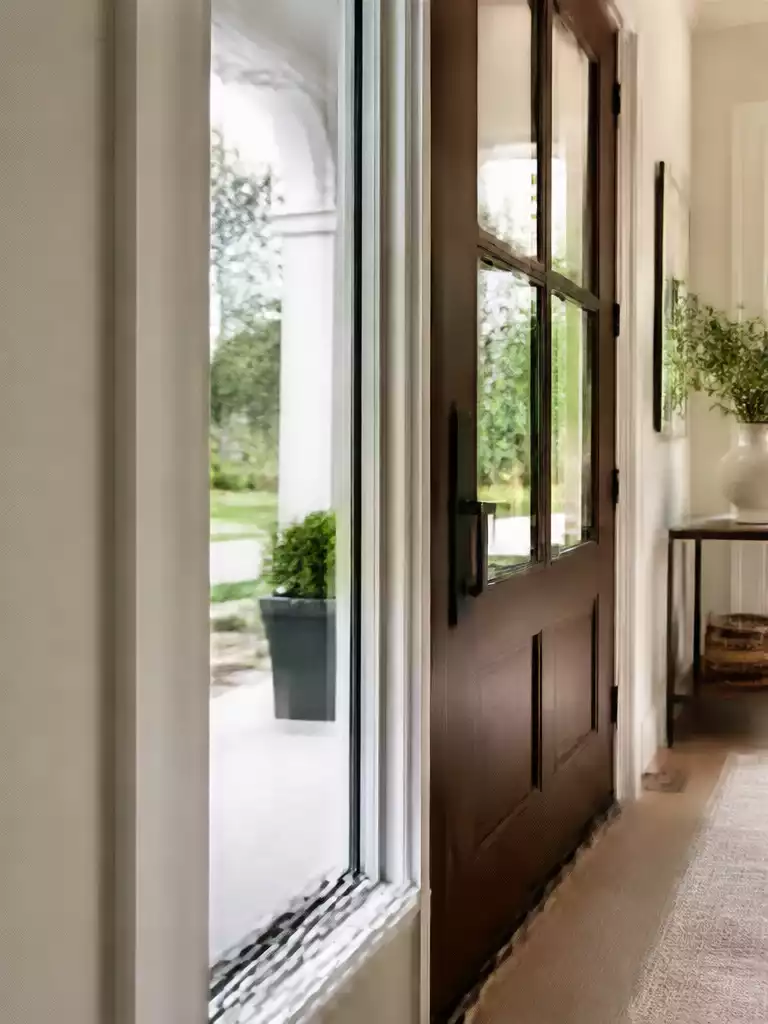
Invite natural light into your home while maintaining essential security and thermal integrity.
Glass is often the most vulnerable point of any front door system. When selecting your configuration, balance your desire for natural light against the security and thermal requirements of your home’s main entry point.
Safety and Security Warning
Never settle for standard glass in an exterior door. Always specify tempered or laminated glass to ensure the panel can withstand impact and prevent forced entry.
If you are choosing a door with glass inserts, prioritize thermal performance above all else. If the glass isn’t double- or triple-pane with a high-quality low-E coating, you are essentially installing a thermal hole in your wall.
Quality units must be fully thermally sealed to remain air- and water-tight over time. This seal prevents condensation between panes, which is a common failure point in lower-end glass units.
Sidelights—the vertical glass panels flanking your door—are popular for their aesthetic appeal, but they represent a significant structural change. These are site-specific units that must be factored into your total frame width from the very beginning of your planning.
Planning Insight: The Sidelight Factor
Sidelights often require their own independent framing, which significantly increases the total width of your rough opening. Consult your contractor early, as adding sidelights to an existing opening usually requires structural reframing of the header and trimmer studs.
There is no universal standard for sidelight dimensions, meaning they are almost always custom-ordered to fit your specific entryway. Always verify that your chosen sidelight matches the thermal and security ratings of the main door slab to ensure a consistent performance barrier.
⭐ Glass Panel Details to Consider
Vintage Gold Frame with Glass Cover
<a href="https://www.amazon.com/dp/B0D61V4Q7D" target="_blank" rel="nofollow sponsored noopener" class="fp-btn" style="display:inline-flex;align-items:center;justify-content:center;gap:8px;align-self:center;width:auto;max-width:100%;margin:0 auto;padding:11px 24px;background:linear-gradient(135deg,#FFA41C 0%,#E88A00 100%);color:#ffffff;font-size:0.92rem;font-weight:600;text-decoration:none;line-height:1.2;border-radius:8px;box-shadow:0 2px 7px rgba(255,164,28,0.35);transition:transform
🧰 Questions for Your Installer
- Frame reinforcement: Ask if they will use 3-inch screws through the strike plate to reach the wall stud.
- Sidelight integration: Confirm if the existing header can support the added width without requiring a new lintel.
- Thermal sealing: Ask what specific flashing or sill pan method they use to prevent water intrusion at the threshold.
Navigating the technical requirements for a new entry can feel heavy, but most performance issues come down to a few core mechanical factors. Identifying these early ensures you avoid common installation pitfalls before looking into aesthetic design choices.
The most durable entrance is built on structural precision rather than chasing fleeting visual trends that sacrifice long-term weather performance.
Standard vs. Custom Sizing
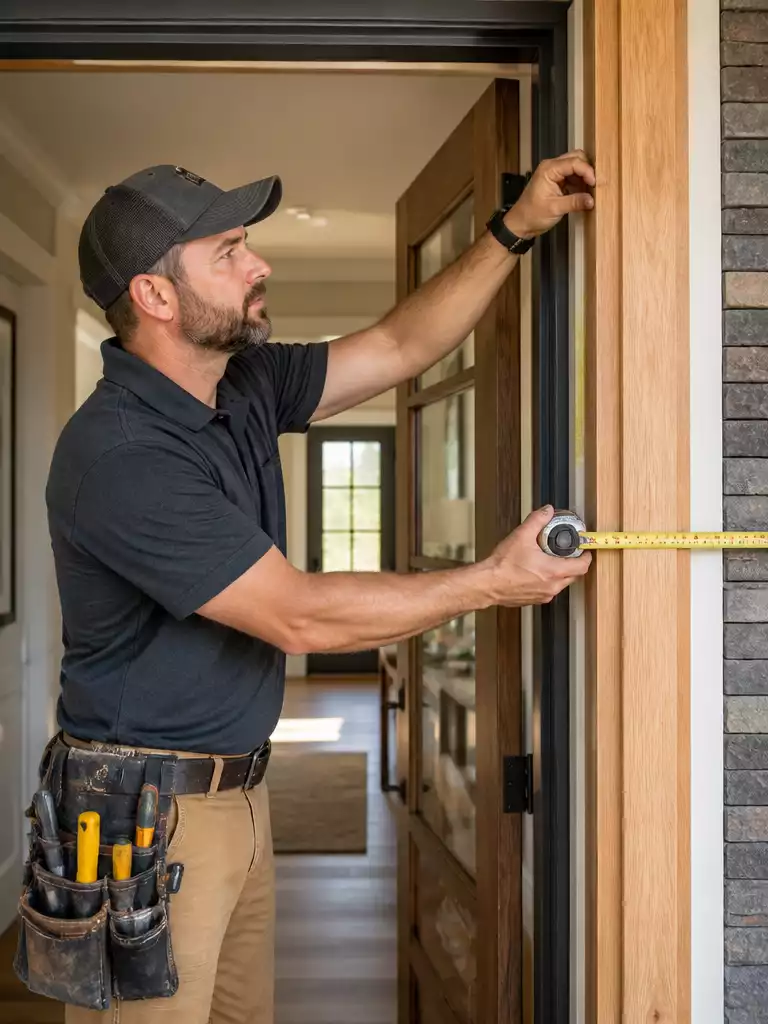
Getting your measurements right the first time ensures a seamless, weather-tight fit for your home.
Most first-time homeowners assume their entryway follows a universal rule, but the “standard” 36″x80″ slab size is often just a starting point. Your home’s rough opening—the framed space in your wall—is what actually dictates your options.
You need a clearance of roughly 2 to 2.5 inches in width and 2 inches in height beyond the door slab to account for the frame and shimming. Without this gap, you will struggle to get the door plumb, level, and square.
Why ‘Standard’ Doesn’t Always Mean ‘Fits’
If your rough opening is non-standard, ordering a custom door is frequently more cost-effective than paying a carpenter to reframe your wall studs. Reframing requires opening drywall, moving structural members, and repairing exterior siding, which quickly inflates your labor budget.
Before you commit to a purchase, use this checklist to ensure you have the correct data. Always measure in three places—top, middle, and bottom—because walls are rarely perfectly plumb.
- ✔ Width: Measure the rough opening width at the top, middle, and bottom.
- ✔ Height: Measure from the subfloor to the bottom of the header.
- ✔ Jamb Depth: Measure your wall thickness to ensure the door jamb matches your wall structure.
- ✔ Swing: Note the direction the door opens and where the hinges are located from the perspective of standing outside.
Confirming these numbers prevents the most common project stall: receiving a unit that simply won’t seat in your opening. If you find your current door is a non-standard size like 32 or 42 inches wide, or 84 to 96 inches tall, accept that custom sizing is the right investment to maintain structural integrity.
⭐ Custom Sizing for Entryway Needs
Personalized Custom Entryway Welcome Mat
📋 Quick Reality Check: Measuring for Success
- Check the floor: Ensure your threshold is level; even a slight slope requires custom shimming or a specialized sill pan.
- Verify wall depth: Interior wall thickness varies, so measure your current jamb depth to avoid unsightly gaps or trim overhangs.
- Clearance check: Confirm you have at least 1/4″ of space at the top and sides to allow for frame expansion and adjustment.
5. Energy Efficiency and Weather Sealing
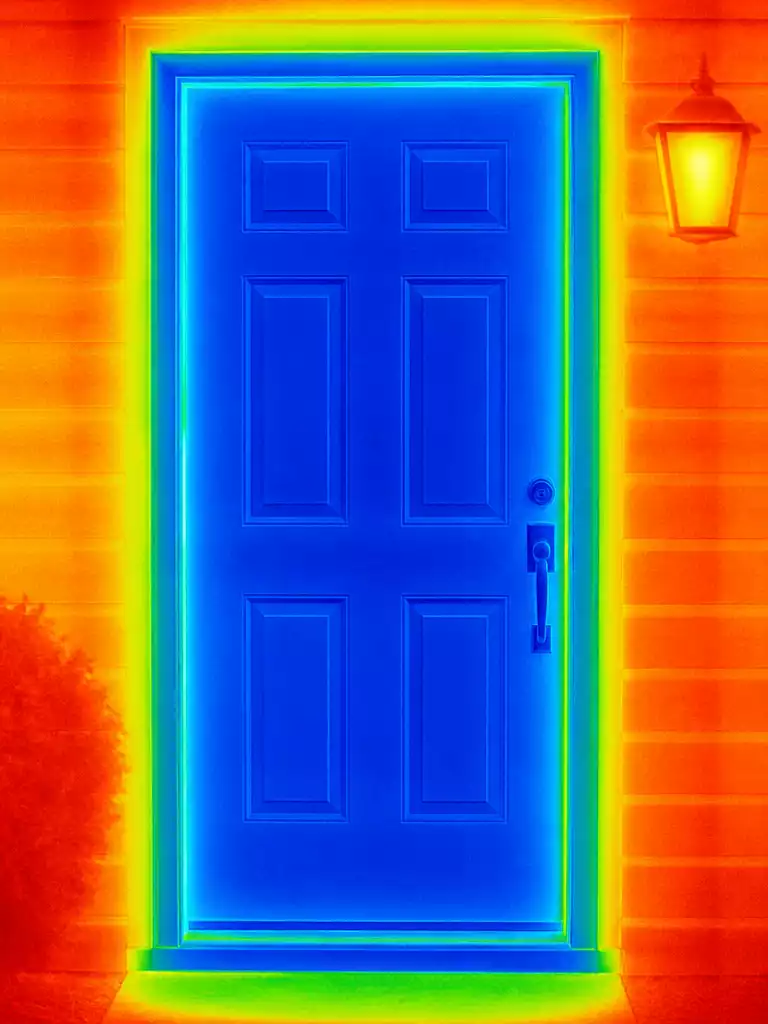
Keep your home comfortable year-round by choosing a door that seals out the elements.
Your front door is more than just a barrier; it is a critical component of your home’s thermal envelope. If your door is poorly insulated or lacks a tight seal, you are essentially paying to heat or cool the outdoors.
The most important metric to watch is the U-Factor, which measures the rate of heat transfer. Lower numbers mean better insulation, and for a door to be truly energy efficient, you should aim for a U-Factor below 0.30.
Beyond the slab itself, look for the ENERGY STAR certification. This label confirms the entire door system meets strict criteria for both opaque and glass-integrated designs, ensuring the manufacturer has tested the thermal performance properly.
Pro-Tip: Fiberglass Stability
Fiberglass doors often outperform wood in U-factors because they do not expand or contract with humidity changes. This material stability helps keep your weather seal tight year-round, preventing the seasonal drafts often associated with natural wood.
Don’t overlook the mechanical side of weather sealing. A high-quality compression seal or magnetic weatherstripping is essential to prevent air leaks around the jamb.
If you have a door that relies on simple friction seals, you may find that it loses its effectiveness as the door material shifts over time. Prioritize a system designed to maintain constant pressure against the frame to keep your home’s conditioned air exactly where it belongs.
⭐ Weather Sealing and Insulation Essentials
Narrow Threshold Mat for Tight Spaces
Aluminum Insulation Sound Deadening Mat
💡 Why This Works:
Focusing on energy efficiency isn’t just about utility bills; it’s about creating a consistent, comfortable thermal barrier. When you prioritize a low U-Factor, you stop the drafty “cold spots” near your entryway, making your transition space feel like a seamless, well-insulated part of your home’s living area rather than a leaky threshold.
Performance Takeaway: A door with a U-Factor under 0.30 significantly reduces energy loss, keeping your interior climate stable year-round.
6. Security and Locks
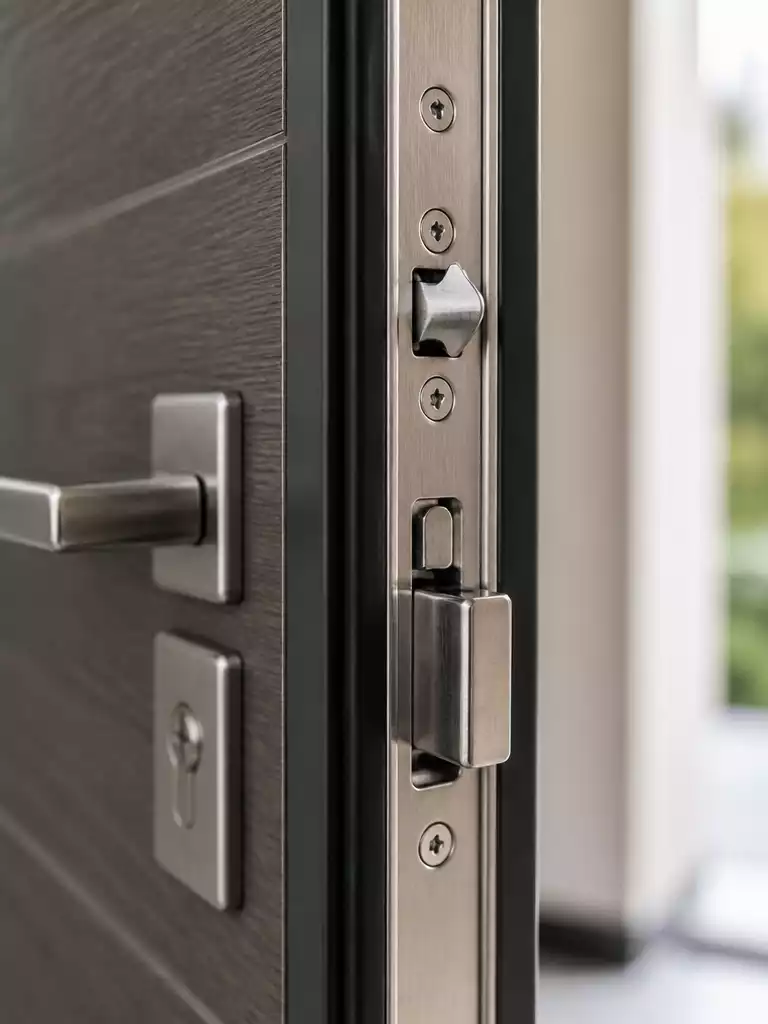
A robust, multi-point locking system provides peace of mind and superior structural integrity.
A solid door is only as effective as the frame and hardware securing it. If your strike plate is flimsy or the screws are too short, even the heaviest door can be compromised with minimal effort.
Multi-point locking systems are the gold standard for both security and thermal performance. These mechanisms secure the door at the top, middle, and bottom simultaneously, which dramatically improves seal compression and makes the door significantly harder to pry open.
When selecting your hardware, look for certifications that indicate drill- and impact-resistant testing, such as those from VdS. Standard hardware may look the part, but certified components are engineered to withstand physical force that would otherwise defeat consumer-grade locks.
Security Checklist
-
✓
Ensure the strike plate is reinforced with 3-inch screws that reach deep into the wall stud.
-
✓
Verify that the door frame itself is structurally sound and not prone to splitting.
-
✓
Confirm your hardware choice is compatible with multi-point configurations if you prioritize maximum security.
The frame is the weak link in most residential entryways. Always verify that your installer uses heavy-duty hardware that anchors directly into the structural framing of your home.
⭐ Securing Your Home Entrance
Sturdy Rubber Floor Mat for Entryways
🧰 Questions for Your Installer
- Strike plate reinforcement: Ask if they use 3-inch screws to anchor the strike plate directly into the structural wall studs.
- Hardware compatibility: Confirm if your chosen locking set is compatible with the door’s pre-drilled holes or requires custom modification.
- System certification: Check if the hardware components carry impact-resistant ratings to ensure they meet your front-line security expectations.
7. Color and Finish
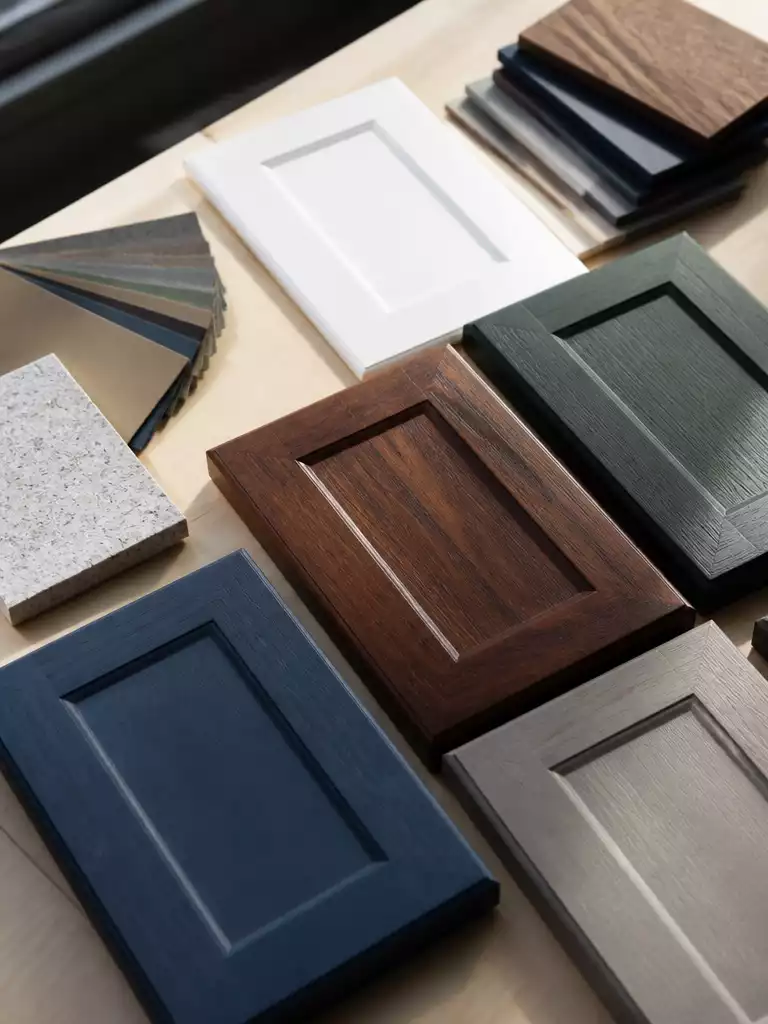
A durable finish protects your investment from the elements while defining your home’s character.
When selecting your finish, prioritize the factory-applied process over anything you can achieve on-site. These finishes are cured in highly controlled environments, creating a bond with the door material that is significantly more resistant to peeling and fading than standard exterior paint.
The Heat Absorption Warning: If your entryway faces south or west, avoid dark paint colors on wood doors. The intense thermal absorption causes rapid expansion and contraction, which inevitably leads to warping, cracking, and premature finish failure.
Your choice of material dictates your long-term maintenance commitment. If you desire a “set it and forget it” entry, prioritize pre-finished fiberglass or steel options that arrive ready for installation.
Maintenance Reality Check:
- Wood Doors: Require a dedicated refinishing cycle every 2–5 years to prevent rot.
- Fiberglass/Steel: Generally require only occasional cleaning to maintain the factory-applied finish.
Choosing a factory finish ensures the manufacturer’s warranty remains intact, as site-applied finishes often void these protections. Invest in the factory-cured option to save yourself the labor of frequent maintenance while keeping your door’s structural integrity secure.
⭐ Finishing Touches for Front Doors
Neutral Braided Entryway Area Rug
🏡 Real-Home Application:
- Test your exposure: Tape a dark paint swatch to your door for one week; if it bubbles or feels burning hot to the touch, choose a lighter, reflective finish to protect the door’s structural integrity.
- Unified hardware finish: Coordinate your door handle and hinges with the house’s exterior light fixtures to create a cohesive, intentional look that hides minor finish wear over time.
- Natural touch-up kit: Keep a small, labeled container of your door’s exact factory-match paint in a climate-controlled space to quickly seal any minor nicks before moisture can penetrate the core.
8. Installation Requirements
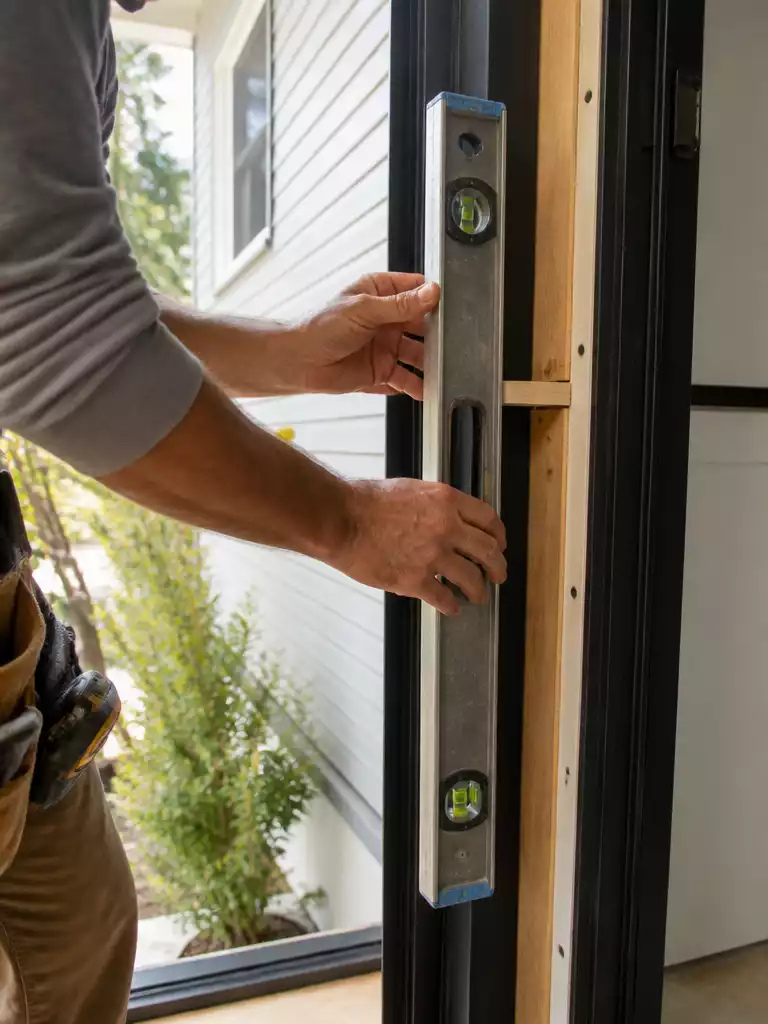
A precision-fit installation ensures your new door performs as a true weather barrier.
Think of your door installation as a structural project rather than a simple hardware swap. Because your door is a high-performance barrier, it must be installed to exact tolerances to function as intended.
Professional installers typically look for a fit that is within 1/8″ tolerance for plumb and level. If your door is not square, the weather sealing will fail, and the locking mechanism will eventually bind.
The Installation Checklist
- Sill Pan and Flashing: These are non-negotiable for water management; they prevent rot by redirecting moisture away from your subfloor.
- Shimming: Your installer must use shims to ensure the frame is perfectly plumb and level, regardless of how “out of square” your home’s original framing might be.
- Header Support: Ensure your existing header is properly supported by trimmer studs; if it isn’t, the door frame may sag over time.
Labor costs generally range from $200 to $800+ depending on the complexity of your specific opening. If you need to resize your rough opening, expect a significant labor surcharge, as this involves cutting into wall studs and potentially moving electrical or trim.
Structural Warning
Never assume your door slab comes pre-hung with a frame that fits your existing wall depth. Always verify your jamb depth against your wall thickness before the installer arrives to avoid a mid-project stall.
When you interview installers, ask specifically about their approach to water management and flashing. An installer who prioritizes a proper sill pan is the one who will save you from hidden rot issues down the road.
⭐ Installation Kits for New Doors
Funny Indoor Kitchen Entrance Rug
Custom Backlit House Number Sign
🧰 Questions for Your Installer:
- Water management: How exactly will you flash the sill pan to ensure long-term protection against rot?
- Structural support: Will you be verifying the current header support and adding trimmer studs if necessary?
- Tolerance standards: Can you confirm the door will be installed within 1/8″ for plumb and level?
9. Cost and Budget

Planning your investment upfront ensures your renovation stays on track and within reach.
When you start looking at front doors, it is helpful to recognize that a functional exterior system rarely costs less than a $1,000 baseline. While you might see lower prices for slabs alone, a complete system—including the frame, threshold, and weatherstripping—requires a more significant investment to ensure long-term performance.
Keep in mind that the door itself is only part of the equation. Professional installation labor typically adds another 20–30% to your total project cost.
The Expansion Penalty
If your rough opening doesn’t accommodate a standard size, you may need to widen the frame. Budget an extra $1,500+ specifically for the carpentry labor required to reframe your wall studs.
Steel doors often serve as a budget-friendly alternative, typically costing 10–20% less than wood or fiberglass options. However, your total spend will fluctuate based on hardware choices, glass inserts, and the complexity of your site conditions.
Downloadable Project Budget & Planning Worksheet
Ready to get specific? Download our Project Budget & Planning Worksheet to track your door selection against installation estimates and avoid hidden costs.
⭐ Budget Friendly Entryway Upgrades
Extra Long Front Door Welcome Mat
Monogram Extra Large Coir Doormat
💰 What This Really Costs
- The baseline reality: Expect a minimum investment of $1,000 for a functional, secure exterior door system installation.
- Hidden structural costs: Don’t forget that resizing an opening for a new door adds an extra $1,500+ in labor.
- Long-term value: Prioritize quality materials like fiberglass over steel to reduce future maintenance and replacement costs.
With all nine evaluation factors now in front of you, the path to a high-performance entry is much clearer. You do not need to address every detail simultaneously; prioritizing the structural requirements and material integrity will yield the most significant return on your investment.
Focus on the one or two choices that define your home’s security and thermal envelope first, as these are the decisions that truly matter long-term. You can choose a front door with total confidence once you have measured your rough opening correctly.




